11 min read
Uniswap v4 has been officially released! Check out our technical guide - How to Create Hooks on Uniswap V4 to learn about what's new and how to use it.
Overview
With Uniswap constantly improving its users' experience, whether on the front end or via smart contracts, developers need to stay up to date with the newest versions. In March 2021, Uniswap released its new v3 architecture, which includes updates to both smart contracts and the front end. This guide will help developers overcome the challenges of learning the new v3 architecture and show you how to swap tokens programmatically using Ethers.js.
Let's get started!
What You Will Need
- Basic understanding of Ethereum and smart contracts
- Web3 wallet with access to your private key
- A QuickNode account
- Experience with JavaScript and Node.js installed
- A terminal window
- A Code editor (e.g., VSCode)
What You Will Do
- Learn about Uniswap V3 architecture
- Dive into Uniswap smart contracts and how swaps work
- Create a QuickNode node endpoint (you can create one here)
- Fund your wallet via the QuickNode Faucet
- Execute a single pool swap (ETH -> USDC) on Uniswap V3 using
exactInputSinglefunction on Sepolia Testnet
| Dependency | Version |
|---|---|
| node | ^18.18 |
| dotenv | ^16.4.5 |
| ethers | ^6.13.0 |
Uniswap V3 Architecture
If you're already familiar with Uniswap, then you probably understand how Uniswap V2 works. A quick recap; Uniswap v2 uses a constant product formula (xy=k) to calculate swaps prices on a pair. The liquidity in these pairs from LP's (liquidity providers) deposits cover the whole price range of a pair. This results in easier liquidity management but less capital efficiency and the majority of liquidity rarely being used.
Whereas with v3, concentrated liquidity is introduced, and LPs can be more capital efficient and earn more revenue on their capital by selecting price ranges they want to provide liquidity for. This is significantly more efficient in capital being invested and fees/revenue returned; however, it can lead to more active management of the LP position, and studies have shown that impermanent loss can be larger (source).
Now, let's look at the two main repositories for the Uniswap V3 protocol:
Core
The Core contracts are the lower-level operations of Uniswap V3. They are responsible for managing the liquidity pools, performing swaps and include:
- UniswapV3Factory: Deploys new pools and keeps track of all existing pools.
- UniswapV3Pool: Handles the core functionality of swaps, liquidity provision, and fee collection within a specific pool.
Periphery
The Periphery contracts are higher-level contracts that interact with the Core contracts to provide helper functionality and easier interactions. The set of contracts include:
- SwapRouter: Provides an interface for performing swaps with advanced features like multicall support.
- NonfungiblePositionManager: Manages the creation and management of liquidity positions represented by NFTs.
- Quoter: Helps users get swap quotes without executing the swap.
Next, let's dive into the code. First, let's take care of some prerequisites like getting access to an RPC and funding our test wallet with ETH on Sepolia testnet. If you already have both, skip these prerequisite sections.
Project Prerequisite: Create an Ethereum Node Endpoint
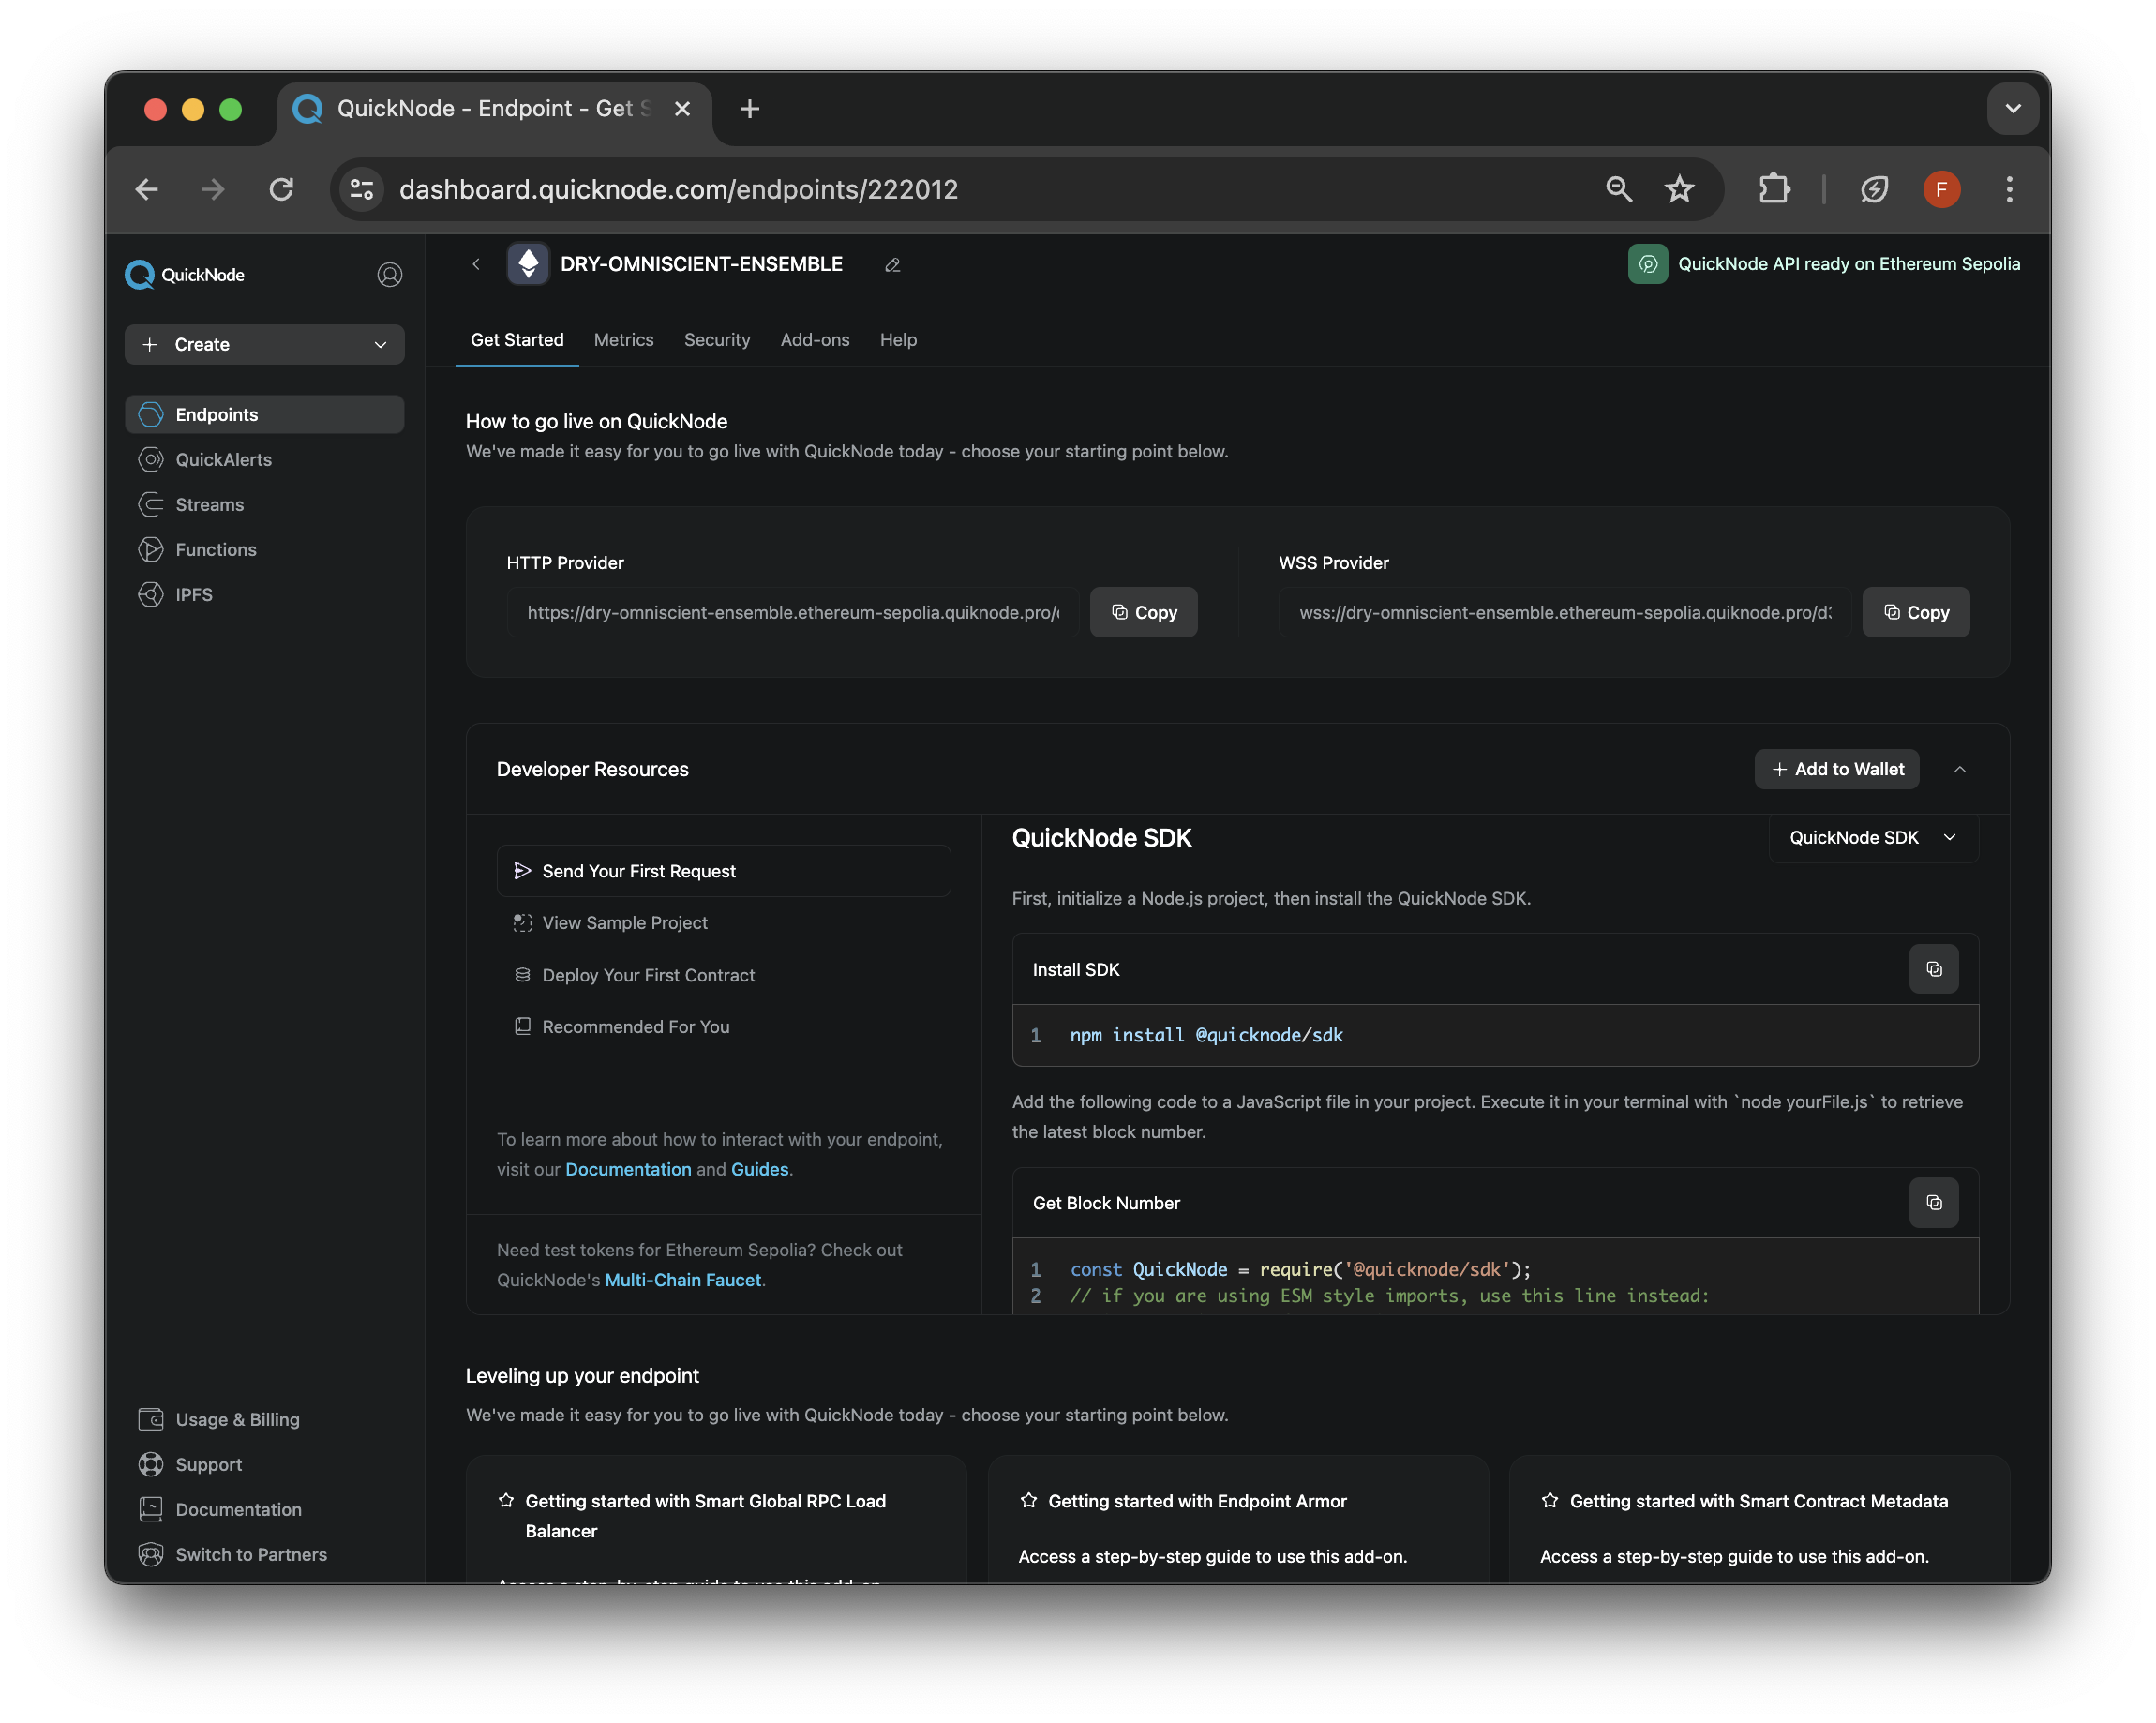
To communicate with the Ethereum blockchain, you need access to a node. While we could run our own node, here at QuickNode, we make it quick and easy to fire up blockchain nodes. You can register for an account here. Once you boot up a node, retrieve the HTTP URL. It should look like this:
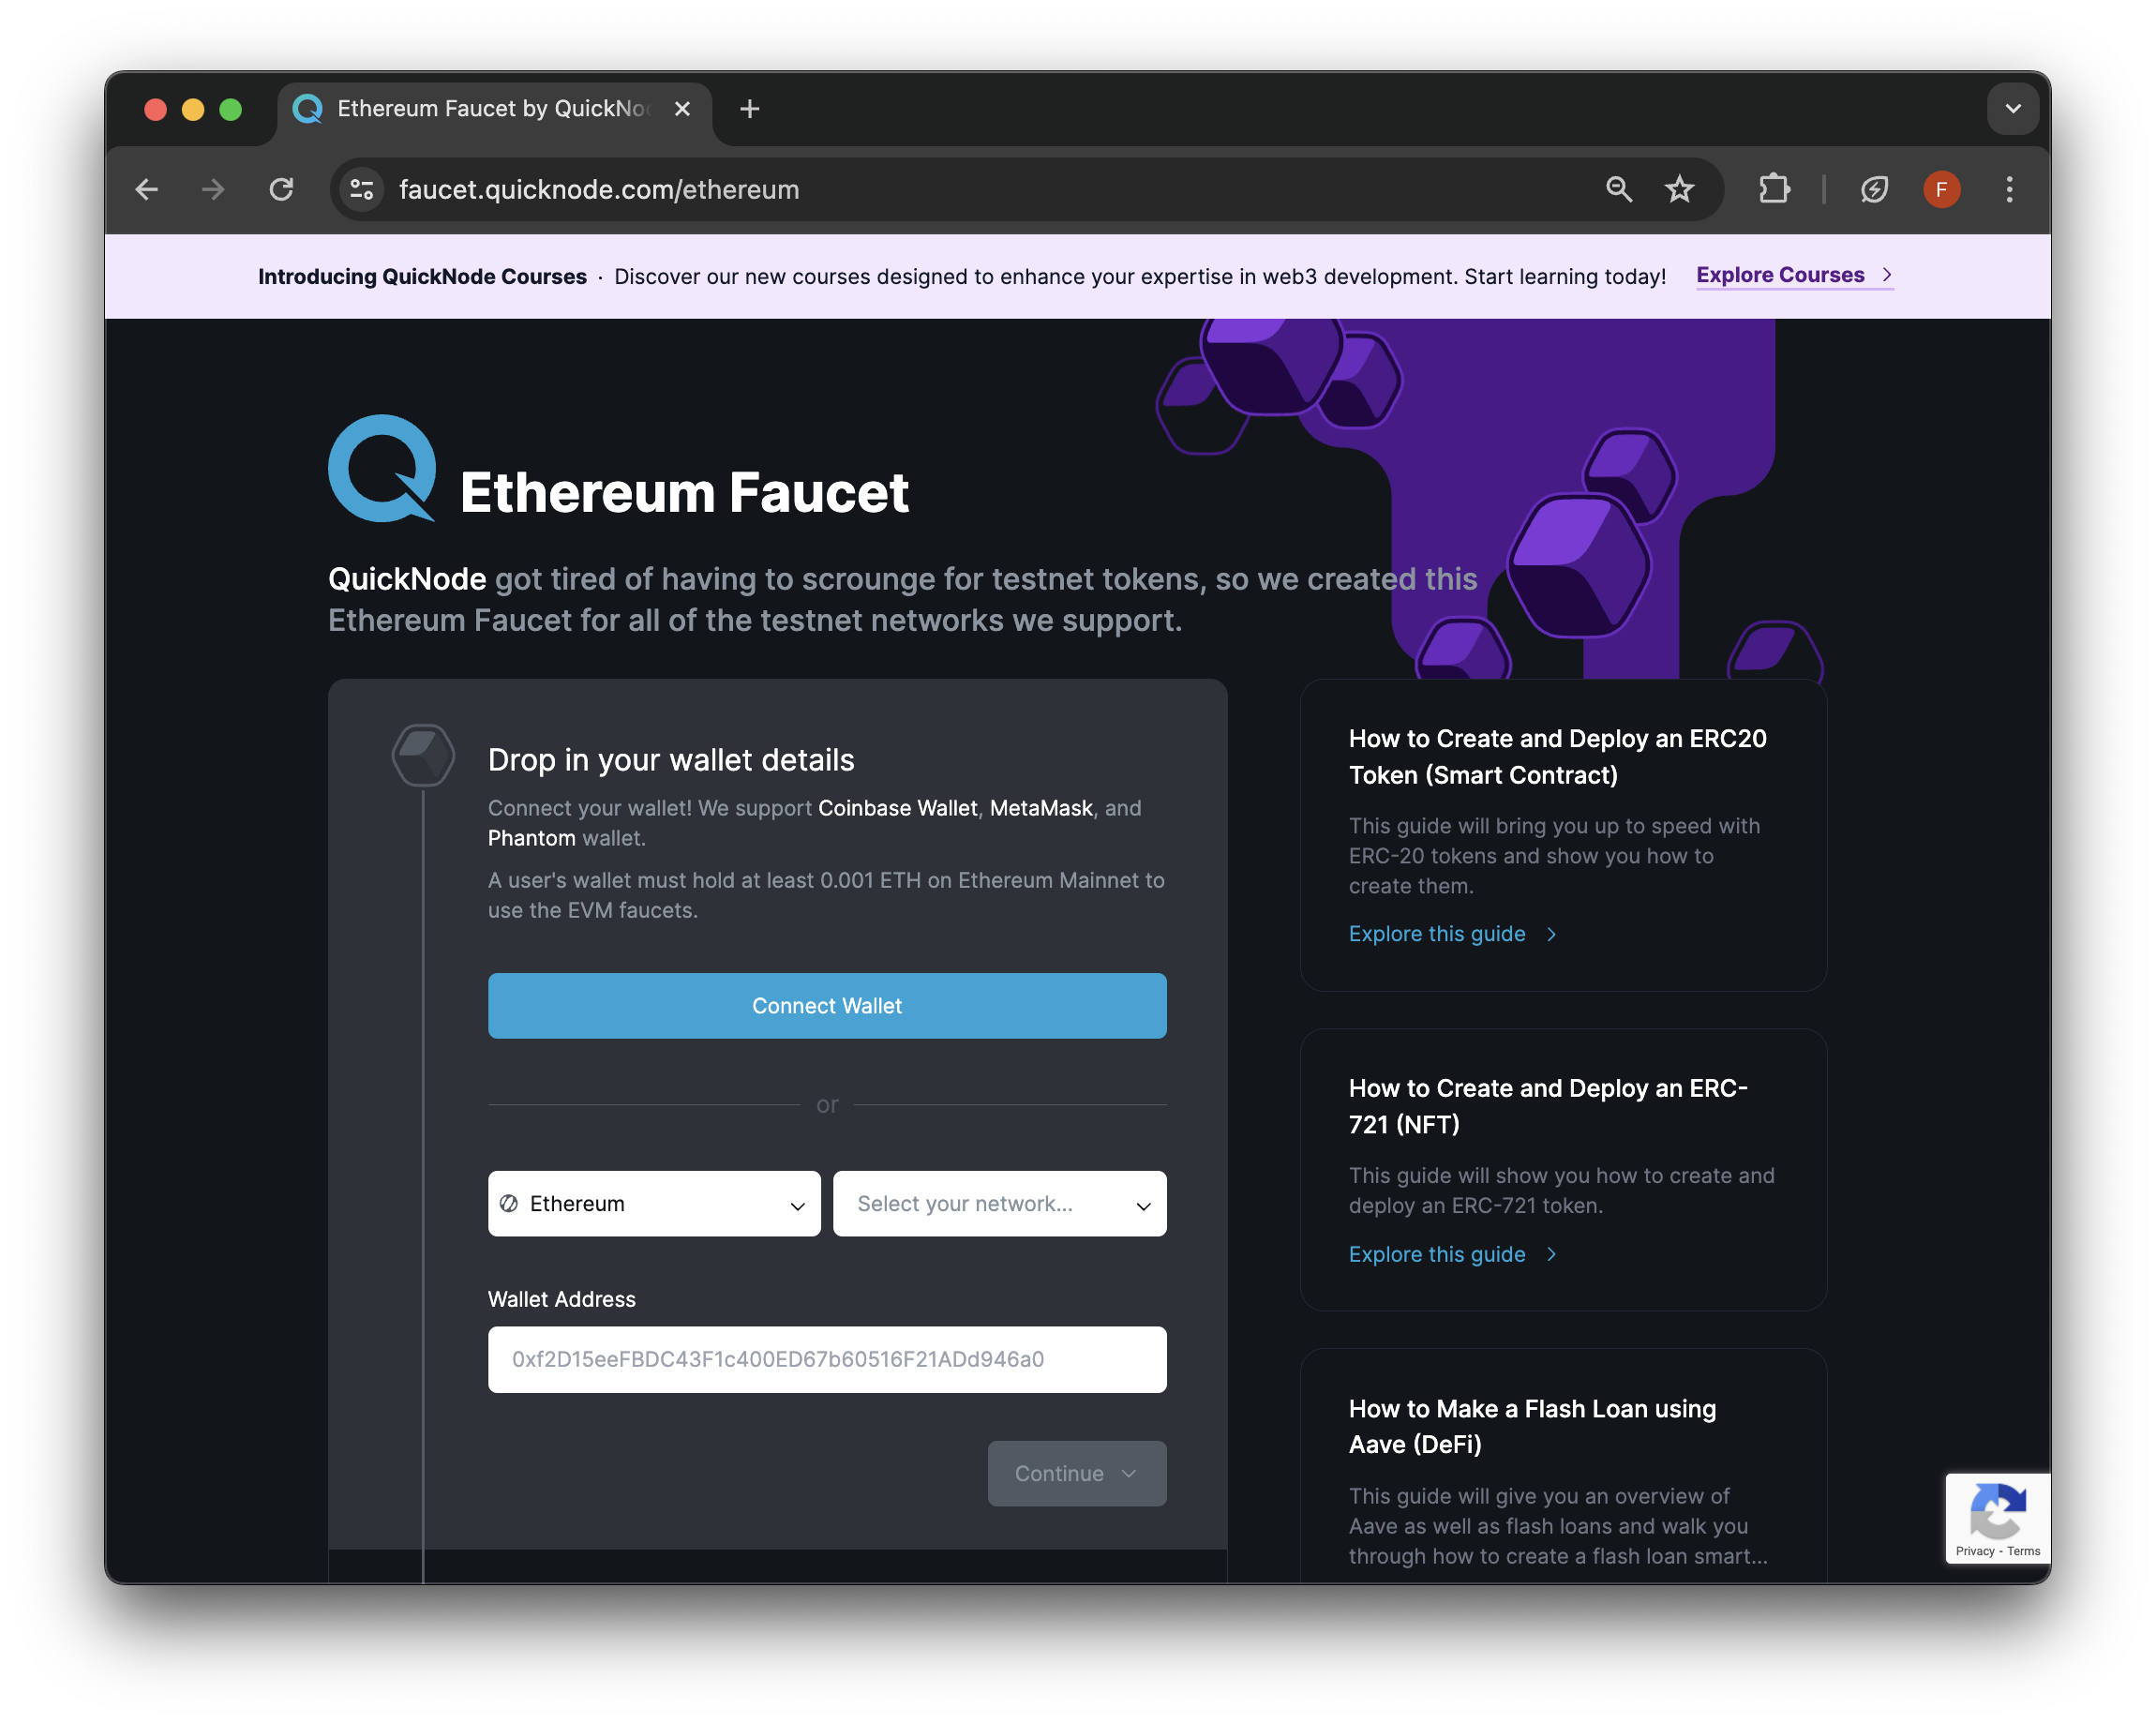
Project Prerequisite: Get ETH from QuickNode Multi-Chain Faucet
In order to swap tokens on-chain, you'll need ETH to pay for gas fees. Since we're using the Sepolia testnet, we can get some test ETH from the Multi-Chain QuickNode Faucet.
Navigate to the Multi-Chain QuickNode Faucet and connect your wallet (e.g., MetaMask, Coinbase Wallet) or paste in your wallet address to retrieve test ETH. Note that there is a mainnet balance requirement of 0.001 ETH on Ethereum Mainnet to use the EVM faucets. You can also tweet or log in with your QuickNode account to get a bonus!
Project Set Up
Navigate to the qn-guides-examples repository and clone it:
git clone git@github.com:quiknode-labs/qn-guide-examples.git
Next, navigate into the defi/uniswap-v3-swaps repository:
cd qn-guide-examples/defi/uniswap-v3-swaps
Then, install the required dependencies:
npm i
Rename .env.example to .env.local and fill in the environment variables accordingly. The RPC_URL value should be the QuickNode node endpoint you created in the previous step (via your QuickNode Dashboard), while the PRIVATE_KEY value should be retrieved via your wallet security settings (check out this article from MetaMask). Remember to save the file.
Before we execute the code, let's analyze how its designed.
Creating the Uniswap V3 Swap Script
We'll be covering the code in sections. You can find the full version of this in the index.js here.
First, import dependencies like ethers, dotenv and the required ABI files we'll need when creating contract instances with ethers.
Import Dependencies
import { ethers } from 'ethers'
import FACTORY_ABI from './abis/factory.json' assert { type: 'json' };
import QUOTER_ABI from './abis/quoter.json' assert { type: 'json' };
import SWAP_ROUTER_ABI from './abis/swaprouter.json' assert { type: 'json' };
import POOL_ABI from './abis/pool.json' assert { type: 'json' };
import TOKEN_IN_ABI from './abis/weth.json' assert { type: 'json' };
import 'dotenv/config'
You can now access Logs for your RPC endpoints, helping you troubleshoot issues more effectively. If you encounter an issue with your RPC calls, simply check the logs in your QuickNode dashboard to identify and resolve problems quickly. Learn more about log history limits on our pricing page.
Set Up Constants
Although this guide covers Sepolia, you can change the deployment addresses to another EVM-compatible chain if Uniswap V3 (or a similar clone) is deployed there.
The code below sets up constant variables that will define the deployed contract addresses on Sepolia, as well as create an ethers.Contract instances.
// Deployment Addresses
const POOL_FACTORY_CONTRACT_ADDRESS = '0x0227628f3F023bb0B980b67D528571c95c6DaC1c'
const QUOTER_CONTRACT_ADDRESS = '0xEd1f6473345F45b75F8179591dd5bA1888cf2FB3'
const SWAP_ROUTER_CONTRACT_ADDRESS = '0x3bFA4769FB09eefC5a80d6E87c3B9C650f7Ae48E'

// Provider, Contract & Signer Instances
const provider = new ethers.JsonRpcProvider(process.env.RPC_URL)
const factoryContract = new ethers.Contract(POOL_FACTORY_CONTRACT_ADDRESS, FACTORY_ABI, provider);
const quoterContract = new ethers.Contract(QUOTER_CONTRACT_ADDRESS, QUOTER_ABI, provider)
const signer = new ethers.Wallet(process.env.PRIVATE_KEY, provider)

// Token Configuration
const WETH = {
    chainId: 11155111,
    address: '0xfff9976782d46cc05630d1f6ebab18b2324d6b14',
    decimals: 18,
    symbol: 'WETH',
    name: 'Wrapped Ether',
    isToken: true,
    isNative: true,
    wrapped: true
  }

const USDC = {
    chainId: 11155111,
    address: '0x1c7D4B196Cb0C7B01d743Fbc6116a902379C7238',
    decimals: 6,
    symbol: 'USDC',
    name: 'USD//C',
    isToken: true,
    isNative: true,
    wrapped: false
}
Set Up Token Approval
Regardless of the token we're swapping, we'll need to give the SwapRouter contract approval to spend our tokens for us.
The function below takes in a token address, ABI, amount (to approve), and signer object. It creates an approval transaction payload using the Contract.method.populateTransaction function on ethers, then sends the transaction using Signer.sendTransaction and outputs the relevant transaction details.
async function approveToken(tokenAddress, tokenABI, amount, wallet) {
    try {
        const tokenContract = new ethers.Contract(tokenAddress, tokenABI, wallet);

        const approveTransaction = await tokenContract.approve.populateTransaction(
            SWAP_ROUTER_CONTRACT_ADDRESS,
            ethers.parseEther(amount.toString())
        );

        const transactionResponse = await wallet.sendTransaction(approveTransaction);
        console.log(`-------------------------------`)
        console.log(`Sending Approval Transaction...`)
        console.log(`-------------------------------`)
        console.log(`Transaction Sent: ${transactionResponse.hash}`)
        console.log(`-------------------------------`)
        const receipt = await transactionResponse.wait();
        console.log(`Approval Transaction Confirmed! https://sepolia.etherscan.io/txn/${receipt.hash}`);
    } catch (error) {
        console.error("An error occurred during token approval:", error);
        throw new Error("Token approval failed");
    }
}
Get Pool Details
The next step after approving tokens is to get the pool details, which are the token pairs we're trying to swap (e.g., ETH/USDC).
First, we call the getPool function on the Factory contract, which will return a pool address based on the tokenIn, tokenOut and fee. With the pool address retrieved, we can create a ethers contract instance and initalize pool metadata variables which we'll use later.
A quick TLDR on variable definitions:
- fee: This is the fee taken from a swap that is executed on the pool. The fee value of the pool we're trading is 3000 (i.e., 3000/1000000 (or 0.30%)), and this amount is taken as a fee. This fee goes to the pool's liquidity providers.
- liquidity: The amount of liquidity the pool can use given the current price.
- sqrtPriceX96: The current price of the pool, calculated as a ratio between token0 and token1 (i.e., tokenIn/tokenOut)
- tick: The tick at the current price of the pool.
async function getPoolInfo(factoryContract, tokenIn, tokenOut) {
    const poolAddress = await factoryContract.getPool(tokenIn.address, tokenOut.address, 3000);
    if (!poolAddress) {
        throw new Error("Failed to get pool address");
    }
    const poolContract = new ethers.Contract(poolAddress, POOL_ABI, provider);
    const [token0, token1, fee] = await Promise.all([
        poolContract.token0(),
        poolContract.token1(),
        poolContract.fee(),
    ]);
    return { poolContract, token0, token1, fee };
}
Fetch Quote Before Swap
Uniswap has implemented a Quoter contract to obtain trade quotes. We'll use this contract to determine the expected output amount for our trade without actually executing it. The quoteExactInputSingle method is one of four available methods in the quoter. It provides a quote for the output amount for a swap in a single pool, given the input amount you want to swap.
We can utilize the callStatic method offered by ethers to submit a state-changing transaction to an Ethereum node but request the node to simulate the state change locally rather than execute it. The purpose of this method is not meant to be called on-chain.
async function quoteAndLogSwap(quoterContract, fee, signer, amountIn) {
    const quotedAmountOut = await quoterContract.quoteExactInputSingle.staticCall({
        tokenIn: WETH.address,
        tokenOut: USDC.address,
        fee: fee,
        recipient: signer.address,
        deadline: Math.floor(new Date().getTime() / 1000 + 60 * 10),
        amountIn: amountIn,
        sqrtPriceLimitX96: 0,
    });
    console.log(`-------------------------------`)
    console.log(`Token Swap will result in: ${ethers.formatUnits(quotedAmountOut[0].toString(), USDC.decimals)} ${USDC.symbol} for ${ethers.formatEther(amountIn)} ${WETH.symbol}`);
    const amountOut = ethers.formatUnits(quotedAmountOut[0], USDC.decimals)
    return amountOut;
}
Create a Swap Transaction
Now that we have a quote, we can start to create our swap transaction. The prepareSwapParams function is designed to set up the parameters needed for a token swap. The function takes in the pool contract instance, the input and output tokens, a signer, the amount of input tokens (e.g., amountIn), and the minimum amount of output tokens expected (e.g., amountOut).
async function prepareSwapParams(poolContract, signer, amountIn, amountOut) {
    return {
        tokenIn: WETH.address,
        tokenOut: USDC.address,
        fee: await poolContract.fee(),
        recipient: signer.address,
        amountIn: amountIn,
        amountOutMinimum: amountOut,
        sqrtPriceLimitX96: 0,
    };
}

async function executeSwap(swapRouter, params, signer) {
    const transaction = await swapRouter.exactInputSingle.populateTransaction(params);
    const receipt = await signer.sendTransaction(transaction);
    console.log(`-------------------------------`)
    console.log(`Receipt: https://sepolia.etherscan.io/tx/${receipt.hash}`);
    console.log(`-------------------------------`)
}
The executeSwap function populates a transaction with the given parameters using the exactInputSingle method of the swap router. It sends the transaction using the signer, which handles the transaction signing and sending. After the transaction is sent, it logs the receipt URL on Etherscan.
Execute the Swap
To tie in all the functions together, we create a main function that takes in an input amount (in Ether format), for example .001.
It then calls all the steps we covered in sequence:
- Gather Pool Details
- Fetch Quote
- Create Swap Payload
- Send Swap Transaction
async function main(swapAmount) {
    const inputAmount = swapAmount
    const amountIn = ethers.parseUnits(inputAmount.toString(), 18);

    try {
        await approveToken(WETH.address, TOKEN_IN_ABI, amountIn, signer)
        const { poolContract, token0, token1, fee } = await getPoolInfo(factoryContract, WETH, USDC);
        console.log(`-------------------------------`)
        console.log(`Fetching Quote for: ${WETH.symbol} to ${USDC.symbol}`);
        console.log(`-------------------------------`)
        console.log(`Swap Amount: ${ethers.formatEther(amountIn)}`);

        const quotedAmountOut = await quoteAndLogSwap(quoterContract, fee, signer, amountIn);

        const params = await prepareSwapParams(poolContract, signer, amountIn, quotedAmountOut[0].toString());
        const swapRouter = new ethers.Contract(SWAP_ROUTER_CONTRACT_ADDRESS, SWAP_ROUTER_ABI, signer);
        await executeSwap(swapRouter, params, signer);
    } catch (error) {
        console.error("An error occurred:", error.message);
    }
}

main(0.0001) // Change amount as needed
Before running the execute command, ensure your provider details (e.g., RPC_URL) and private key are defined. Next, run the command:
node index.js
You'll see an output like this:
-------------------------------
Sending Approval Transaction...
-------------------------------
Transaction Sent: 0x797429192800abec107ebfec73040bf88fd3c3ddabc2c0a66607393e14315ecd
-------------------------------
Approval Transaction Confirmed! https://sepolia.etherscan.io/txn/0x797429192800abec107ebfec73040bf88fd3c3ddabc2c0a66607393e14315ecd
-------------------------------
Fetching Quote for: WETH to USDC
-------------------------------
Swap Amount: 0.0001
-------------------------------
Token Swap will result in: 0.070107 USDC for 0.0001 WETH
-------------------------------
Receipt: https://sepolia.etherscan.io/tx/0xa508a0956e18ad23688be2b746c2a74bad4b04aad963c052ddcdc1202b3d9e8d
-------------------------------
Verify the swap by checking the block explorer.
There you have it; you now know how to execute a single swap on Uniswap V3 using the exactInputSingle function.
Additional Ideas & Resources
- Integrate this script to filter for incoming V3 swaps, then conduct a swap based on some criteria (i.e., find arbitrage or follow buy/sells). Check out this guide to learn more.
- Course: Build Your Own DEX
- How to Swap Tokens on Uniswap V2
- Uniswap V3 Whitepaper
Final Thoughts
Subscribe to our newsletter for more articles and guides on Ethereum. Feel free to reach out to us via Twitter if you have any feedback. You can always chat with us on our Discord community server, featuring some of the coolest developers you'll ever meet :)
We ❤️ Feedback!
Let us know if you have any feedback or requests for new topics. We'd love to hear from you.