
11 min read
This guide is based on the code in our Quicknode Guide Examples Github repository: EVM Token Factory.
Overview
Tokenization in web3 is growing, and we are seeing more enterprises and retail users want to create their own digital assets. Whether it be a stablecoin, a governance (DAO) token, or a memecoin, they all commonly use the ERC-20 standard.
In this guide, we will show you how to create your Token Factory dApp and allow users to create and customize their ERC-20 token in a few clicks. We'll use OpenZeppelin for the smart contracts, Foundry for our smart contract development kit, React, Next.js, and WalletConnect to build the frontend interface.
Let's get started!
What You Will Do
- Learn about the Factory Pattern design
- Recap the OpenZeppelin ERC-20 token being implemented
- Compile and deploy the ERC-20 token and Factory smart contracts
- Create a user interface for users to connect their wallets and create their own ERC-20 token
What You Will Need
- Basic understanding of Ethereum and smart contracts
- A Quicknode account
- Node.js installed
- Foundry installed
- A WalletConnect project ID
| Dependency | Version |
|---|---|
| node | 18.13.0 |
Factory Pattern Design
The Factory design pattern allows you to create new smart contracts programmatically from within another contract. This pattern is useful in cases where multiple instances of a contract need to be deployed by users or other contracts without the user having to deploy each contract manually.
This Factory pattern can be used for different use cases, such as token and smart contract account generation. In this guide, we'll demonstrate the use of the Factory pattern with ERC-20 tokens.
The Factory pattern used for this dApp will be designed as follows:
- User calls
createTokenon the Factory smart contract and includes the valid input parameters (i.e., token name, symbol, and supply) - Factory contract creates an ERC-20 token based on the token spec imported (e.g., ERC20.sol) in the contract
Now that we understand the Factory pattern and how it will be used in our context, let's discuss the ERC-20 token implementation we'll use when a user wants to create a token.
ERC-20 Token Implementation
The ERC-20 token being implemented in this EVM Token Factory dApp utilizes the OpenZeppelin library, which can be found here. If you would like to learn more about ERC-20 tokens and their specification, check out this guide: How to Create and Deploy an ERC20 Token
Project Prerequisite: Create an Ethereum Node Endpoint
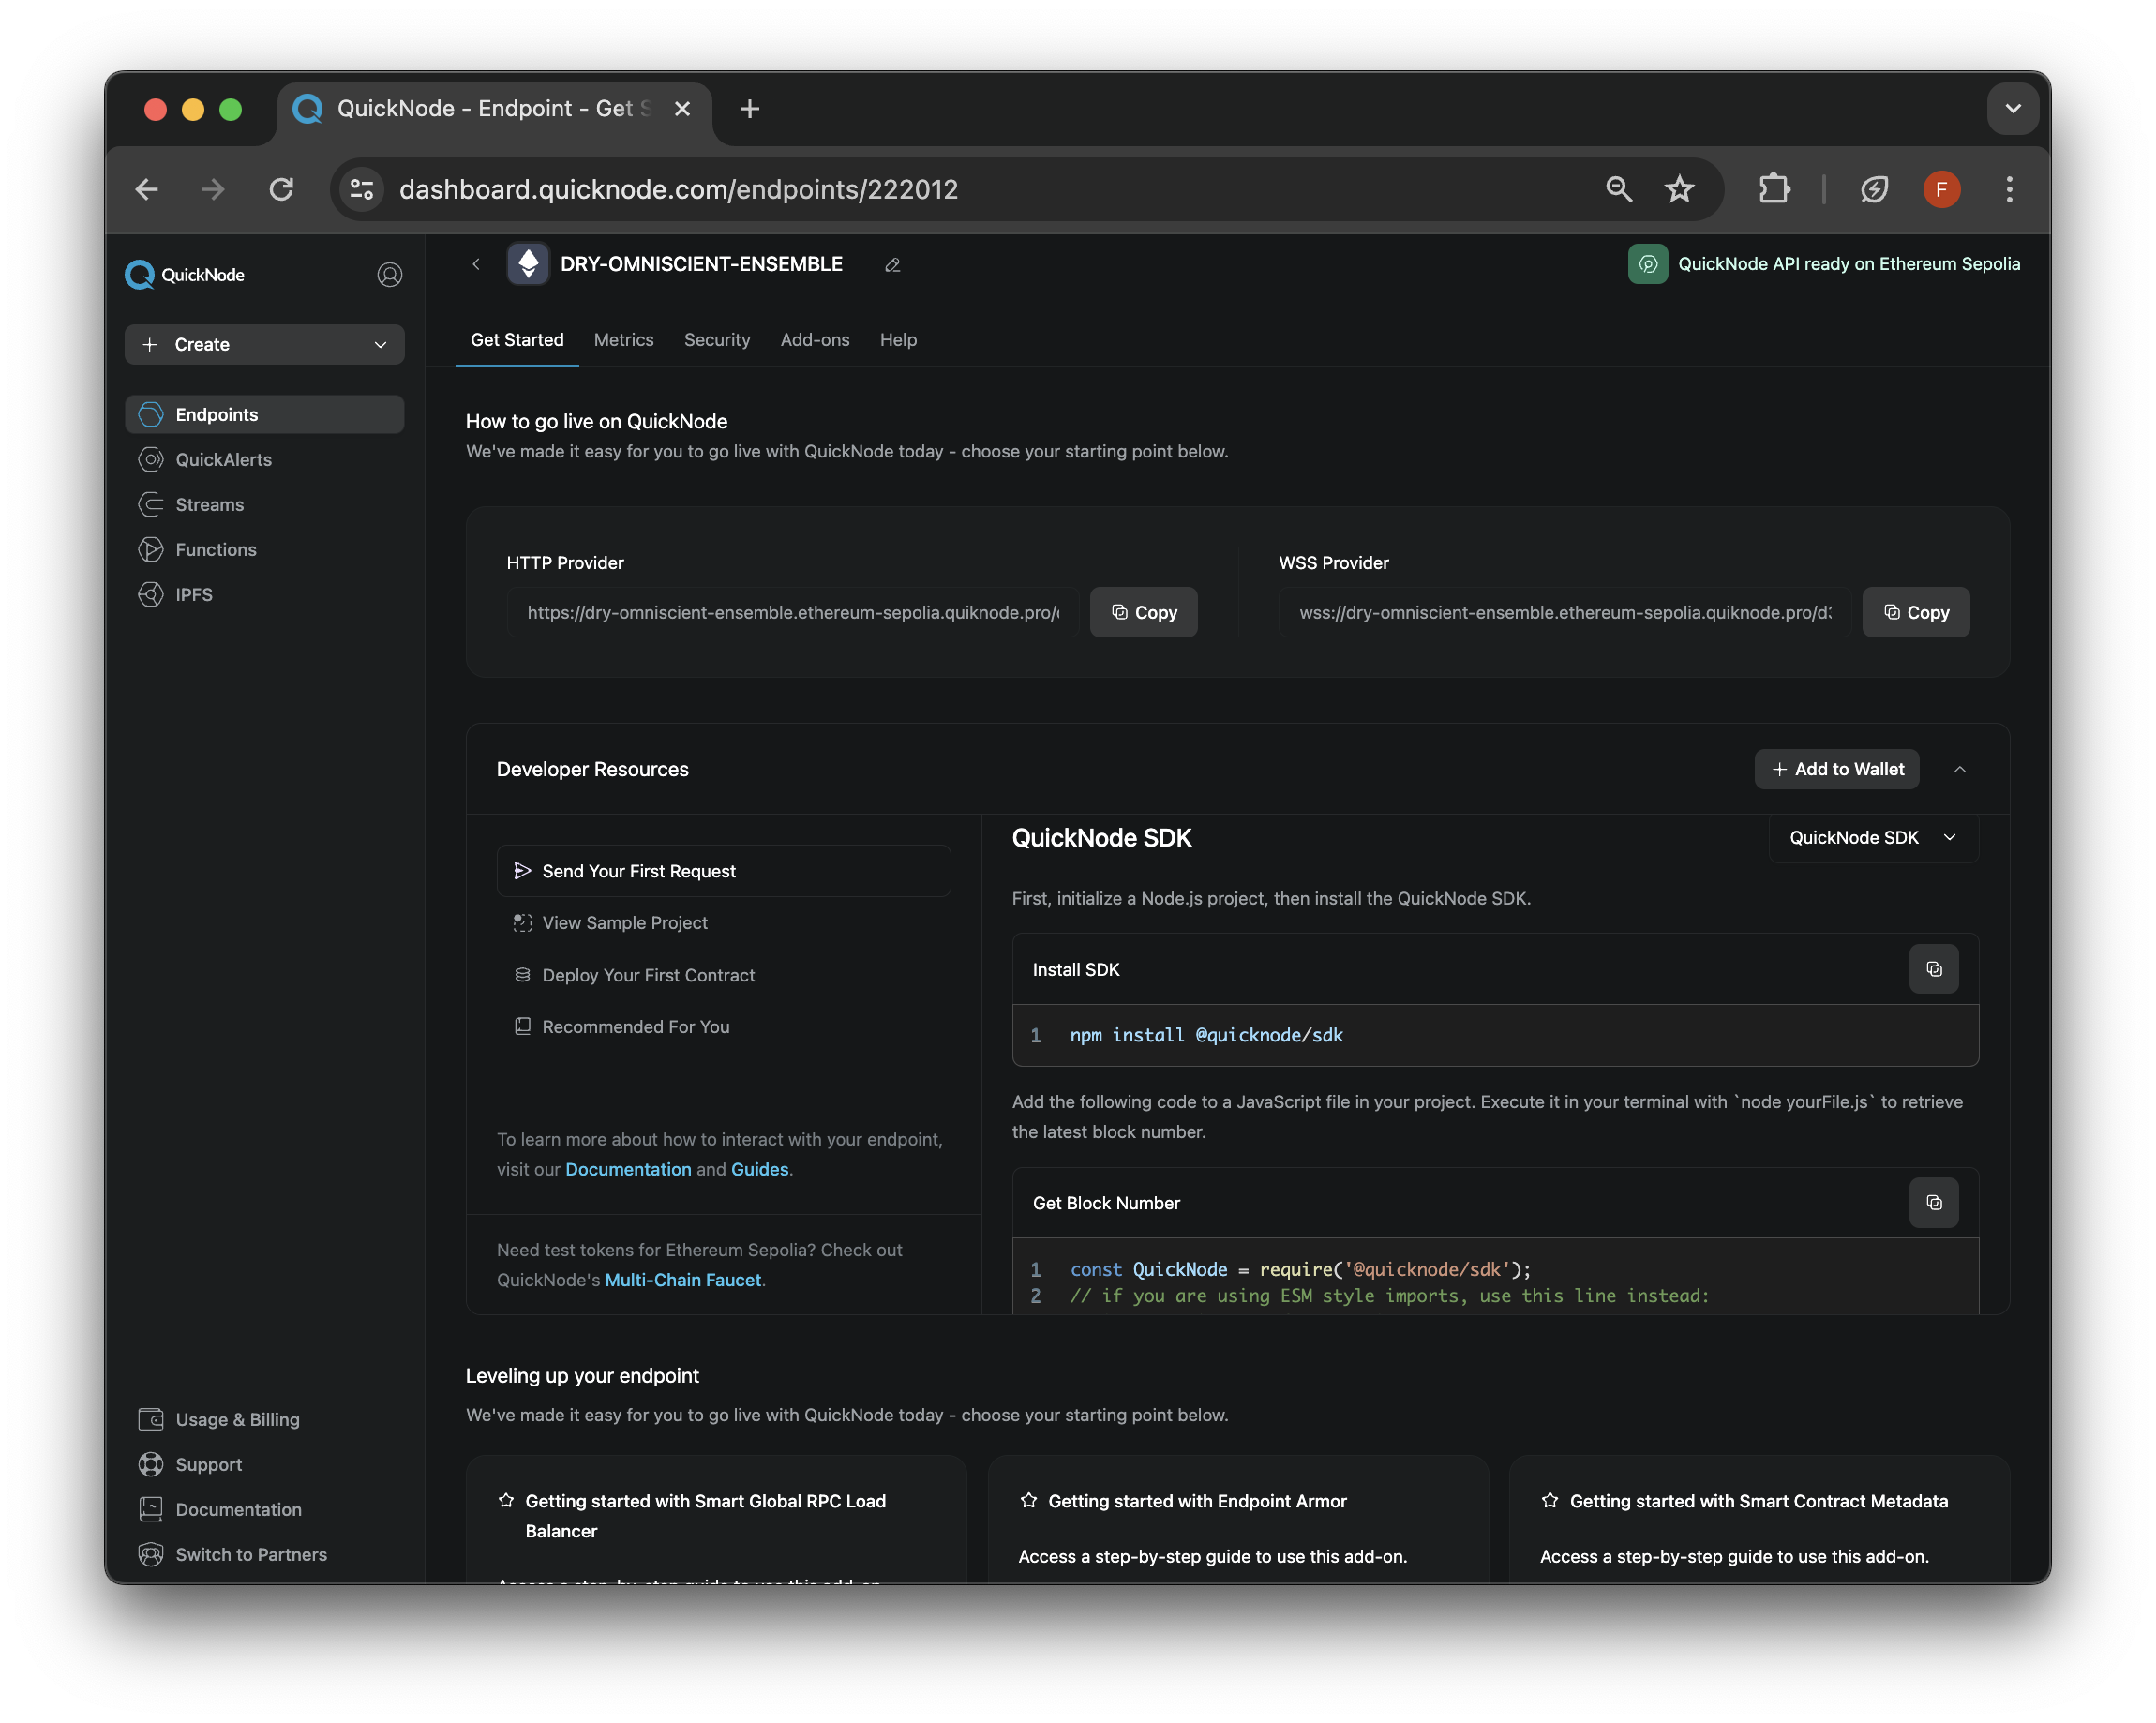
To communicate with the Ethereum blockchain, you need access to a node. While we could run our own node, here at Quicknode, we make it quick and easy to fire up blockchain nodes. You can register for an account here. Once you boot up a node, retrieve the HTTP URL. It should look like this:
Project Prerequisite: Retrieve ETH from Quicknode Multi-Chain Faucet
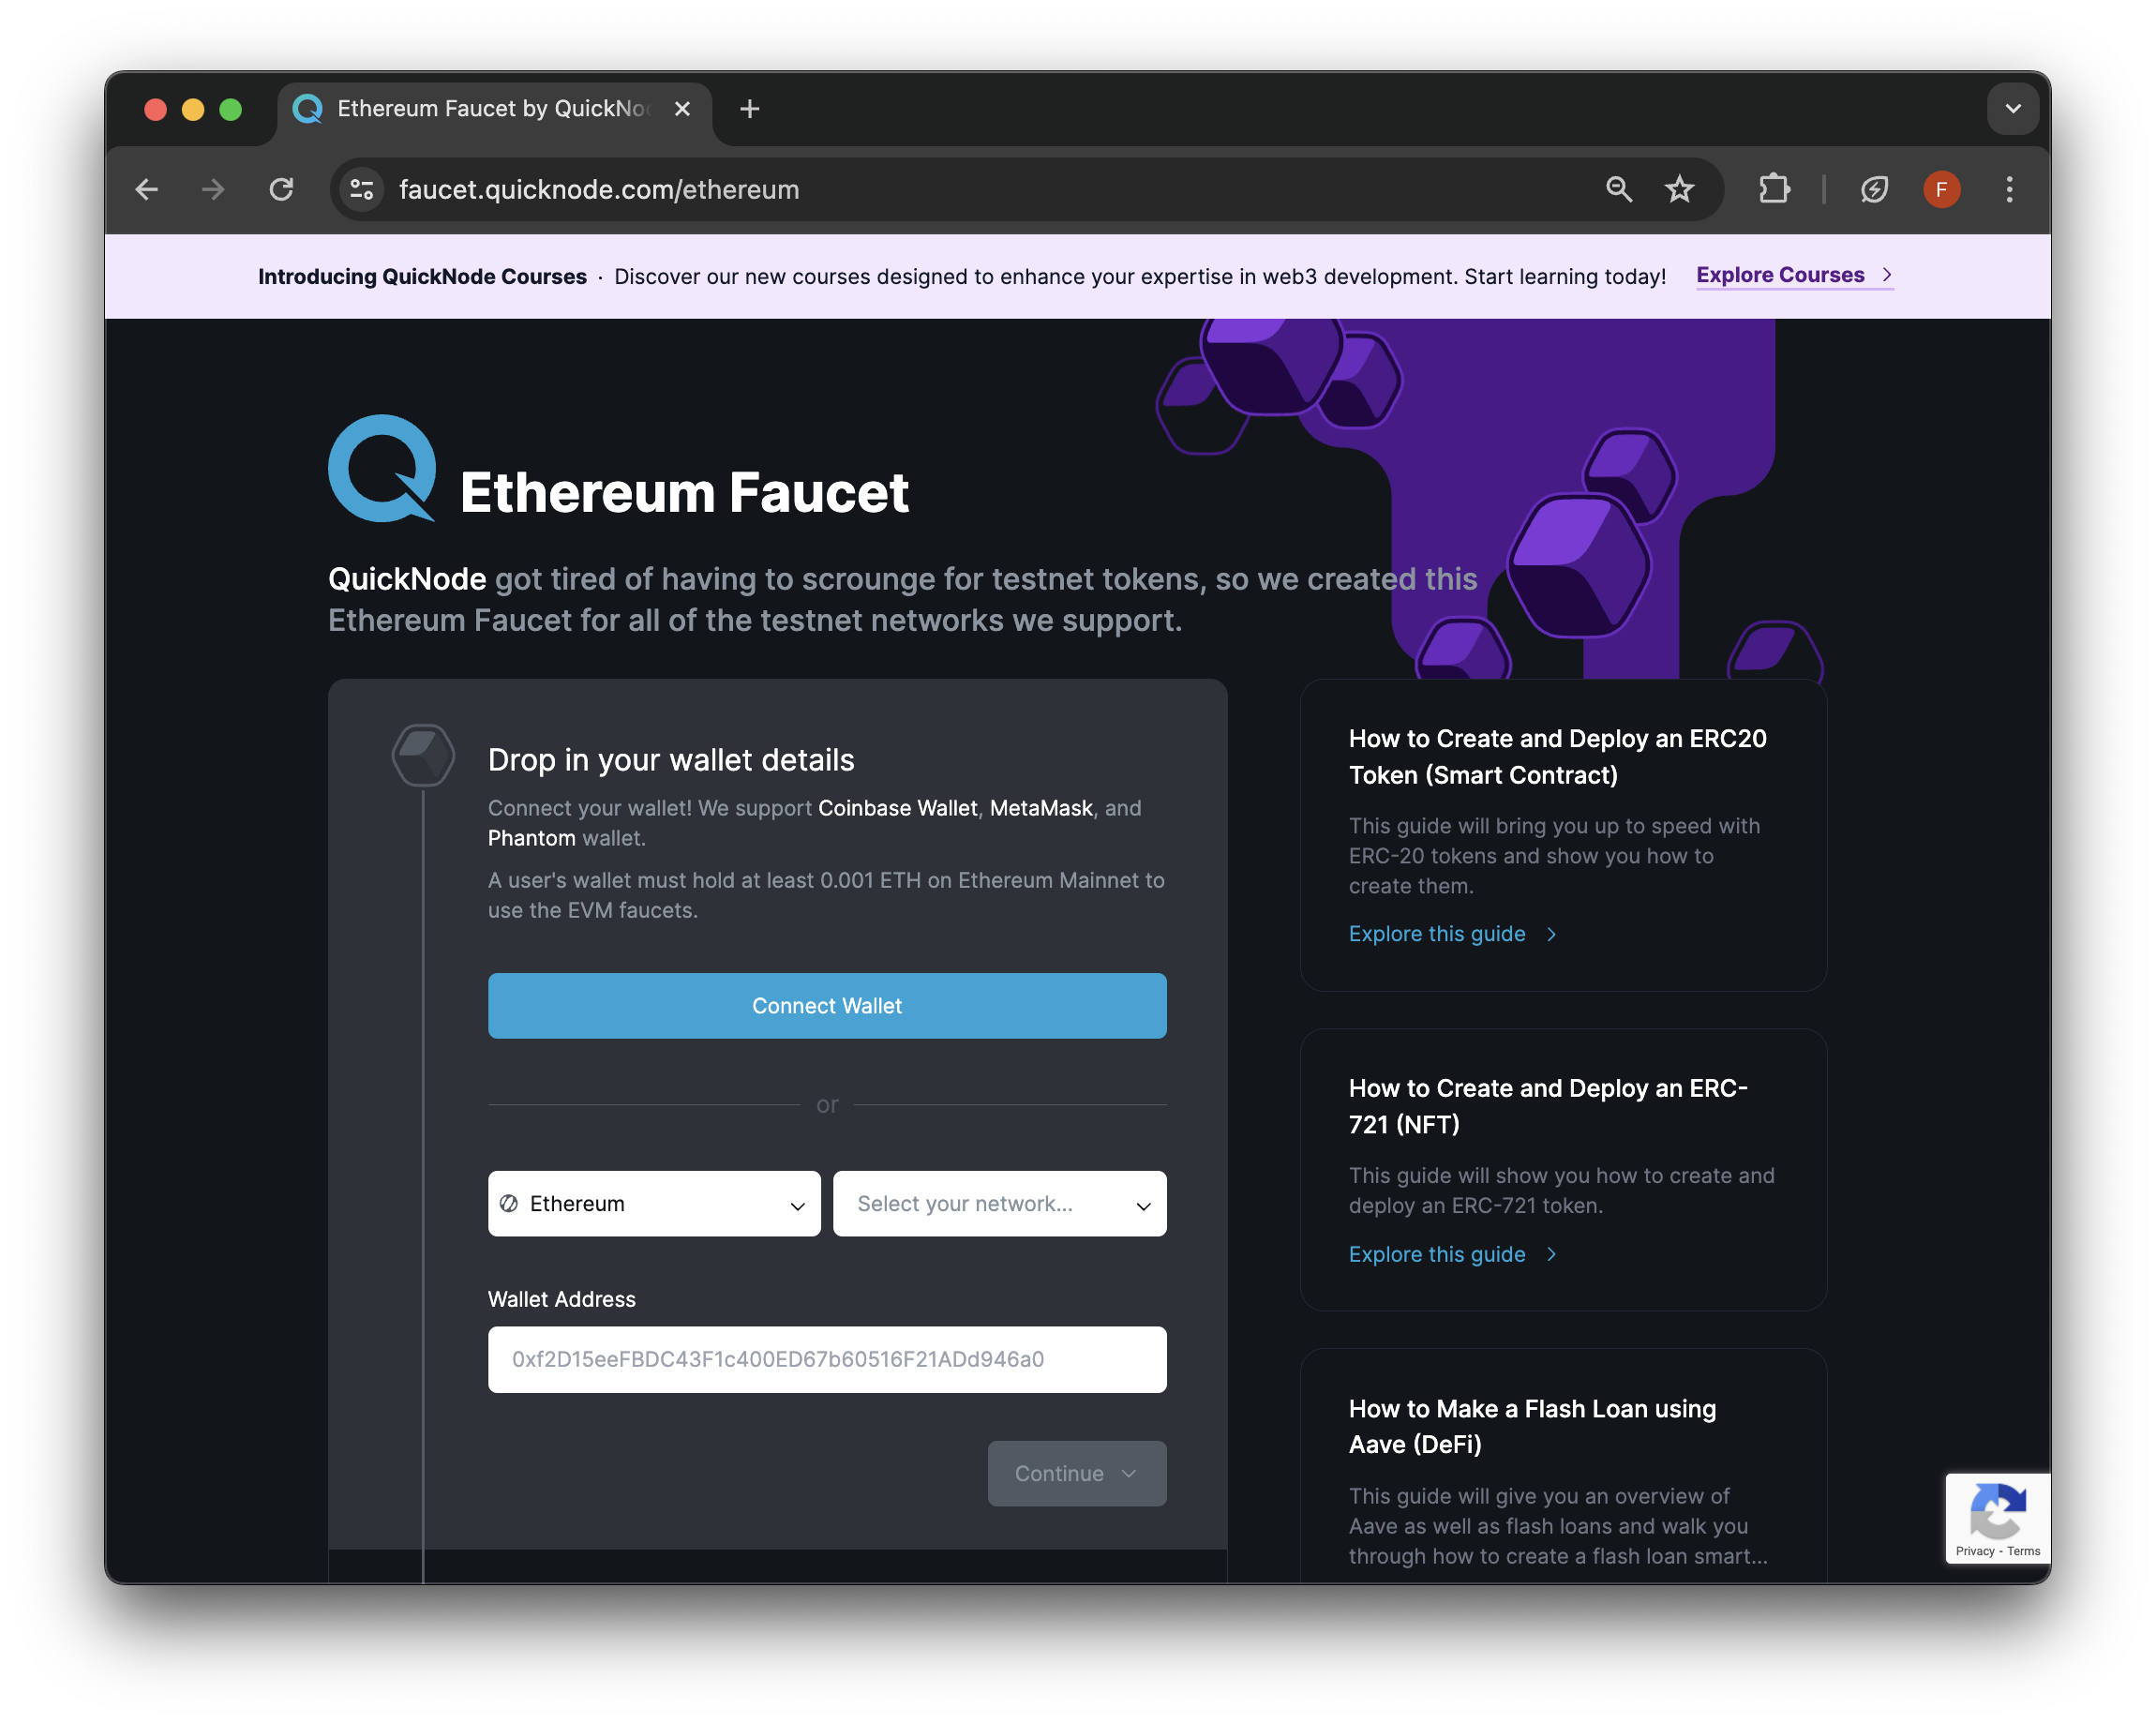
In order to deploy the smart contracts needed for this dApp, you'll need Sepolia testnet ETH to pay the gas fees. The Multi-Chain Quicknode Faucet makes it easy to obtain test ETH!
Navigate to the Multi-Chain Quicknode Faucet and connect your wallet (e.g., MetaMask, Coinbase Wallet) or paste in your wallet address to retrieve test ETH. Note that there is a mainnet balance requirement of 0.001 ETH on Ethereum Mainnet to use the EVM faucets. You can also tweet or login with your Quicknode account to get a bonus!
Project Set Up
With our node endpoint created and wallet funded, let's move on to the technical coding section of this guide.
First, we'll need to clone the Github repository and navigate to the correct directory:
git clone git@github.com:quiknode-labs/qn-guide-examples.git
cd qn-guide-examples/sample-dapps/evm-token-factory
Next, let's configure the RPC URL and private key we'll be using for smart contracts deployment. One method is to include these details in an .env file; however, if you plan to open source this code, we recommend keeping it out and just including it in the command-line instructions. Let's create environment variables to include our RPC endpoint and private key:
export RPC_URL=<Your RPC endpoint>
export PRIVATE_KEY=<Your wallets private key>
Finally, let's install smart contract dependencies. Within the evm-token-factory/contracts folder, run the commands below to install two libraries, forge-std for a collection of helpful contracts and libraries and OpenZeppelin/openzeppelin-contracts for the ERC-20 implementation we'll use.
forge install foundry-rs/forge-std --no-commit
forge install OpenZeppelin/openzeppelin-contracts --no-commit
With the project directory set up and dependencies installed, let's move on to creating the smart contracts.
Smart Contract Development
Next, let's move on to the smart contract development. Since the smart contracts have not yet been deployed, you won't be able to create any ERC-20 tokens, but that is our next step.
Navigate into the evm-token-factory/contracts directory and let's recap the structure:
├── lib // Dependencies
├── remappings.txt // Inferred library mappings
├── script // Scripts that call/interact with contracts
│   ├── Counter.s.sol
│   └── CreateToken.s.sol
├── src // Source folder for smart contracts
│   ├── Counter.sol
│   ├── Factory.sol
│   └── Token.sol
└── test // Testing
│     ├── Counter.t.sol
│     ├── Factory.t.sol
│     └── Token.t.sol
├── foundry.toml // Forge configuration file
Note that upon compiling and deploying the smart contracts, new folders such as build and cache will be created. Now that we're familiar with the folder structure, let's move on to contract development.
Create the ERC-20 Token Contract
Navigate to the src/Token.sol file, and you'll see the ERC-20 token logic. This smart contract utilizes libraries from OpenZeppelin.
// SPDX-License-Identifier: MIT
pragma solidity ^0.8.19;

import "openzeppelin-contracts/contracts/token/ERC20/ERC20.sol";
import "openzeppelin-contracts/contracts/access/Ownable.sol";

contract Token is ERC20, Ownable {
    constructor(address initialOwner, uint256 initialSupply, string memory name, string memory symbol)
        ERC20(name, symbol)
        Ownable(initialOwner)
 {
        _transferOwnership(initialOwner);
        _mint(initialOwner, initialSupply * 10 ** 18);

 }
}
The contract additionally implements access control with the Ownable library from OpenZeppelin. This effectively allows an "owner" (in most cases the deployer), to manage admin tasks.
Next, let's cover the Factory contract.
Creating the Factory Contract
Navigate to the src/Factory.sol file, and you'll see the Factory contract logic.
// SPDX-License-Identifier: MIT
pragma solidity ^0.8.20;

import "./Token.sol";

contract TokenFactory {
    event TokenCreated(address indexed tokenAddress, address indexed owner, uint256 initialSupply);

    function createToken(address initialOwner, uint256 initialSupply, string memory name, string memory symbol) public returns (address) {

        Token newToken = new Token(initialOwner, initialSupply, name, symbol);
        emit TokenCreated(address(newToken), initialOwner, initialSupply);
        return address(newToken);

 }
}
The Factory contract (i.e., TokenFactory) above does not contain a constructor, and only includes 1 custom function createToken which takes in a initialOwner, initialSupply, name and symbol for the ERC-20 token being created. It also emits a TokenCreated event to log the address of each new token along with its initial owner and supply.
The next step once the smart contracts are built is to test them. Let's continue on.
Testing
To ensure smart contracts work as intended, let's create test cases. Foundry makes it easy to do this with the forge test command.
Let's navigate to the test/Token.t.sol file and view the test code:
// SPDX-License-Identifier: MIT
pragma solidity ^0.8.19;

import "forge-std/Test.sol";
import "../src/Token.sol";

contract TokenTest is Test {
    Token token;
    address initialOwner;
    uint initialSupply = 1000;
    string name = "TestToken";
    string symbol = "TT";

    function setUp() public {
        initialOwner = address(this);
        token = new Token(initialOwner, initialSupply, name, symbol);
 }

    function testInitialOwner() public view {
        assertEq(token.owner(), initialOwner);
 }

    function testInitialSupply() public view {
        uint expectedSupply = initialSupply * 10 ** token.decimals();
        assertEq(token.totalSupply(), expectedSupply);
        assertEq(token.balanceOf(initialOwner), expectedSupply);
 }

    function testNameAndSymbol() public view {
        assertEq(token.name(), name);
        assertEq(token.symbol(), symbol);
 }
}
Next, navigate to the test/Factory.t.sol file and view the test code:
// SPDX-License-Identifier: MIT
pragma solidity ^0.8.20;

import "forge-std/Test.sol";
import "../src/Factory.sol";
import "../src/Token.sol";

contract TokenFactoryTest is Test {
    TokenFactory factory;
    address initialOwner;
    uint256 initialSupply = 1000;
    string name = "MyToken";
    string symbol = "MTK";

    event TokenCreated(address indexed tokenAddress, address indexed owner, uint256 initialSupply);

    function setUp() public {
        factory = new TokenFactory();
        initialOwner = address(this);
 }

    function testCreateToken() public {
        vm.expectEmit(false, false, false, false);
        emit TokenCreated(address(0), initialOwner, initialSupply);

        address tokenAddr = factory.createToken(initialOwner, initialSupply, name, symbol);
        assertTrue(tokenAddr != address(0), "Token creation failed");

        Token token = Token(tokenAddr);
        assertEq(token.owner(), initialOwner, "Owner is not set correctly");
        assertEq(token.totalSupply(), initialSupply * 10 ** 18, "Initial supply is incorrect");
        assertEq(token.name(), name, "Token name is incorrect");
        assertEq(token.symbol(), symbol, "Token symbol is incorrect");
 }
}
To execute these tests, run the command below:
forge test
You'll see an output such as:
Compiler run successful!

Ran 3 tests for test/Token.t.sol:TokenTest
[PASS] testInitialOwner() (gas: 12698)
[PASS] testInitialSupply() (gas: 19499)
[PASS] testNameAndSymbol() (gas: 23001)
Suite result: ok. 3 passed; 0 failed; 0 skipped; finished in 1.44ms (207.54µs CPU time)

Ran 1 test for test/Factory.t.sol:TokenFactoryTest
[PASS] testCreateToken() (gas: 611315)
Suite result: ok. 1 passed; 0 failed; 0 skipped; finished in 1.91ms (738.63µs CPU time)

Ran 2 tests for test/Counter.t.sol:CounterTest
[PASS] testFuzz_SetNumber(uint256) (runs: 256, μ: 30765, ~: 31310)
[PASS] test_Increment() (gas: 31325)
Suite result: ok. 2 passed; 0 failed; 0 skipped; finished in 10.85ms (9.42ms CPU time)

Ran 3 test suites in 502.03ms (14.20ms CPU time): 6 tests passed, 0 failed, 0 skipped (6 total tests)
With our tests working as expected, let's move on to contract deployment.
Deployment
With our smart contracts created, compiled, and tested, let's deploy them to a testnet like Sepolia. We'll be using the environment variables we set up during the Project setup, so ensure those are set up.
Then, to deploy the Factory contract, run the forge create command below in the evm-token-factory/contracts directory:
forge create --rpc-url=$RPC_URL --private-key=$PRIVATE_KEY src/Factory.sol:TokenFactory
You should see an output like this:
[⠊] Compiling...
No files changed, compilation skipped
Deployer: 0xb84c1F9663b59723f3E24FD79242206a97640069
Deployed to: 0xfD5061780F6393e6677C15C6f6a27E843A360Bf7
Transaction hash: 0x46e171d9a1b985e1b0f566695277f517956b62835f41071684d5fcdfc06d0090
You can confirm the contract was deployed by viewing it on a block explorer like Etherscan.
Automated Token Deployment
Although we will show you later how to build a frontend interface for the Token Factory dApp, let's create a Foundry script to test our smart contracts now that they're deployed on the Sepolia testnet.
Navigate to the script/CreateToken.s.sol file, and you'll see the following script code:
// SPDX-License-Identifier: MIT
pragma solidity ^0.8.20;

import "forge-std/Script.sol";
import "../src/Factory.sol";

contract CreateToken is Script {
    function run() public {
        vm.startBroadcast();

        address initialOwner = msg.sender;
        uint256 initialSupply = 1000;
        string memory name = "MyToken";
        string memory symbol = "MTK";

        TokenFactory factory = new TokenFactory();

        address tokenAddress = factory.createToken(initialOwner, initialSupply, name, symbol);
        console.log("Token created at address:", tokenAddress);

        vm.stopBroadcast();
 }
}
The script above creates an instance of the already deployed TokenFactory contract and calls the createToken function and passes in function arguments (e.g., initialOwner, initialSupply, name, symbol). Additionally, the vm.startBroadcast and vm.stopBroadcast functions from Foundry are used to broadcast the contract call we're performing.
To execute the script, run the following code:
forge script script/CreateToken.s.sol --rpc-url=$RPC_URL --private-key=$PRIVATE_KEY --broadcast
You'll see an output like the one below:
[⠒] Compiling...
No files changed, compilation skipped
Script ran successfully.

== Logs ==
 Token created at address: 0x73fB510d5aF9CA850b18E2bfAB455c5DC4D3053A

## Setting up 1 EVM.
==========================
Chain 11155111
Estimated gas price: 47.739060376 gwei
Estimated total gas used for script: 2110503
Estimated amount required: 0.100753430140729128 ETH
==========================
##
Sending transactions [0 - 1].
⠉ [00:00:00] [######################################################################################################################################] 2/2 txes (0.0s)##
Waiting for receipts.
⠙ [00:00:07] [##################################################################################################################################] 2/2 receipts (0.0s)
##### sepolia
✅  [Success]Hash: 0xfd9c8d6e27e0b86fbc214b72ad67290869e177c23fee66ff2c2e6be4b94e03d1
Contract Address: 0x964fC448374f6F4614A9d9a0fC2A34288916f8AE
Block: 6041473
Paid: 0.024943164730376728 ETH (983708 gas * 25.356269066 gwei)

##### sepolia
✅  [Success]Hash: 0x7be1de4915a5320d5cd3c7db705618244ded400ab02ee9dbfe6f32674eb57c05
Block: 6041473
Paid: 0.015280220220821986 ETH (602621 gas * 25.356269066 gwei)
==========================

ONCHAIN EXECUTION COMPLETE & SUCCESSFUL.
Total Paid: 0.040223384951198714 ETH (1586329 gas * avg 25.356269066 gwei)
With all the contracts created, let's configure the frontend next.
Building the dApp
The next and final step is to build the frontend interface. To create this frontend, we'll be using React, Next.js, and the Web3Modal/Ethers SDK from WalletConnect.
Since all the code is already in the directory, let's configure the environment variables, chains being used, and contract addresses.
- Navigate back to the top level directory:
evm-token-factory/ - Rename
.env.exampleto.env.localand update it with RPC URLs for each blockchain. If you only plan to use Sepolia, only keep theNEXT_PUBLIC_SEPOLIA_RPC_URLvariable and delete the others. Also, include your WalletConnect project ID in theNEXT_PUBLIC_PROJECT_IDvariable (you could leave this blank, but some features will not be supported). - Update the
factoryAddressvalue inevm-token-factory/app/utils/ethereum.tswith your deployed factory contract address. This is the address you received in the output during the Deployment section. - Remove the unused chains (e.g., mainnet) from the
src/context/web3modal.tsxfile.
First, let's install the frontend dependencies:
npm install
Next, run the app:
npm run dev
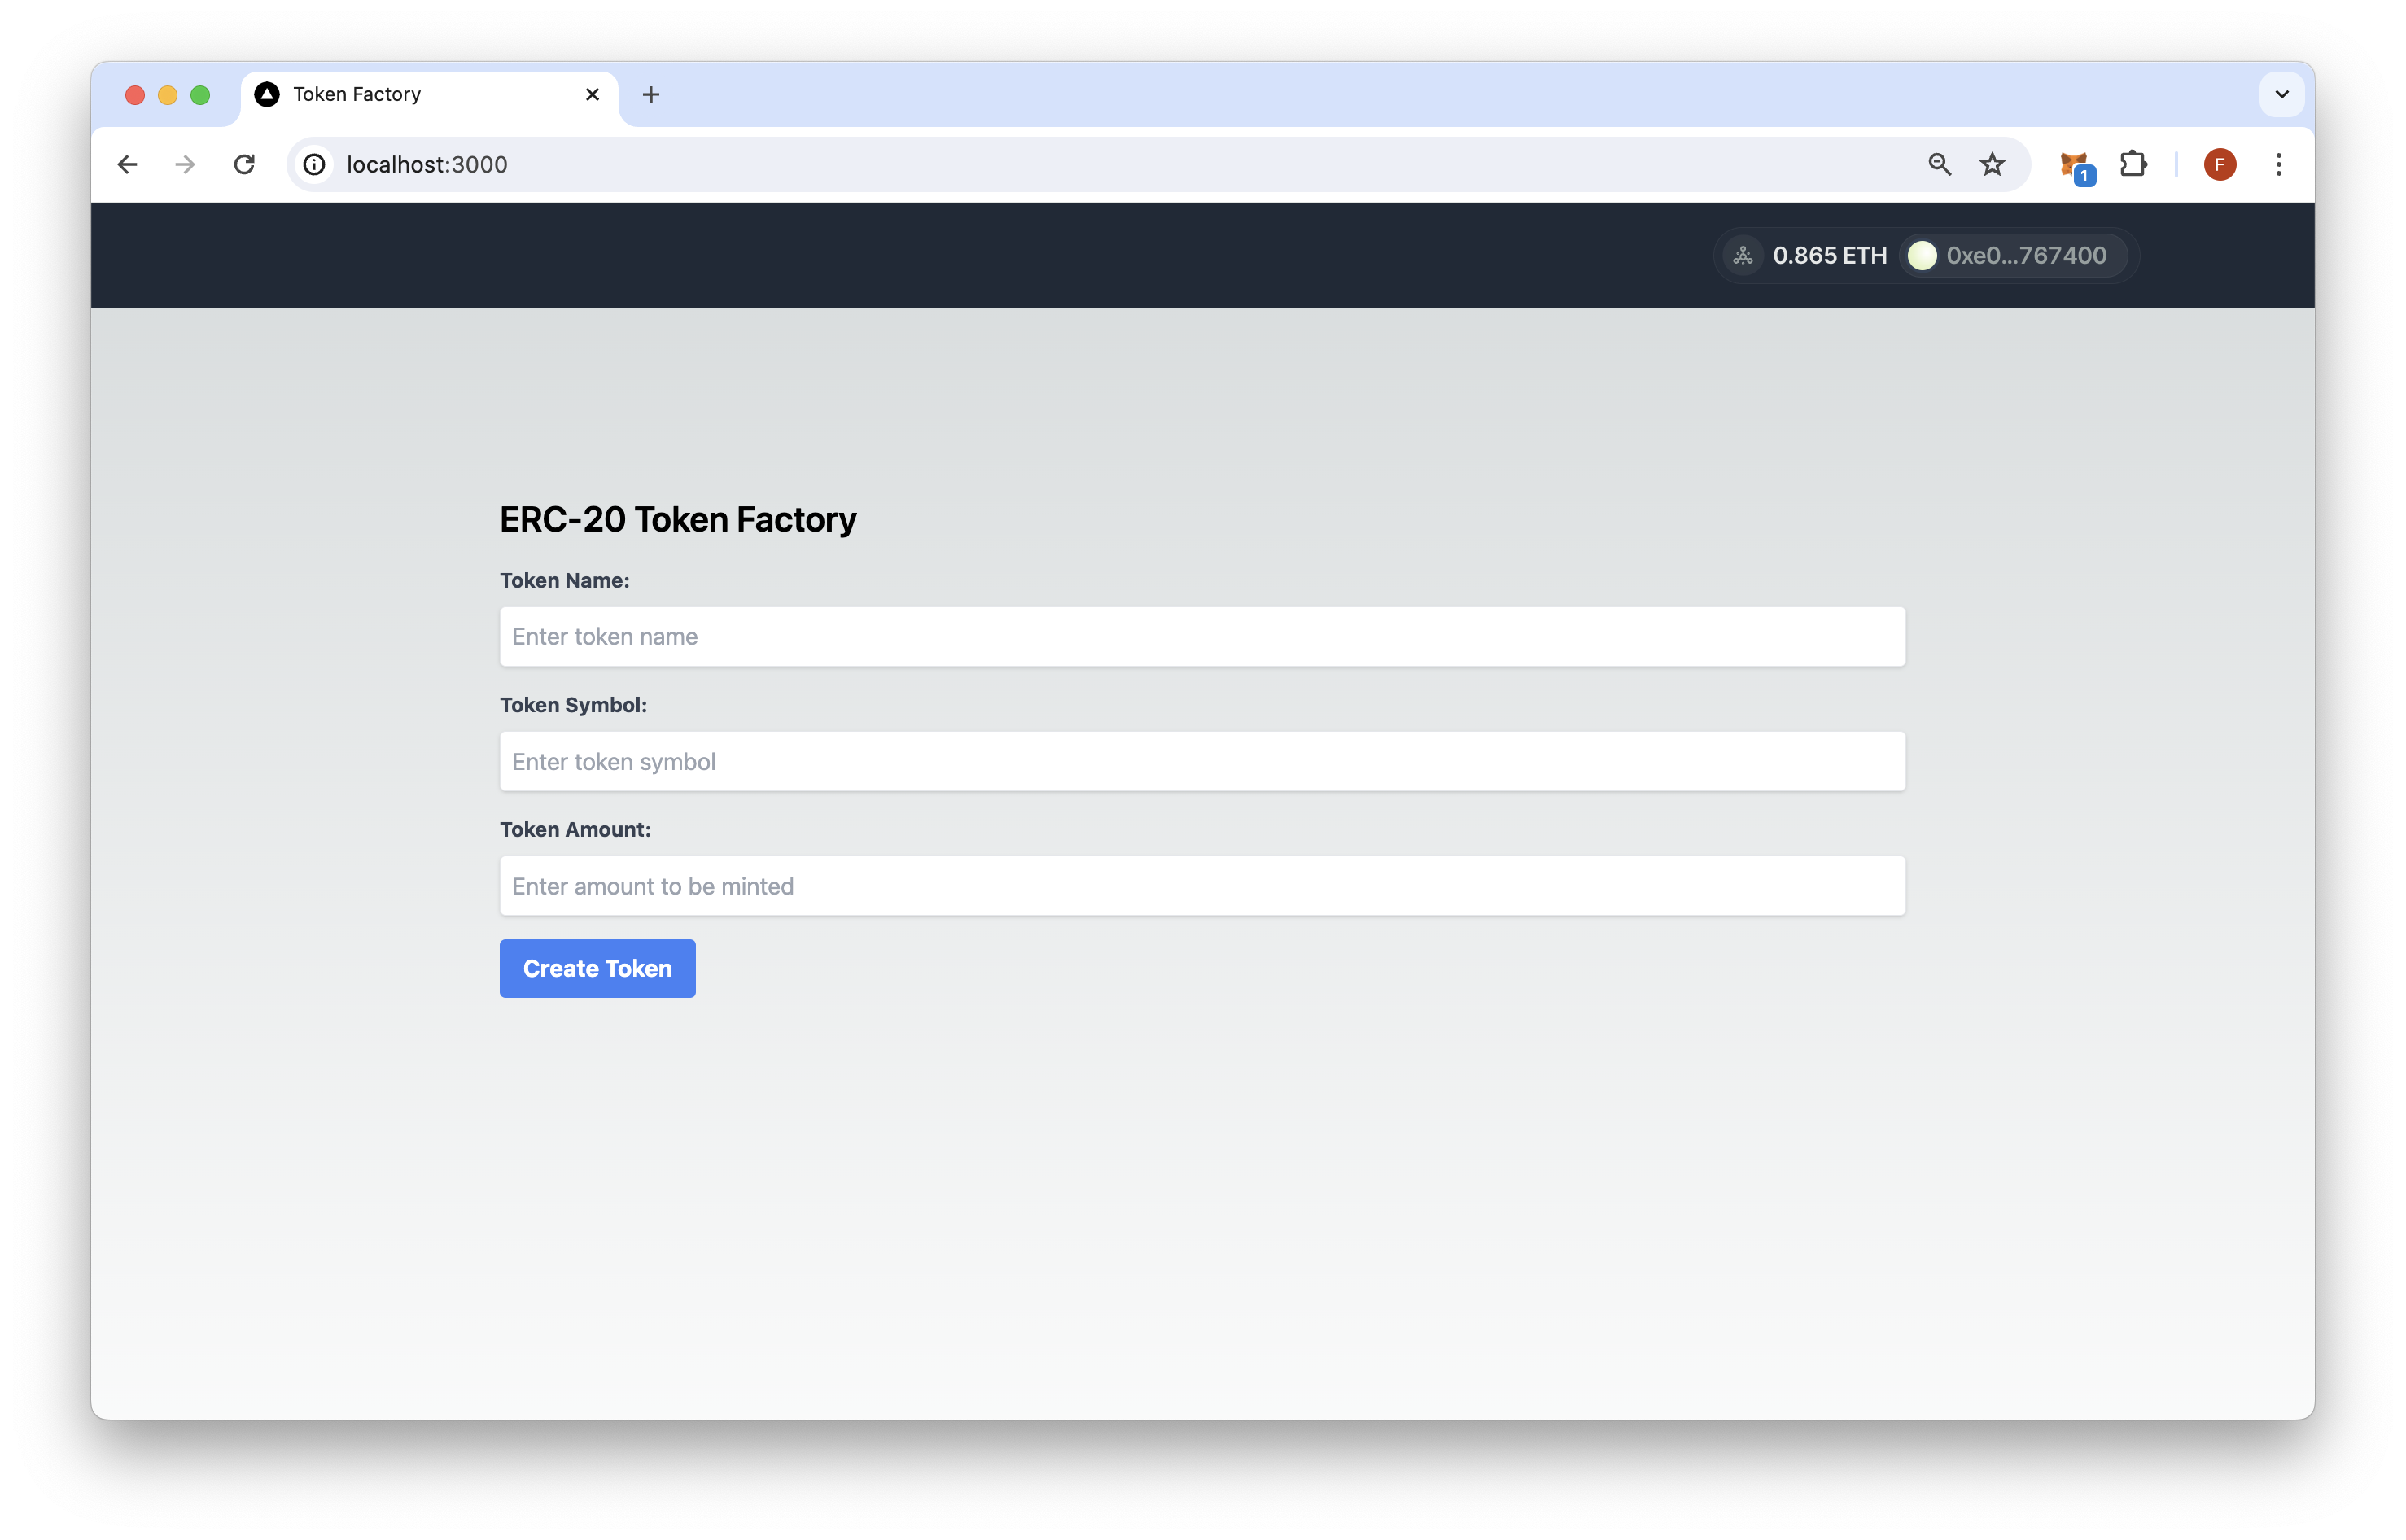
You can connect your wallet, then input the token details, click "Create Token", sign the transaction, and wait for it to be mined.
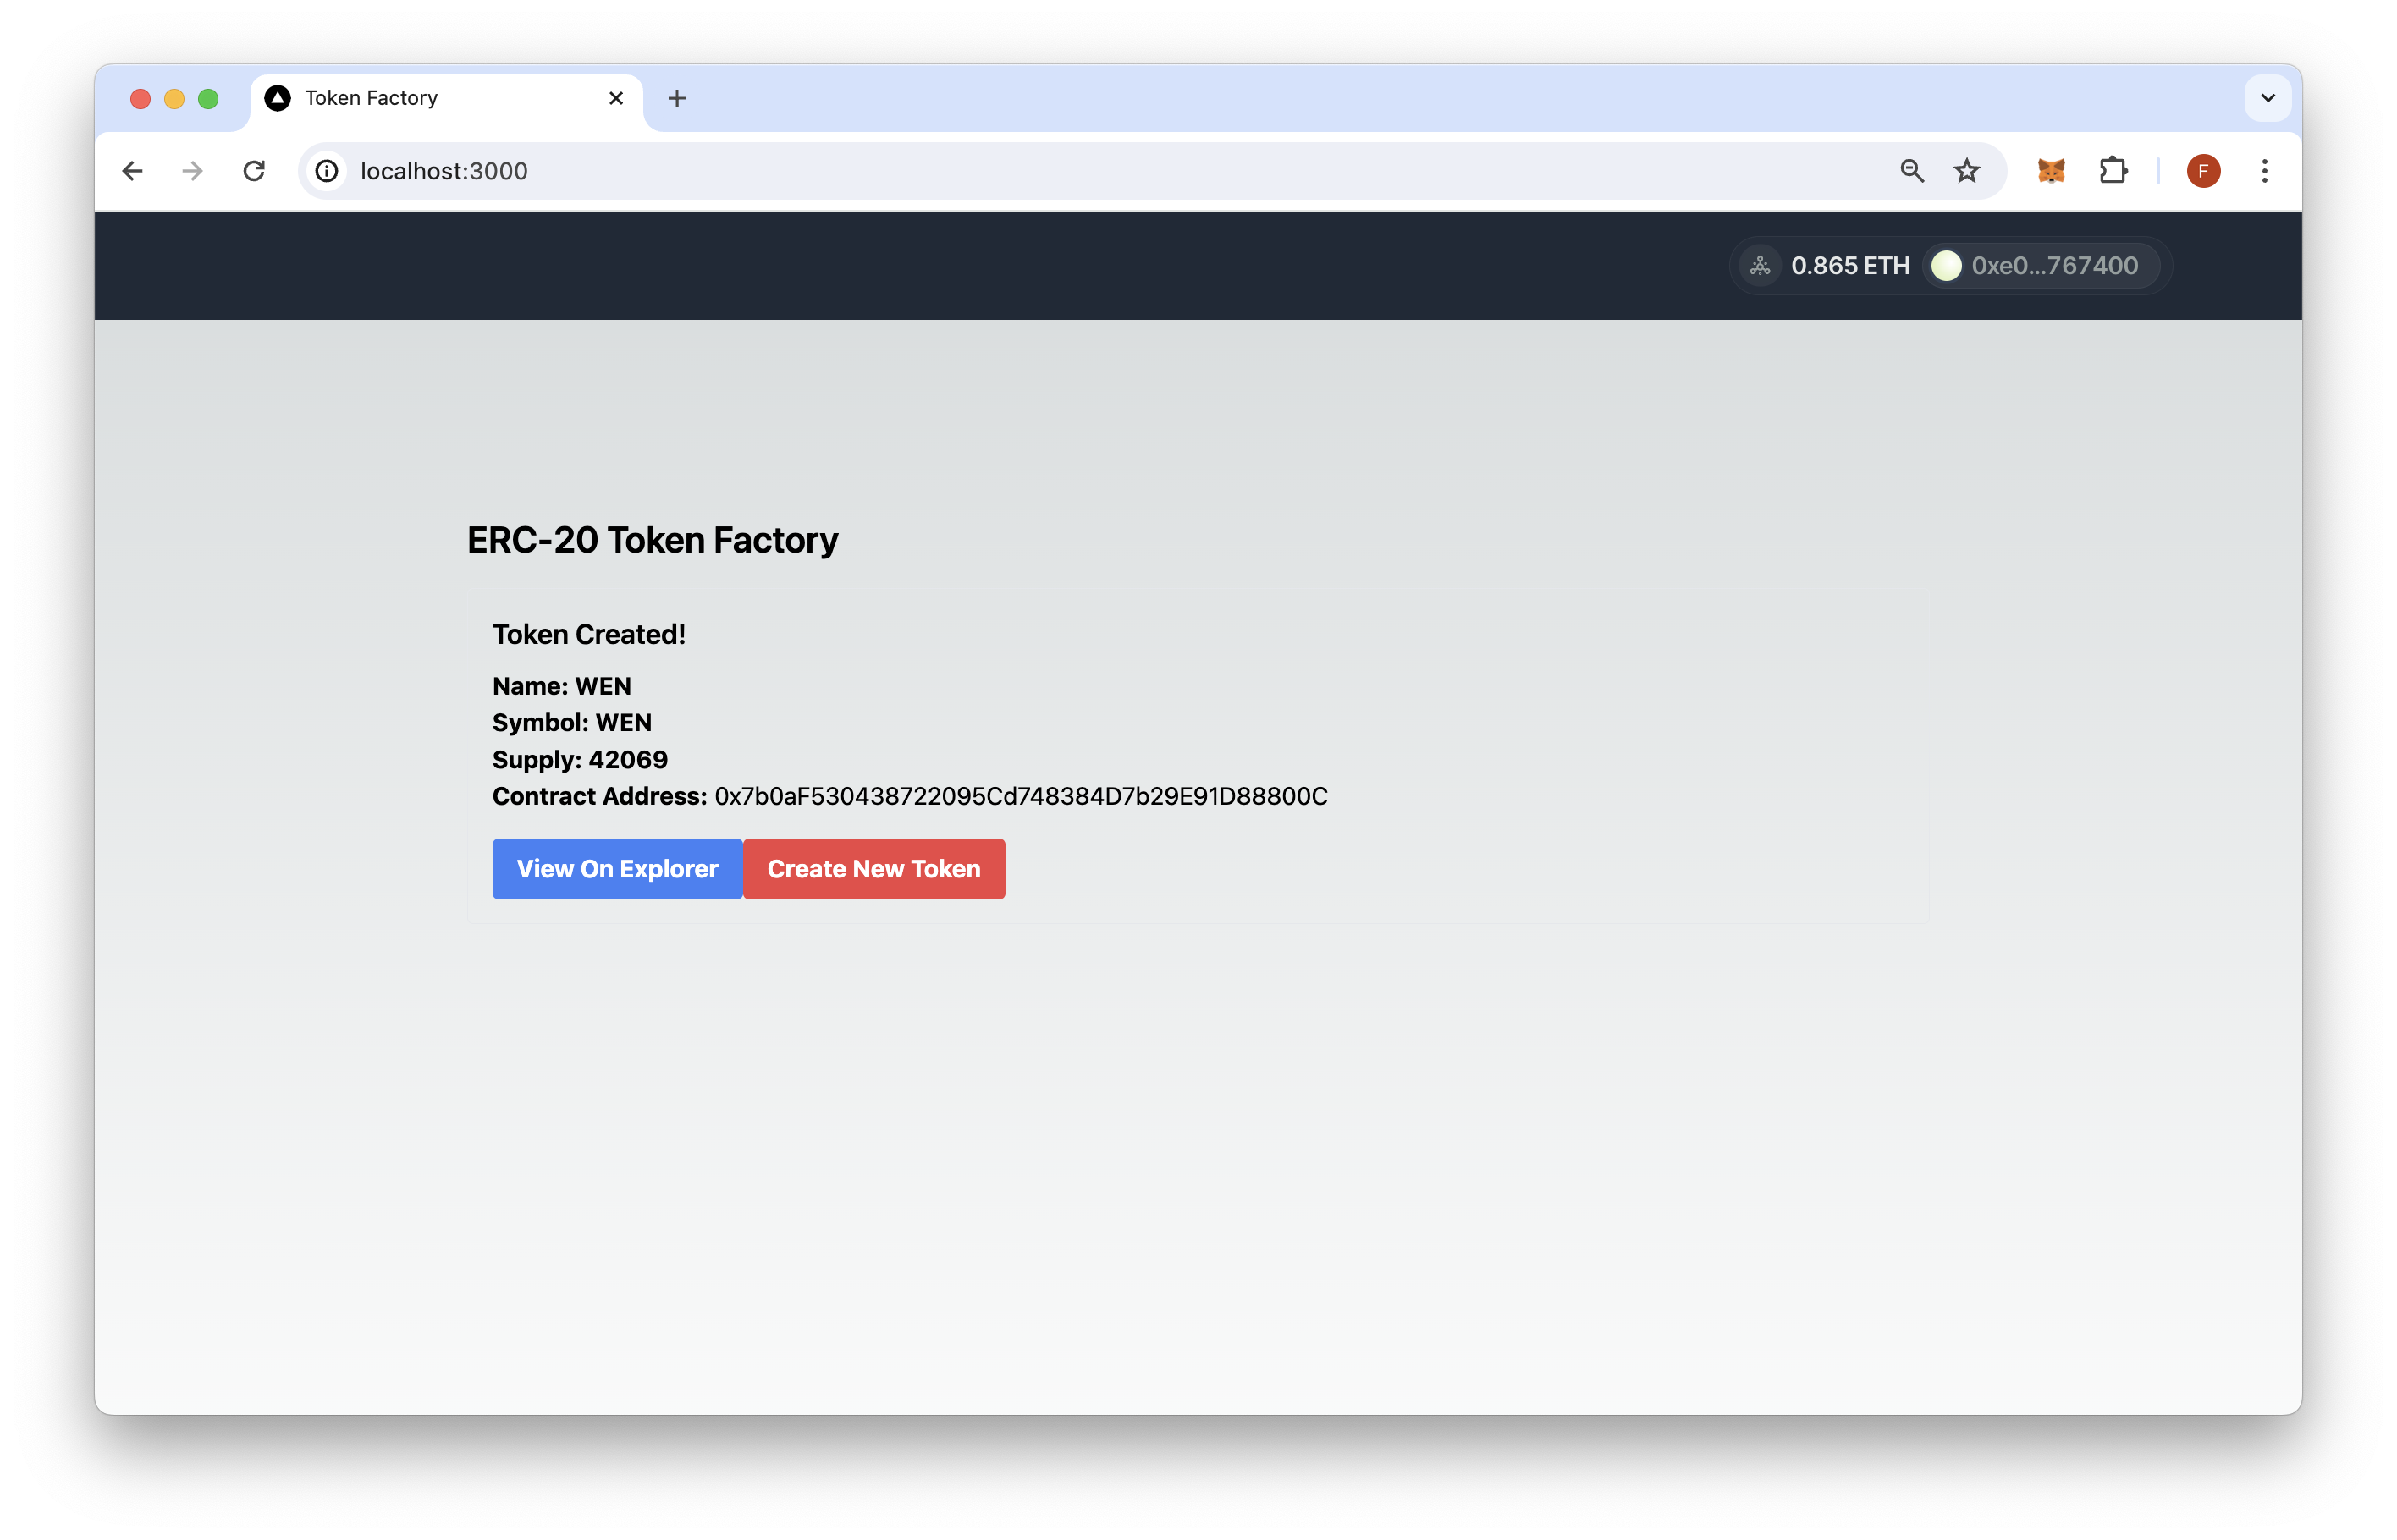
There you have it! You just created your own EVM-compatible Factory Token generator! For more information, please reference the README.md.
Final Thoughts
Subscribe to our newsletter for more articles and guides on Ethereum. Feel free to reach out to us via Twitter if you have any feedback. You can always chat with us on our Discord community server, featuring some of the coolest developers you'll ever meet :)
We ❤️ Feedback!
Let us know if you have any feedback or requests for new topics. We'd love to hear from you.