10 min read
On Feb 29, 2024, Elusiv announced they would be sunsetting the Elusiv platform. The protocol will remain in withdrawal-only mode until January 1, 2025.
Overview
A common barrier to adoption of Web3 technology is the need for more privacy. Blockchain transactions are public, meaning anyone can view the details of a transaction, including the sender and receiver. Though there are many applications where this transparency is beneficial, there are also many cases where users require privacy. For example, if you are a business owner, you may not want your competitors to know how much you pay your employees. Or, if you are a user, you may want to keep your friends from knowing how much you invest. Privacy will become increasingly important as Web3 reaches more users and use cases.
Several protocols are emerging on Solana to enable private transactions. In this guide, we will walk through how to use Elusiv, a zero-knowledge (ZK) privacy protocol on Solana, to create a private SPL token transfer.
What You Will Do
In this guide, you will:
- Learn about Elusiv, a zero-knowledge (ZK) privacy protocol on Solana
- Create a private USDC transfer using the Elusiv SDK
- Verify that the transaction was private
What You Will Need
- Basic knowledge of Solana Fundamentals
- Basic knowledge of Zero Knowledge Proofs
- Node.js (version 18.16 or higher) installed
- TypeScript and ts-node (latest version) installed
What is Elusiv?
Transactions on Solana are public. Anybody with access to an Explorer and a user's public key can track and monitor that user's transaction activity. Elusiv aims to break the link between senders and receivers to enable private transactions. Elusiv is a Solana-based privacy protocol enabled by zero-knowledge cryptography. The protocol enables users and applications to access universal encryption and control, allowing them to choose what gets shared and what does not. Elusiv utilizes zk-SNARKS for private transactions and decentralized compliance solutions.
Elusiv has two primary functions:
- Elusiv Program: Elusiv works by managing a shared pool governed by the Elusiv program. Users can deposit and withdraw funds into the pool (public transactions) and then transfer funds to other users within the pool (private transactions). Though transaction details are private to the payment initiator, the initiator can create viewing keys to enable others to view specific transactions.
- Elusiv Warden: The Elusiv Warden is responsible for relaying client requests to the network and (in the future) will be responsible for managing compliance-based tasks (e.g., preventing blacklisted addresses from transacting).
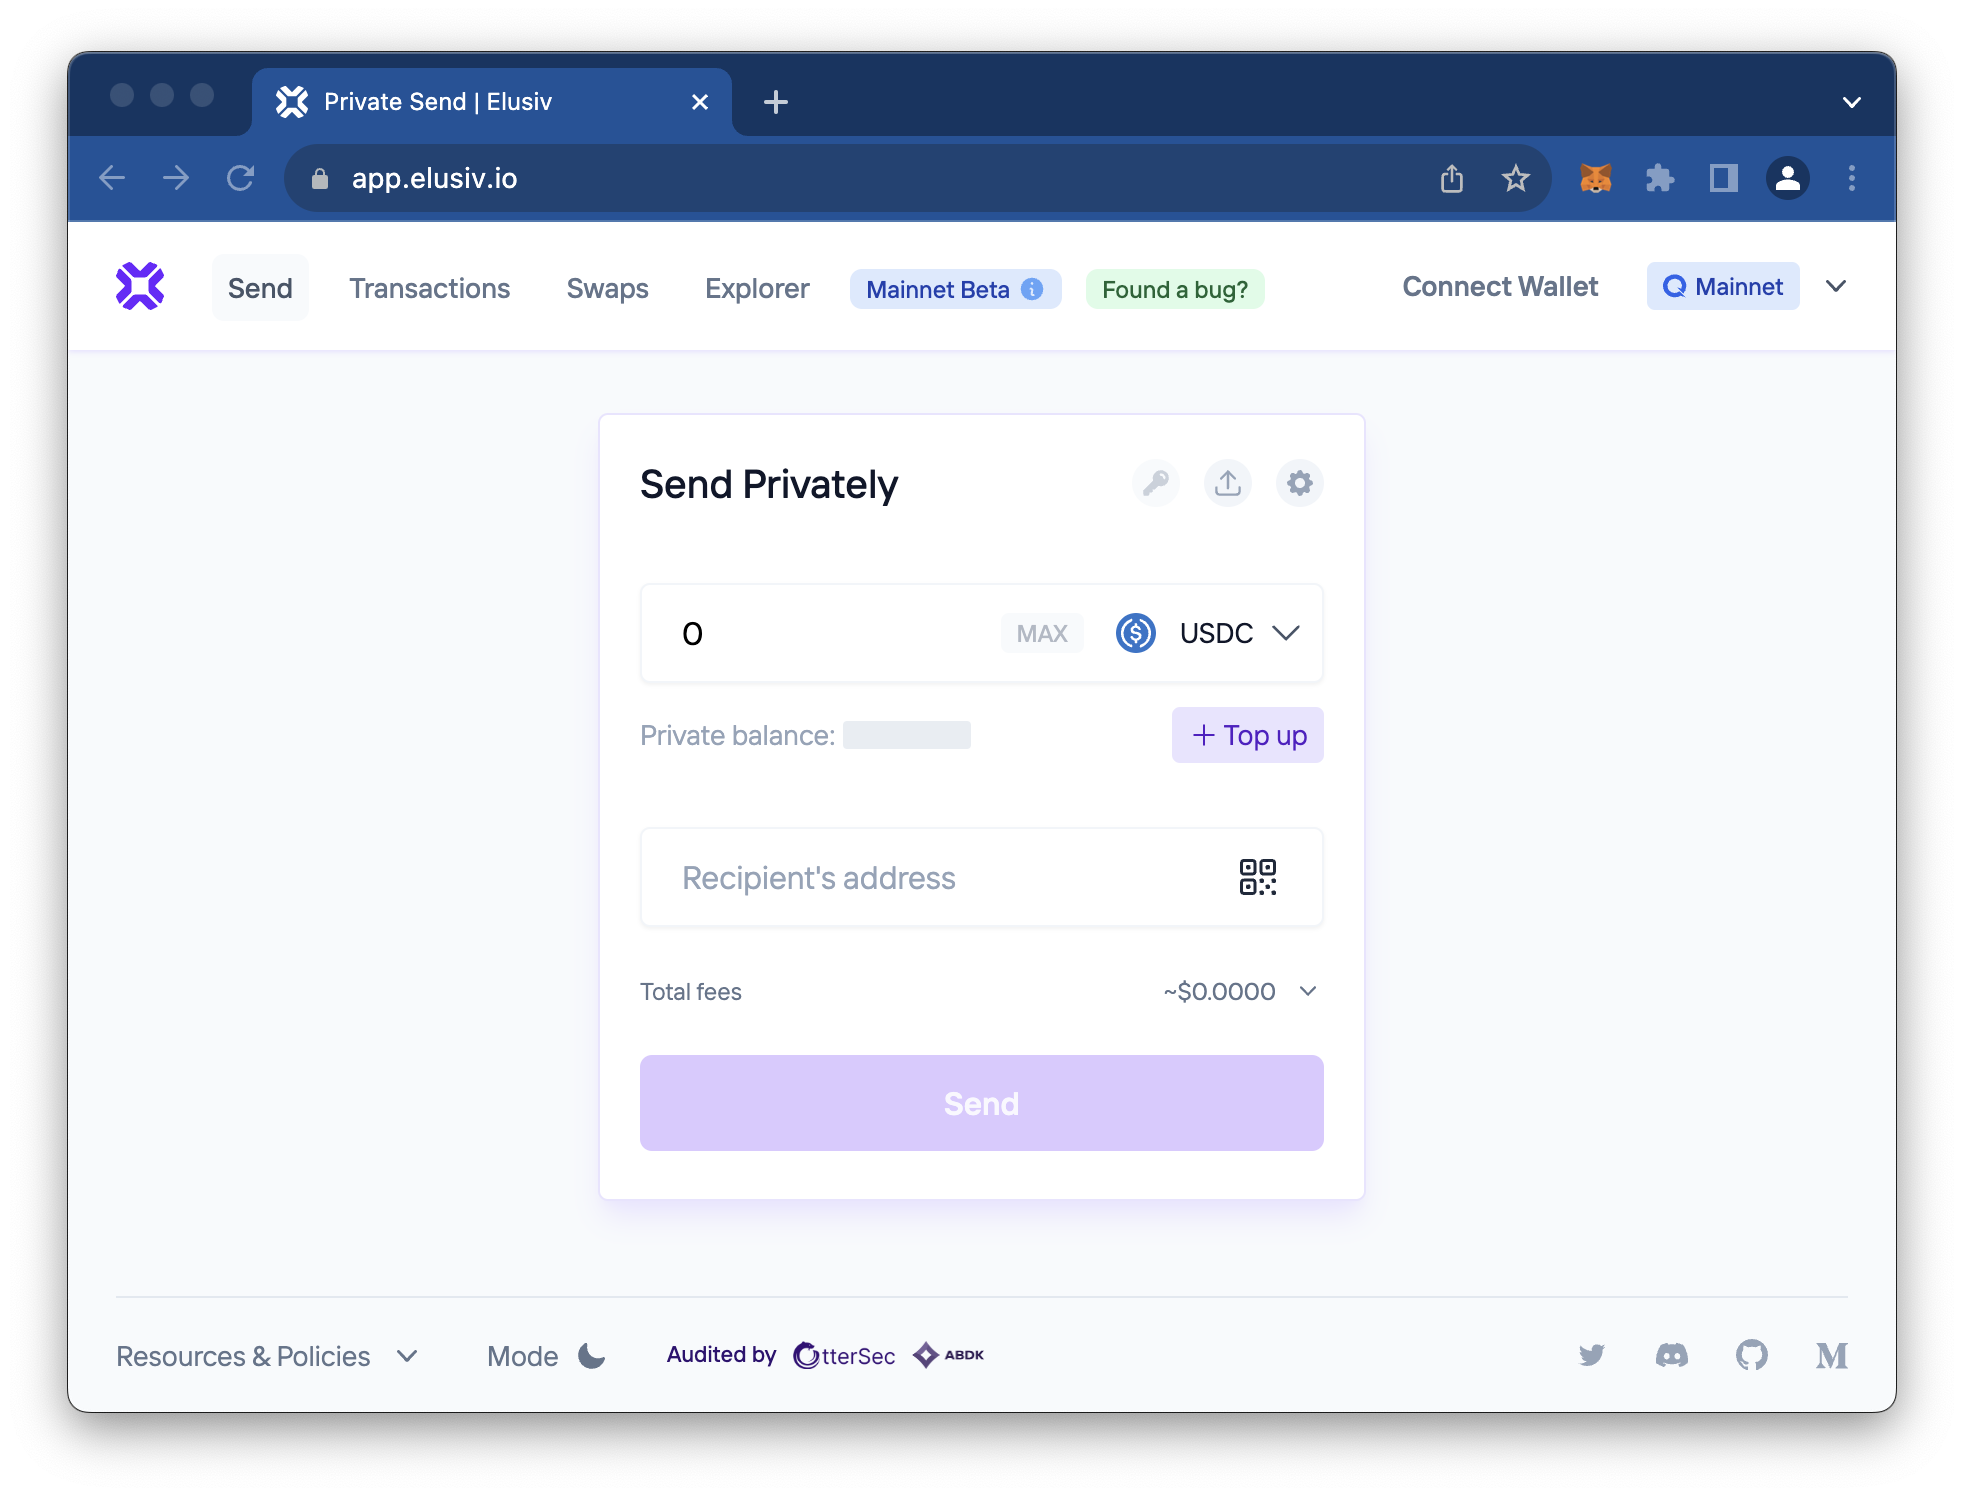
Elusiv has created a simple application for demonstrating the technology that allows you to create private token transfers. Check it out at https://app.elusiv.io/.
Let's look at the Elusiv SDK to see how to integrate this functionality into our applications.
Create a New Project
mkdir elusiv-demo && cd elusiv-demo && echo > app.ts
Install Solana Web3 dependencies:
yarn init -y
yarn add @solana/web3.js@1 @solana/spl-token @elusiv/sdk @noble/ed25519
or
npm init -y
npm install --save @solana/web3.js@1 @solana/spl-token @elusiv/sdk @noble/ed25519
Import Dependencies
Open app.ts in a code editor of choice, and on line 1, import the following:
import { Connection, Keypair } from '@solana/web3.js';
import { createAssociatedTokenAccountIdempotent } from '@solana/spl-token';
import { airdropToken, Elusiv, getTokenInfo, SEED_MESSAGE } from '@elusiv/sdk';
import { sign } from '@noble/ed25519';
You can now access Logs for your RPC endpoints, helping you troubleshoot issues more effectively. If you encounter an issue with your RPC calls, simply check the logs in your QuickNode dashboard to identify and resolve problems quickly. Learn more about log history limits on our pricing page.
These imports will allow us to connect to the Solana network, create a token, and interact with the Elusiv SDK. We will cover each element in more detail later in the guide.
Create a New Keypair
First, we will need a new Keypair to use for our demo. Generate one using the widget below and copy/paste the output into your code editor.
You should see something like this--make sure to include the secret generated from the widget:
const secret = [0, 0, 0, 0, 0, 0, 0, 0, 0, 0, ...]; // paste your secret here
const keyPair = Keypair.fromSecretKey(new Uint8Array(secret));
You will need to fund the account with some devnet SOL to run transactions on devnet. You can do this by visiting the Solana Faucet and pasting in your new public key or by entering the following command in your terminal:
solana airdrop 1 <your public key> -ud
If you need help, check out our complete guide on airdropping Devnet SOL.
Connect to a Solana Cluster with Your QuickNode Endpoint
To build on Solana, you'll need an API endpoint to connect with the network. You're welcome to use public nodes or deploy and manage your own infrastructure; however, if you'd like 8x faster response times, you can leave the heavy lifting to us.
QuickNode Now Accepts Solana Payments 🚀
You can now pay for a QuickNode plan using USDC on Solana. As the first multi-chain provider to accept Solana payments, we're streamlining the process for developers — whether you're creating a new account or managing an existing one. Learn more about paying with Solana here.
See why over 50% of projects on Solana choose QuickNode and sign up for a free account here. We're going to use a Solana Devnet endpoint.
Copy the HTTP Provider link:
And then use it to connect to the Solana network with the following code:
const cluster = 'devnet';
const quickNodeEndpoint = 'https://example.solana.quiknode.pro/012345' // 👈 REPLACE THIS WITH YOUR ENDPOINT
const connection = new Connection(quickNodeEndpoint);
Frame the Application
Next, create a main function and call it at the bottom of the file. This will be where we will write our code.
async function main() {
    // code goes here
}

main()
    .catch(err =>console.error(err))
    .finally(() => process.exit());
Great. We are all set to start building our app.
Build the Application
Inside our main function, we are going to create six steps to demonstrate how to use the Elusiv SDK:
- Create an Elusiv instance
- Airdrop some "USDC" to our devnet USDC associated token account
- Check our private balance
- Top up private balance if needed
- Privately send some USDC to a random address
- Verify that our keypair was not in the transaction
Create an Elusiv Instance
The Elusiv SDK allows us to create an instance of the Elusiv program by passing a seed, public key, Solana connection, and cluster.
Inside main, add step 1:
    // Step 1 - Create an Elusiv instance
    console.log('1. Creating Elusiv instance');
    const seed = await sign(
        Buffer.from(SEED_MESSAGE, 'utf-8'),
        keyPair.secretKey.slice(0, 32),
    );
    const elusiv = await Elusiv.getElusivInstance(seed, keyPair.publicKey, connection, cluster);
Refer to the 2. Basic Usage section on the Elusiv SDK Docs if you run into an etc.sha512Sync not set error.
The seed we generate is created by signing a constant we imported from the Elusiv SDK. This seed allows anyone to decrypt and spend the user's private assets, so handle this carefully in production.
We save our instance of Elusiv as elusiv so that we can use it throughout our app.
Airdrop Dev USDC
The Elusiv SDK has some handy test tools for dropping SPL tokens. Since we will be testing a private transfer of USDC, we will need some devnet USDC for our demo. Add Step 2 to your main function:
    // Step 2 - Airdrop some "USDC" to our devnet USDC associated token account
    console.log('2. Airdropping USDC');
    const usdcInfo = getTokenInfo('USDC');
    const oneUsdc = 10 ** usdcInfo.decimals;
    const usdcMint = usdcInfo.mintDevnet;

    const ataAcc = await createAssociatedTokenAccountIdempotent(
        connection,
        keyPair,
        usdcMint,
        keyPair.publicKey,
        { commitment: 'finalized' }
    );
    await airdropToken(
        'USDC',
        1000 * oneUsdc,
        ataAcc,
    );
Before airdropping USDC, we must first determine the mint address and then create (or fetch) an associated token account (ATA) for our keypair.
- Elusiv has a helper function,
getTokenInfo, that will fetch the token details (e.g., mint address on mainnet and devnet, decimals, etc.) for a given token supported by their protocol. We use this to get the mint address for USDC on devnet and the number of decimals associated with the token mint. - We define
oneUsdcas 10 to the power of the number of decimals. This will allow us to easily calculate transfer amounts without worrying about decimals. - We then pass that mint into an SPL Token helper function,
createAssociatedTokenAccountIdempotent. This will create a new ATA if needed and return the public key of that ATA. For more information on ATAs, check out our Guide: How to Find the Associated Token Address for a Solana Wallet and Mint. - We pass our token, amount, and new ATA into another Elusiv utility function,
airdropToken. This will drop 1,000 USDC into the ATA.
Check Private Balance
Before moving forward, let's check our private account balance (it should be 0 since we have not done anything yet). Add Step 3 to your main function:
    // Step 3 - Check our private balance
    console.log('3. Checking private balance');
    let privateBalance = await elusiv.getLatestPrivateBalance('USDC');
The Elusiv protocol handles the decryption of private balances using the Elusiv instance we created earlier.
Top Up Private Balance
Since we will not have a private balance for our initial tests, let's deposit (or "Top up") our private balance account.
    // Step 4 - Top up private balance if needed
    if (privateBalance === BigInt(0)) {
        console.log('4. Topping up private balance');
        const topupTx = await elusiv.buildTopUpTx(500 * oneUsdc, 'USDC');
        topupTx.tx.partialSign(keyPair);
        await elusiv.sendElusivTx(topupTx);
        privateBalance = await elusiv.getLatestPrivateBalance('USDC');
    } else {
        console.log('4. Private balance top up not needed. Current Balance: ', (privateBalance / BigInt(10 ** usdcInfo.decimals)).toString());
    }
Let's break this down:
- First, we are verifying that the balance is 0. If not, we will skip this step.
- We then use Elusiv's
buildTopUpTxfunction to create a transaction that will top up our private balance with 500 USDC. - We partially sign the transaction with our keypair.
- Finally, we send the transaction to the network and fetch the latest private balance.
Privately Send USDC
After step 4, we should have a positive balance in our private account. Let's use it to send a private transaction. We will do this by sending some USDC to a random address. Add Step 5 to your main function:
    // Step 5 - Send some USDC to a random address
    console.log('5. Sending USDC to a random address');
    if (privateBalance <= BigInt(0)) {
        throw new Error("Can't send from an empty private balance");
    }

    const sendTx = await elusiv.buildSendTx(10 * oneUsdc, Keypair.generate().publicKey, 'USDC');
    const sig = await elusiv.sendElusivTx(sendTx);

    console.log(`   https://explorer.solana.com/tx/${sig.signature}?cluster=${cluster}`);
First, we double-check to make sure we do, in fact, have a positive balance in our private account. If not, we throw an error. Next, we use Elusiv's buildSendTx function to create a transaction that will send 10 USDC to a random address. We then send the transaction to the network and log the transaction URL to the console.
At this point, we have successfully sent a private transaction. Great job!
Verify Transaction
Let's add one extra step that checks our transaction to ensure it is private. We will do this by using the getTransaction method from the Solana Web3 SDK and then parsing the results. Add Step 6 to your main function:
    // Step 6 - Check if our keypair was in the transaction
    console.log('6. Checking if our keypair was in the transaction');
    const txDetail = await connection.getTransaction(sig.signature, {
        commitment: 'confirmed',
        maxSupportedTransactionVersion: 0
    });
    const readonly = txDetail?.meta?.loadedAddresses?.readonly ?? [];
    const writable = txDetail?.meta?.loadedAddresses?.writable ?? [];
    const allAccounts = [...new Set([...readonly, ...writable])];
    const isSenderInTx = allAccounts.some(pubKey => pubKey.toBase58() === keyPair.publicKey.toBase58());
    if (isSenderInTx) {
        console.log('❌ - Our Keypair was in the transaction (unexpected)');
    } else {
        console.log('✅ - Our Keypair was not in the transaction (expected)');
    }
Let's walk through the new code:
- First, we call the
getTransactionmethod on our private transfer's transaction signature. This will return the transaction details. - Next, we parse the transaction details to get the list of accounts that were loaded into memory during the transaction. We are grabbing the
readonlyandwritableaccounts and then combining them into a single array of all public keys used in the transaction. - Finally, we check whether our sender key was in the transaction by using
.some. We expect our sender key will not be in the transaction, so we log a success message if it is not. If it is, we log an error.
Run the Application
Now that we have built our application, let's run it. In your terminal, enter:
ts-node app.ts
You should see something like this:
qn elusiv-demo % ts-node app
1. Creating Elusiv instance
2. Airdropping USDC
3. Checking private balance
4. Private balance top-up not needed. Current Balance:  359777742
5. Sending USDC to a random address
   https://explorer.solana.com/tx/5fP4TvgCbYMWFRaQuzikmwovSgJWJM7F7c59kKMP82BJjgDurUPdwH49gbJxhhcjWHH1bxbxeYRorw9j6QFRE7HD?cluster=devnet
6. Checking if our keypair was in the transaction
✅ - Our Keypair was not in the transaction (expected)
Note: Refer to the 2. Basic Usage section on the Elusiv SDK Docs if you run into an etc.sha512Sync not set error.
If you see the success message at the end, you have successfully sent a private transaction on Solana using the Elusiv SDK. You should be able to browse the transaction in Solana Explorer and double-check that our payer wallet is not associated with the transaction. Nice job!
Wrap Up
Enabling private transactions on your dapp can be a great way to protect your users' privacy and decrease barriers to adoption of Web3 technology. Elusiv makes it easy to integrate this functionality into your application. We can't wait to see what you come up with!
If you have a question or idea you want to share, drop us a line on Discord or Twitter!
We ❤️ Feedback!
Let us know if you have any feedback or requests for new topics. We'd love to hear from you.