18 min read
Overview
Getting data to and from a blockchain requires transferring large amounts of information between your system and the network. To optimize your Quicknode endpoint's performance and keep your dApps running smoothly while minimizing costs, it's essential to implement efficient RPC calls. This guide outlines proven best practices for making effective RPC calls to the network, helping you build faster and more cost-effective blockchain applications:
- Make the Right Calls
- Optimize RPC Requests
- Utilize Real-Time Data Solutions
- Properly Handle API Responses
- Secure Your Endpoint
- Other Best Practices
Feel free to bookmark this page for future reference. If you have any questions, don't hesitate to reach out to us on Discord or Twitter.
Make the Right Calls
The first step to making effective RPC calls is ensuring you're using the right ones—and using them correctly. Keep these key points in mind when making API requests:
Understand the Method
To make the most of your RPC calls, familiarize yourself with Quicknode's API documentation, including an up-to-date list of all supported methods for each network. Since APIs evolve with frequent upgrades, make sure to refer to the documentation regularly to stay informed about changes.
Use the Correct Method for the Job
Different RPC methods serve distinct use cases, even when they seem similar—they can yield different responses and have varying multiplier costs. Choosing the right method is key to efficiency. For example, eth_getTransactionCount is used to get the number of transactions sent from an address, while eth_getTransactionByHash is used to get the transaction details for a specific transaction hash. Using the wrong method can lead to unnecessary network traffic and higher costs, so research carefully before making a selection.
Another opportunity to reduce the number of RPC requests is by using the correct class instances when using Ethers.js. For example, JsonRpcProvider sends one or two eth_chainId requests before each RPC call, whereas StaticJsonRpcProvider does not. This difference can significantly impact performance if you're making a high volume of requests.
Optimize RPC Requests
Once you have selected the right RPC calls, keep the following best practices in mind to improve performance and reduce costs.
Use Filters
When making API calls that retrieve data, it's important to use filters in the query to limit the amount of data returned.
-
Ethereum Example: If you're using
eth_getLogsto get all logs for a specific contract, you can use thefromBlockandtoBlockparameters to limit the range of blocks you are searching. This will reduce the amount of data returned. You can also use theaddressparameter to limit the logs returned to a specific contract address. -
Solana Example: If you're using
getProgramAccountson Solana, consider leveraging GetProgramAccountsFilter to filter accounts by a specific byte size. (using{dataSize: SIZE}), accounts at a specific location in the serialized account data (using{memcmp: {offset: LOCATION}}), or for a specific value (using{memcmp: {bytes: SEARCH_VALUE}}). Adding filters to your query instead of retrieving all accounts (and filtering on the client side) can reduce the amount of data returned and improve overall performance. For more information on using GetProgramAccountsFilter, check out this guide.
Optimize Solana Transactions
Optimizing transactions is key to ensuring they are successfully processed on the Solana network, particularly during times of high demand.
To learn more about improving transaction performance and reliability, read our guide: Strategies to Optimize Solana Transactions.
Multiple RPC Requests the Right Way
A batch request is a single request that processes multiple RPC calls at once. Specifically, it is a POST request that includes an array of RPC method calls within the data element. While batching can be useful in some cases, it is not always the most efficient approach for handling multiple requests to your endpoint. Depending on the use case, batching may actually slow down your dApp’s performance due to several factors:
- Additional Processing Time: Batch requests are split into individual requests and routed to appropriate nodes, adding processing overhead.
- Error Handling Complexity: If one request fails while others succeed, it’s harder to communicate results clearly. Sending a
200response code while some requests failed can be misleading. - Slower Responses: A slow request delays the entire batch, whereas multiple requests in parallel return faster.
- Parallel Limits: Our system processes batch requests in smaller batches due to parallel processing limits, which may slow response times. For faster results, consider making individual requests and processing them in parallel.
Remember that all requests to your endpoint count toward your RPS limitations, and submitting them as a batch does not reduce the total request count. In general—especially when using batching—we recommend implementing rate limiting on your end to monitor usage and stay within your RPS limits. We'll explore the reasons behind this and how to set up rate limits in more detail in the Implement Rate Limits section.
Ethereum and EVM-Compatible Networks
Instead of direct batch requests, consider the following alternative methods to optimize efficiency and response times on Ethereum and EVM-compatible networks.
For batch-read operations like eth_blockreceipts, the Single Flight RPC add-on is a powerful tool. It safely bundles multiple RPC calls into a single request, reducing overhead and saving costs while improving efficiency. This approach allows you to retrieve block and transaction information more quickly and simplifies complex data retrieval scenarios. To learn more about using Single Flight RPC, visit the Quicknode Marketplace or refer to the How to Use Quicknode Single Flight RPC guide.
You can also explore reducing RPC load at the smart contract level. Leveraging Multicall3 can potentially help batch multiple calls into a single request, though the effectiveness may vary depending on your specific use case. Our guide on How to Optimize Ethereum RPC Usage with Multicall provides detailed instructions on how to implement this optimization effectively.
Bundle Solana Transaction Instructions
If you are using Solana, we recommend to bundle your transaction instructions whenever possible. This lets you complete multiple tasks in a single sendTransaction request. The Solana runtime will process each of the instructions contained within the transaction atomically--if any part of an instruction fails, then the entire transaction will fail.
On Solana, transaction instructions can be appended to a single transaction by using Transaction.add().
For example, if you want to send two instructions to the network at the same time, you can do so in two ways:
    const bulkTx = new Transaction();

    const ix1 = new TransactionInstruction(opts:{/* your instruction */});
    const ix2 = new TransactionInstruction(opts:{/* your instruction */});
    // Option A: Add both instructions to the same transaction
    bulkTx.add(ix1, ix2);
    await connection.sendTransaction(bulkTx,[/* your signers */]);

    const indivTx1 = new Transaction();
    const indivTx2 = new Transaction();
    // Option B: Add each instruction to a separate transaction
    indivTx1.add(ix1);
    indivTx2.add(ix2);

    await connection.sendTransaction(indivTx1,[/* your signers */]);
    await connection.sendTransaction(indivTx2,[/* your signers */]);
The first method uses a single transaction to send both instructions to the network, while the second method uses two separate transactions. The first method is more efficient, as it only requires a single request to the network, while the second requires two. For a more detailed example of how instructions can be bundled into a single transaction, see our Guide: How to Send Bulk Transactions on Solana.
Use Pagination
Pagination is a technique for breaking up a large data set into smaller, more manageable pieces and retrieving those pieces in a series of requests. In the context of RPC calls, pagination can limit the amount of data returned in a single API response, which can help reduce response time and improve the performance of your dApp. Let's say you want to retrieve a list of all the transactions for a specific account on a blockchain. If there are thousands or even millions of NFTs for that account, retrieving all of them in a single API call would be slow. Instead, you can use pagination to retrieve the NFTs in smaller chunks.
Here's an example of Quicknode's Token and NFT API v2 bundle taking advantage of pagination:
const axios = require("axios");

(async () => {
  const QUICKNODE_ENDPOINT = "YOUR_QUICKNODE_ENDPOINT"; // Replace with your Quicknode endpoint

  const requestData = {
    jsonrpc: "2.0",
    id: 1,
    method: "qn_fetchNFTs",
    params: [
      {
        wallet: "0x91b51c173a4bdaa1a60e234fc3f705a16d228740",
        omitFields: ["traits"],
        page: 1,
        perPage: 10,
        contracts: [
          "0x2106c00ac7da0a3430ae667879139e832307aeaa",
          "0xBC4CA0EdA7647A8aB7C2061c2E118A18a936f13D",
        ],
      },
    ],
  };

  const config = {
    headers: {
      "Content-Type": "application/json",
    },
  };

  try {
    const response = await axios.post(QUICKNODE_ENDPOINT, requestData, config);
    console.log(response.data); // Log the response from the API
  } catch (error) {
    console.error(
      "Error fetching NFTs:",
      error.response ? error.response.data : error.message
    );
  }
})();
In the example above, we are fetching the NFTs held by a wallet address for specific NFT addresses. The page parameter is used to specify which page of results to return, and the perPage parameter is used to specify how many results to return per page. In this case, we are returning 10 results per page. This might be useful in an application where you are displaying a user's NFTs. By paginating, you can increase load times and reduce the amount of data returned in a single RPC call.
Caching
Caching is a technique for storing frequently-used API data in memory so that it can be reused without making a new API call. When you cache API data, you create a local copy of the data on your system, which you can access much more quickly than if you had to retrieve the data from the remote API every time you needed it. This can be useful for reducing the number of API calls made to the network.
Imagine, for example, you have a dApp that fetches a user's NFTs and displays them on the page. If you use a caching strategy, you can store the user's NFTs in memory so that you don't have to make a new API call every time the user a component renders on the page. This can be useful for reducing the number of large API calls made to the network. Note: this is not appropriate for all use cases, and you should only use caching when you do not require refreshed data from the network.
Here's a simple example of how you can use localStorage to cache RPC results in a React app:
import { useState, useEffect } from 'react';

function LargestAccounts() {
  const [accounts, setAccounts] = useState([]);

  useEffect(() => {
    async function fetchData() {
      const cachedData = localStorage.getItem('largestAccountsCache');
      if (cachedData) {
        setAccounts(JSON.parse(cachedData));
      } else {
        const response = await connection.getLargestAccounts({/*YOUR SEARCH CRITERIA*/});
        const data = await response.json();
        setAccounts(data);
        localStorage.setItem('largestAccountsCache', JSON.stringify(data));
      }
    }
    fetchData();
  }, []);

  return (
    <div>
      {accounts.map((account) => (
        <div key={account.id}>
          {account.name} - {account.balance}
        </div>
      ))}
    </div>
  );
}

export default LargestAccounts;
In this example, we use the useEffect hook to fetch the largest accounts data when the component mounts. We first check if the data is already stored in the local storage using localStorage.getItem(). If it is, we set the accounts state to the cached data. If not, we make the RPC call and set the account's state to the fetched data. We also store the fetched data in the local storage using localStorage.setItem() so it will be available the next time the component mounts.
Utilize Real-Time Data Solutions
To build efficient and responsive applications, leveraging real-time data solutions is essential. Traditional RPC requests often involve constant polling, which can lead to unnecessary overhead and delays. Instead, real-time data solutions like Streams and WebSocket Subscriptions allow your application to receive updates instantly when specific events occur, reducing latency and improving performance.
Discover Quicknode’s optimized solutions for accessing real-time Solana blockchain data and find the best fit for your needs in our blog post: Access Real-Time Solana Data: 3 Tools Compared.
Streams
Quicknode's Streams feature provides a powerful way to access real-time data with advanced filtering capabilities. By defining precise conditions, you can ensure your application receives only the data it needs, minimizing unnecessary data retrieval and cutting costs. Streams are compatible with multiple blockchains, including Ethereum and Solana, making them a versatile choice for real-time data handling. To explore how to implement Streams in your projects, check out our comprehensive Streams guides and Streams documentation.
WebSocket Subscriptions
In addition to Streams, you can use WebSocket Subscriptions for real-time data. WebSockets are available for many blockchains, including Ethereum and Solana, enabling efficient communication without the need for constant polling.
Here are some helpful resources to get started with WebSocket Subscriptions:
- How to Create WebSocket Subscriptions to Solana
- How to Filter Mempool Transactions on Ethereum
- WebSocket vs. Quicknode Streams
Properly Handle RPC Responses
Once you have made an RPC request, you must handle the response correctly. Here are a few things to keep in mind when handling RPC responses:
Check the Response Code
When you make an RPC request, the response will include a status code indicating whether the request was successful. It's important to check the response and handle the response appropriately. For example, if the response returns an error, you know the request was unsuccessful, and you should handle the error appropriately.
For a detailed list of error codes and their meanings, refer to the Error Code Reference pages in our API documentation for your network. You can find the Ethereum error codes here and the Solana error codes here.
Properly Handle Errors
When a request fails, handle the failure gracefully and avoid retrying the same request multiple times. Continuously sending requests despite being returned errors could result in getting rate limited, which could disrupt your dApp's user experience.
Here's an example of a React component that retries a request when it fails but limits the number of retries to 3:
const MAX_RETRIES = 5;

const fetchData = async (retries = 0) => {
  try {
    const result = await axios.get('https://api.example.com/data');
    setData(result.data);
  } catch (error) {
    if (retries < MAX_RETRIES) {
      // Retry the call after a delay
      setTimeout(() => fetchData(retries + 1), 1000);
    } else {
      // Maximum retries reached. Handle the error.
    }
  }
};

useEffect(() => {
  fetchData();
}, []);
Implement Circuit Breakers
Circuit breakers are a way to prevent your dApp from making too many requests to the network. You can implement a circuit breaker that will stop making requests to the network if a certain trigger has been satisfied.
Here's an example of a circuit breaker that will stop making requests if the number of failed requests exceeds 3 in a given time period:
class CircuitBreaker {
  constructor(threshold, timeout) {
    this.threshold = threshold; // maximum number of failed requests before the circuit breaks
    this.timeout = timeout; // duration (in milliseconds) to keep the circuit broken
    this.failures = 0; // number of failed requests
    this.isBroken = false; // whether or not the circuit is currently broken
    this.lastFailure = null; // time of the last failed request
  }

  async callApi() {
    // If the circuit is broken, check if it's time to close it
    if (this.isBroken) {
      const now = new Date().getTime();
      const timeSinceLastFailure = now - this.lastFailure;
      if (timeSinceLastFailure > this.timeout) {
        // Circuit has been broken long enough. Try again
        this.isBroken = false;
      } else {
        // Circuit still broken, return cached response or error message
        return this.getCachedResponse();
      }
    }

    try {
      // Call API and return response
      const response = await fetch('https://api.example.com/data');
      const data = await response.json();
      // Reset failure count if successful
      this.failures = 0;
      return data;
    } catch (error) {
      // Increment failure count and check if circuit should break
      this.failures++;
      if (this.failures >= this.threshold) {
        this.isBroken = true;
        this.lastFailure = new Date().getTime();
      }
      // Return cached response or error message
      return this.getCachedResponse();
    }
  }

  getCachedResponse() {
    // Return cached response or error message
    return { message: 'API is currently unavailable' };
  }
}

// Usage
const circuitBreaker = new CircuitBreaker(3, 5000); // Break circuit after 3 failed requests, keep circuit broken for 5 seconds
const data = await circuitBreaker.callApi(); // Call API using circuit breaker
In this example, the CircuitBreaker class wraps API calls and monitors the number of failed requests. If the number of failed requests exceeds the threshold (in this case, 3), the circuit breaker trips and further requests to the API are blocked for the set timeout (in this case, 5 seconds). While blocked, the callApi method returns a cached response or error message. Once the timeout has elapsed, the circuit breaker can be reset, and API calls can be attempted again.
Implement Rate Limits
When you make API requests, you are making a request to a remote server. If you make too many requests in a short period of time, you could overload the server and get rate limited (check our pricing page to see the number of requests you can make each second). To prevent this from happening, consider implementing rate limits to limit the number of RPC requests you make.
- Set a limit: First, know what rate limit you want to set for your dApp. For example, limit the number of requests a user can make in a given time period based on your plan and expected user volume.
- Track requests: When a user makes a request, track the time and store it in a data structure like an array or a map.
- Check against limit: Before processing each request, check how many requests the user has made in the given period. If they have exceeded the limit, return an error message or block the request.
- Clear old requests: Periodically clear out old requests from the data structure to avoid hitting memory limits.
For a step-by-step guide on setting up method-specific rate limits, check out the How to Set Up Method Rate Limits with Quicknode guide.
Alternatively, create a queue of requests and process them one at a time. This would ensure that you stay within the rate limit, but it would also slow down the performance of your dApp.
Here's a simple example:
const requestQueue = [];
let isProcessing = false;

function addToQueue(request) {
  requestQueue.push(request);
  processQueue();
}

function processQueue() {
  if (isProcessing) {
    return;
  }

  isProcessing = true;
  const request = requestQueue.shift();

  makeRequest(request)
    .then(() => {
      isProcessing = false;
      processQueue();
    })
    .catch((error) => {
      console.error(error);
      isProcessing = false;
      processQueue();
    });
}
In this example, we're using a requestQueue array to store requests that need to be processed and a processQueue function to manage the queue. When a new request is added to the queue using addToQueue, we check if there's already a request being processed. If not, we start processing the queue by calling processQueue. The processQueue function removes the subsequent request from the queue and calls the makeRequest function to process it. When the request is complete, we set isProcessing to false and call processQueue again to process the next request in the queue. By using a queue, we ensure that we do not send too many requests simultaneously and that requests are processed in the correct order.
Secure Your Endpoint
Your Quicknode endpoint is private and should be protected just like an API key or password. If your endpoint gets into the wrong hands, a third party could abuse your endpoint by making requests on your behalf. This could result in you getting rate limited (with would impact your dApp's performance) and higher bills. To prevent this from happening, you should store your API keys securely to prevent unauthorized access and implement a variety of security measures available at quicknode.com/endpoints/<YOUR_ENDPOINT_ID>/security:
- How to Protect Your Endpoint - Front End Best Practices: best practices for securing your endpoint
- Implement JWT Authorization: restrict access to your endpoint by requiring a valid JWT token
- Set Up Multi-Token Authentication: create multiple access tokens for an endpoint to help manage users and use cases
- Set Up Domain Masking: disguise your endpoint URL with a custom domain
- Set Up Referrer Whitelists: restrict access to your endpoint by requiring a valid referrer address (specifies the address of a web page that is allowed to make requests to your endpoint)
- Rotate API Keys: rotate your API keys to prevent unauthorized access
JWT Authorization, Domain Masking, and Referrer Whitelists are only available for the Build plan and above.
Other Best Practices
Compression
HTTP responses from blockchain methods can contain a vast amount of data and take a lot of time to receive at the client's end. Compression is a technique used to reduce the size of data sent over the network which can help reduce the amount of bandwidth used and the amount of time it takes to send the data. Check out our Guide on How to Enable Gzip on RPC calls in JavaScript using Ethers.js to learn more about how to compress and decompress RPC calls.
Monitor Usage
Your Quicknode dashboard contains several useful tools to help you monitor your endpoint's usage. You can view your endpoint's usage statistics, including the number of requests made, the number of failed requests, the types of requests made, the sources of requests made, and the method response time. You can also view your usage history by endpoint to see how your endpoint's usage has changed over time:
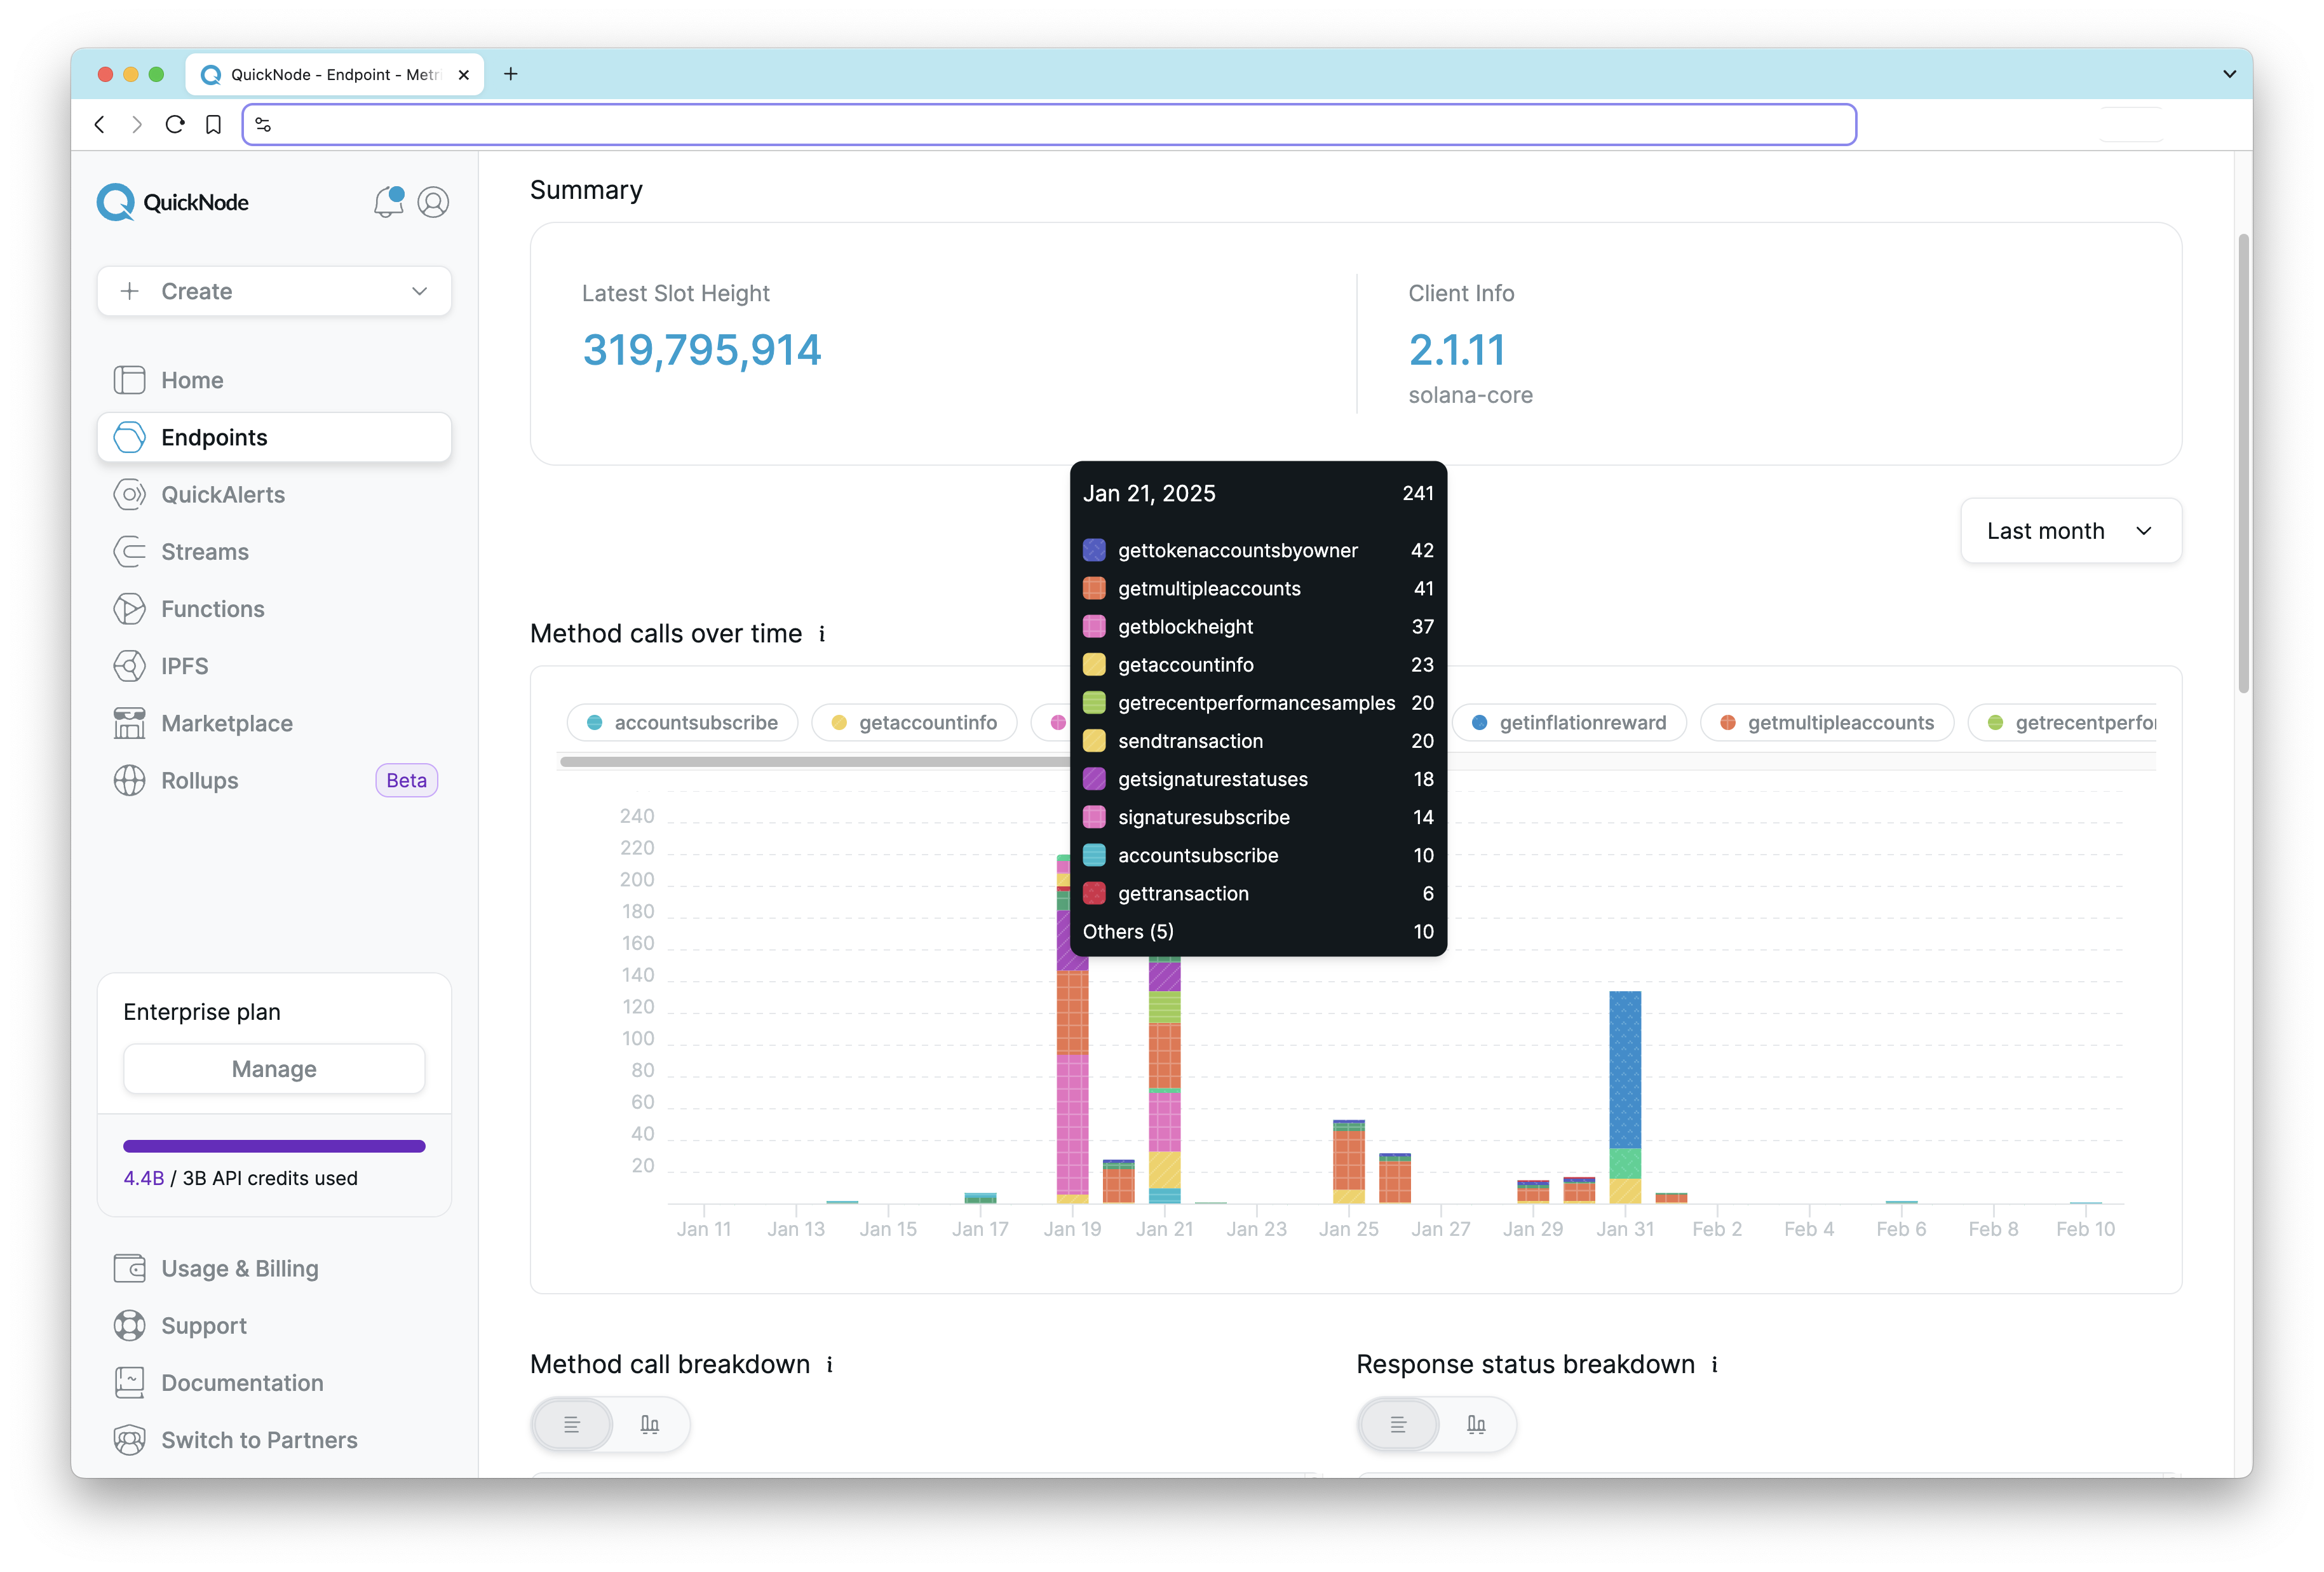
To check out your endpoint's usage dashboard, head to https://www.quicknode.com/endpoints/<YOUR_ENDPOINT_ID>/metrics.
For advanced monitoring and automation, consider using the Quicknode Admin API. Here are some guides to help you get started:
- How to Manage Your RPC Infrastructure with Quicknode Admin API
- How to Build a Grafana Dashboard to Monitor Your RPC Infrastructure (Enterprise only)
Document API Usage
If your endpoint serves API calls from third parties, it is important to ensure your users have the tools necessary to make effective calls to your endpoint. This includes providing documentation on how to use your API. It is important to describe the structure of your APIs so that other developers can use them properly. You should also provide examples of how to use your API to make it easier for developers to get started. You may include relevant information associated with Quicknode API credits in your documentation.
Wrap Up
Congrats! You now have gained the tools and knowledge to make the most of your Quicknode endpoint and ensure optimal performance for your dApps. If you are building something and have questions about how to improve your application, feel free to reach out to us on Discord or Twitter.
We ❤️ Feedback
If you have any feedback on this guide, let us know. We'd love to hear from you.