6 min read
Overview
Building on Solana is a lot of fun. To test your code before production, it is generally best practice to run on Localhost, Devnet, or Testnet. These are safe environments for you to test your code without the consequences of losing real tokens. But to operate in any of these environments, you will need SOL tokens on that cluster. In this guide, we will cover five ways to airdrop test SOL to your wallet:
- Using Solana's Command Line Interface (Solana CLI)
- Using Solana's JavaScript API
- Using Quicknode's Multi-chain Faucet
- Using Quicknode's Airdrop Widget
- Using the Solana Faucet
What You Will Need
- Solana CLI latest version installed
- Nodejs (version 16.15 or higher) installed
- Basic JavaScript experience
- A modern web browser (e.g., Google Chrome)
- A Solana wallet (e.g., Phantom)
Clusters
Before jumping into our airdrops, let's do a quick recap on Solana's clusters, as we will need to specify a specific cluster when requesting an airdrop. "A Solana cluster is a set of validators working together to serve client transactions and maintain the integrity of the ledger. Many clusters may coexist." (Source: docs.solana.com/cluster/overview). In fact, Solana maintains three clusters that each serve different purposes:
- Mainnet Beta: production, permissionless environment where real tokens are used (note: we cannot request SOL airdrops on the Mainnet Beta cluster)
- Devnet: a playground for application developers testing Solana applications (tokens on Devnet are not real and have no financial value). Devnet usually runs the same software release as Mainnet Beta
- Testnet: an environment where Solana core contributors and validators stress test new updates and features, with a focus on testing network performance (tokens on Testnet are not real and have no financial value)
Source: docs.solana.com/clusters
In addition to the three clusters outlined above, Solana CLI (we will cover this more in just a minute) allows you to launch a local test validator to run a complete blockchain cluster on your machine. A local cluster will enable you to deploy and test programs fast, and like Devnet and Testnet, Localhost tokens are not real. We will cover local clusters in a separate guide--if you want more information, check out Solana's Local Development Quickstart Guide.
To perform transactions on any given cluster, you will need SOL on that cluster to cover transaction fees and rent. Let's drop you some tokens!
Method 1 - Airdropping Test SOL through the Solana CLI
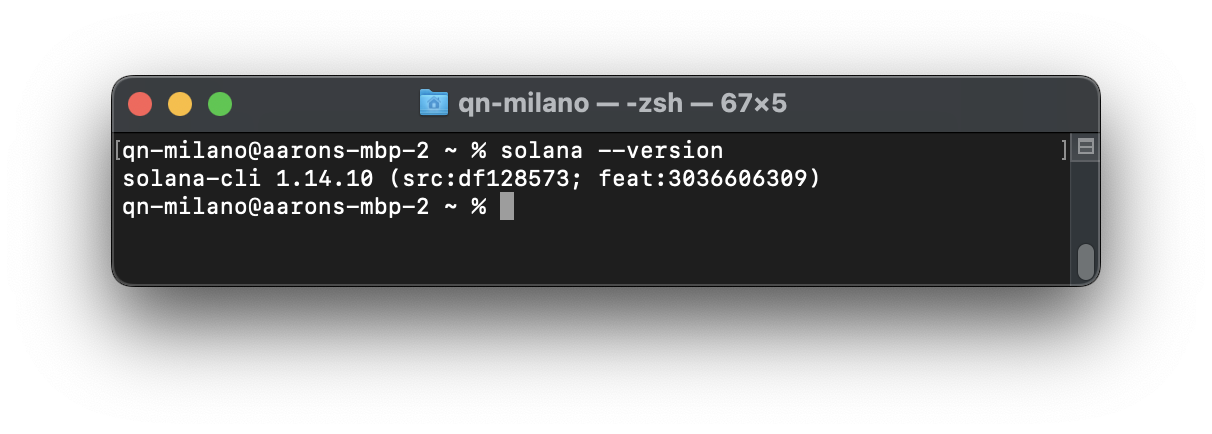
Our first method is to request an airdrop using Solana CLI. If you do not already have it installed, follow the instructions for your operating environment at docs.solana.com/cli/install-solana-cli-tools. To make sure your installation was successful, open a new terminal and type:
solana --version
You should see something like this:
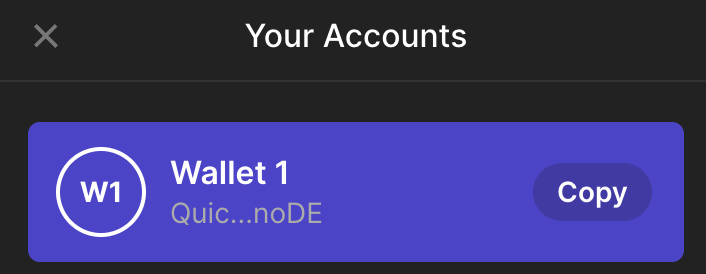
You're ready to go! All you need to do is get your Wallet address handy--you can copy it directly from Phantom:
Request the airdrop of 1 SOL by calling the airdrop sub-command, passing in the amount of SOL to be airdropped and the destination wallet address:
solana airdrop 1 YOUR_PHANTOM_WALLET_ADDRESS -u devnet # for Devnet
# or
solana airdrop 1 YOUR_PHANTOM_WALLET_ADDRESS -u testnet # for Testnet
# or
solana airdrop 1 YOUR_PHANTOM_WALLET_ADDRESS -u localhost # for Localhost (local validator must be running)
# or
solana airdrop 1 YOUR_PHANTOM_WALLET_ADDRESS -u https://example.solana.quiknode.pro/000000/
Note: at present, airdrops on devnet are limited to 2 sol per request and testnet to 1 sol per requestion--both may be subject to daily limits
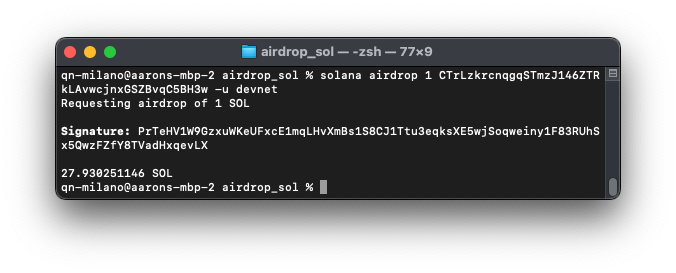
You should see a transaction propagate and a signature confirmation like this:
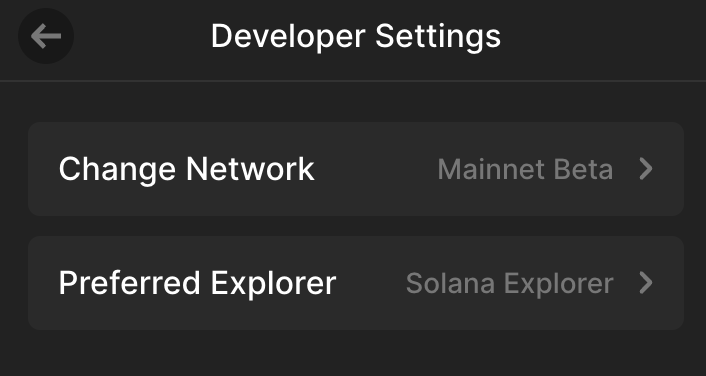
You can check your balance in Phantom by clicking the icon in the top left corner, selecting "Developer Settings," then "Change Network." Then select the same network you requested for your drop (e.g., "Devnet"):
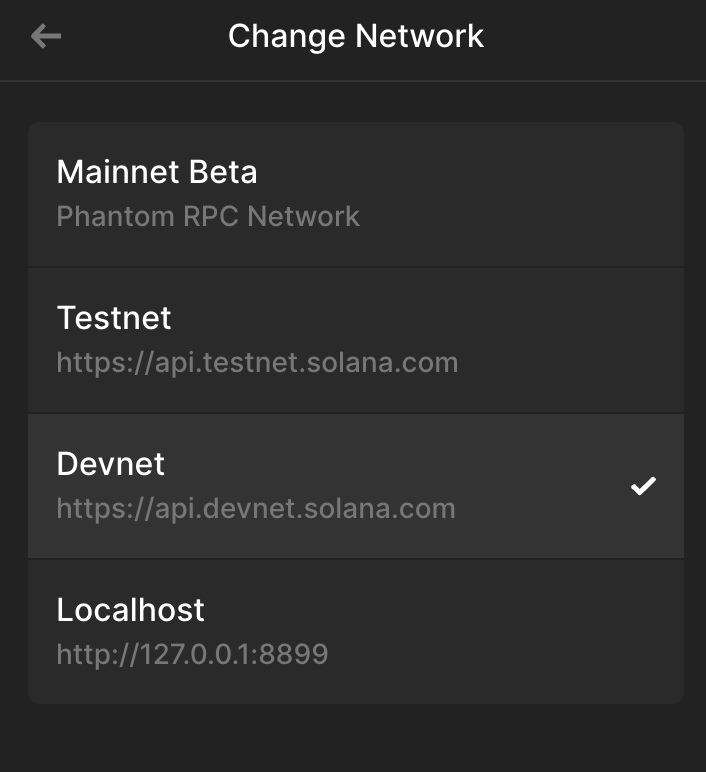
Good job! If you get stuck with Solana CLI, try running solana airdrop -h for a menu of help options.
Method 2 - Airdropping Test SOL with Solana's JavaScript API
Solana Web3 allows you to make RPC calls using JavaScript, cURL, or Python. Solana Web3 includes a method, requestAirdrop, to drop development tokens on applicable clusters. We will cover a JavaScript call here--if you want to follow along in Python or cURL, check out our Solana Documentation here.
Create a new project directory and file, airdrop.js, in your terminal with the following:
mkdir airdrop_sol
cd airdrop_sol
echo > airdrop.js
Install Solana Web3 dependencies:
yarn init -y
yarn add @solana/web3.js@1
or
npm init -y
npm install --save @solana/web3.js@1
Open airdrop.js in a code editor of choice, and add the following code:
const SOLANA = require('@solana/web3.js');
const { Connection, PublicKey, LAMPORTS_PER_SOL, clusterApiUrl } = SOLANA;
const SOLANA_CONNECTION = new Connection(clusterApiUrl('devnet'));
const WALLET_ADDRESS = 'YOUR_PHANTOM_WALLET_ADDRESS'; //👈 Replace with your wallet address
const AIRDROP_AMOUNT = 1 * LAMPORTS_PER_SOL; // 1 SOL

(async () => {
    console.log(`Requesting airdrop for ${WALLET_ADDRESS}`);

    const signature = await SOLANA_CONNECTION.requestAirdrop(
        new PublicKey(WALLET_ADDRESS),
        AIRDROP_AMOUNT
    );

    console.log(`Tx Complete: https://explorer.solana.com/tx/${signature}?cluster=devnet`)
})();
Let's walk through this script:
- Import the Solana Web3 library and deconstruct it to get the necessary classes, methods, and constants.
- Create a new variable, SOLANA_CONNECTION, to establish a connection to the Devnet cluster.
- Paste your wallet address.
- Set the AIRDROP_AMOUNT equal to 1 SOL in lamports (using the LAMPORTS_PER_SOL constant).
- Use the Solana Web3 requestAirdrop method to drop our specified amount of lamports to our defined WALLET_ADDRESS. This call will return a transaction ID that we define as signature.
- We log a link to the transaction on Solana explorer.
Note: optionally, you could use the getSignatureStatuses method on the connection to poll for the transaction status and wait for it to be finalized.
From your terminal, run your script:
node airdrop
You should see something like this:

Great job!
Method 3 - Airdropping Test SOL via the Quicknode Faucet
If you do not feel like running your own script, no worries! Quicknode recently launched an easy-to-use multi-chain faucet. All you need to do is head over to Quicknode Multi-chain Faucet and connect your wallet (or paste your wallet address). Make sure Solana Devnet or Testnet is selected:
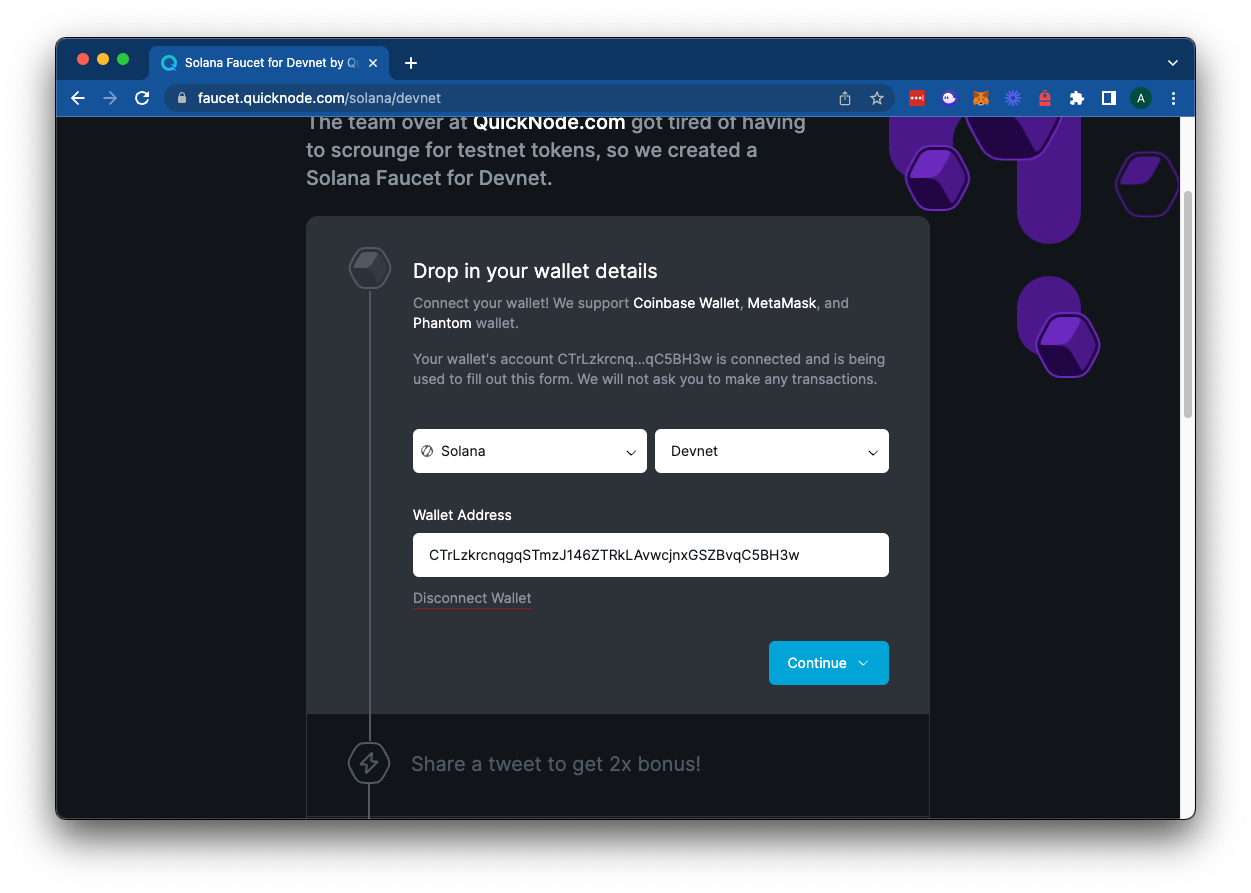
You can choose to tweet for a larger airdrop or just hit "No thanks, just send me 1 SOL." That's it! Wait a few moments for your transaction to confirm, and you now have a no-code solution to get some dev/test SOL in your wallet!
Method 4 - Airdropping Test SOL in Quicknode Guides
We have added a handy tool to a few of our guides that will allow you to airdrop test SOL to your wallet without leaving the page. Here's an example of what to look out for in our guides--give it a shot:
Note: Sending airdrop requests too frequently may trigger a 429 (Too Many Requests) error.
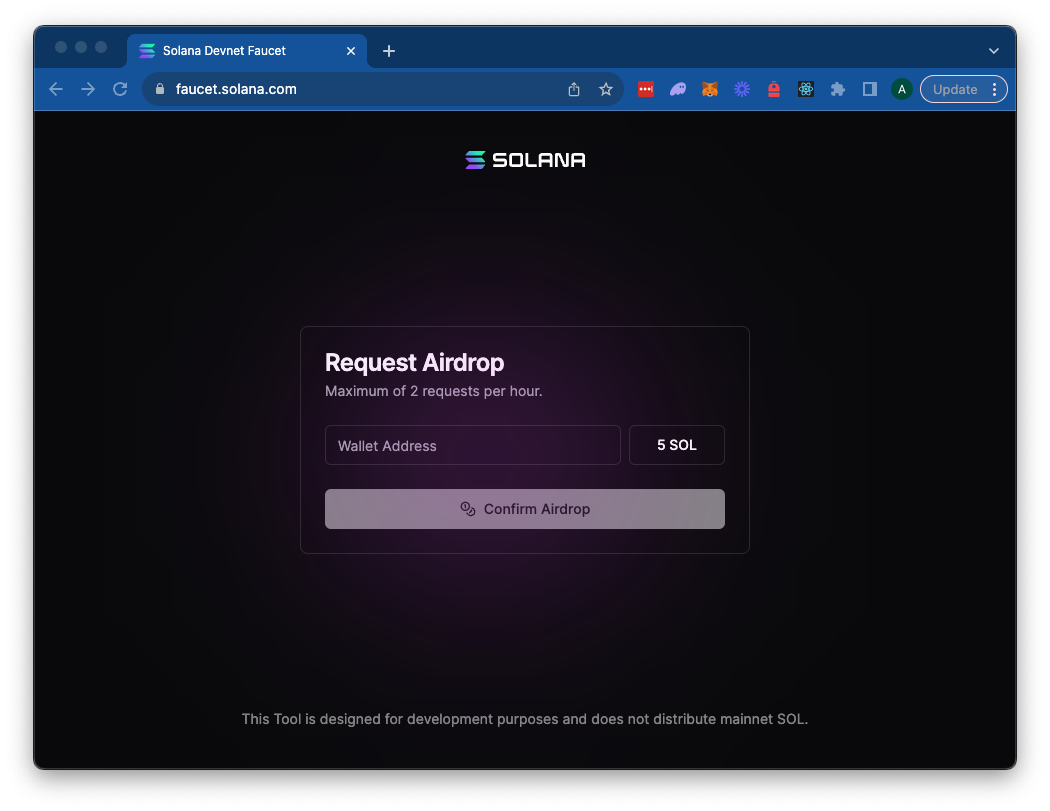
Method 5 - Airdropping Test SOL via the Solana Faucet
Solana recently released the Solana Faucet to make Devnet SOL more accessible. At the time of this writing, the faucet allows users to claim up to 5 devnet SOL 2x per hour. Head over to https://faucet.solana.com/ to claim your Devnet SOL.
Wrap Up
1, 2, 3, 4, 5 ways to get SOL for testing your dApps on Solana's Devnet and Testnet. So what are you waiting for? Time to get building! Looking for some ideas for what to build with all that SOL? Check out a few of our guides to give you some inspiration:
- How to Write Your First Anchor Program in Solana
- How to Mint an NFT on Solana using Typescript
- How to Create a Fungible SPL Token
Show us what you are building on Twitter or Discord. We'd love to see what you are up to!
We ❤️ Feedback
If you have any feedback on this guide, let us know!