10 min read
This guide has been updated to reflect the new name for Solana Web3.js 2.0 — Solana Kit. We're following the latest best practices to help you stay current. Learn more about Solana Kit here.
Overview
Solana recently announced Solana Kit (previously known as Solana Web3.js 2.0), a major update to their JavaScript library for interacting with the Solana blockchain. One exciting feature of the new SDK is that there is already a Codama JavaScript renderer that can be used to generate clients for the new Solana Kit SDK with just an IDL file.
Kinboi is a set of libraries that provides tools for generating clients for Solana programs. It is a powerful tool that can be used to generate JavaScript, Rust, Umi (a JavaScript library maintained by Metaplex), and (in the future) other clients for existing Solana programs. Codama works by passing one or more programs' IDLs to generate a tree of nodes that can be updated by Visitors. These visitors can update instructions or accounts as needed. Language-agnostic rendering Visitors can then generate clients in various languages so that you can manage client stack/dependencies.
Let's try it out!
What You Will Do
In this guide, you will:
- Create a program and client using
create-solana-program - Create a program and client using Anchor
What You Will Need
Prerequisite Knowledge
- Knowledge of Solana basics (Guide: Introduction to Solana)
- Solana Programming Experience with Anchor
- Understanding of Solana IDLs
Dependencies Used in this Guide
| Dependency | Version |
|---|---|
| create-solana-program | v0.3.12 |
| anchor cli | 0.30.1 |
| @solana/kit | ^2.0.0 |
| @codama/nodes-from-anchor | ^0.21.2 |
| @codama/renderers-js | ^0.21.8 |
| codama | ^0.21.4 |
Create-Solana-Program
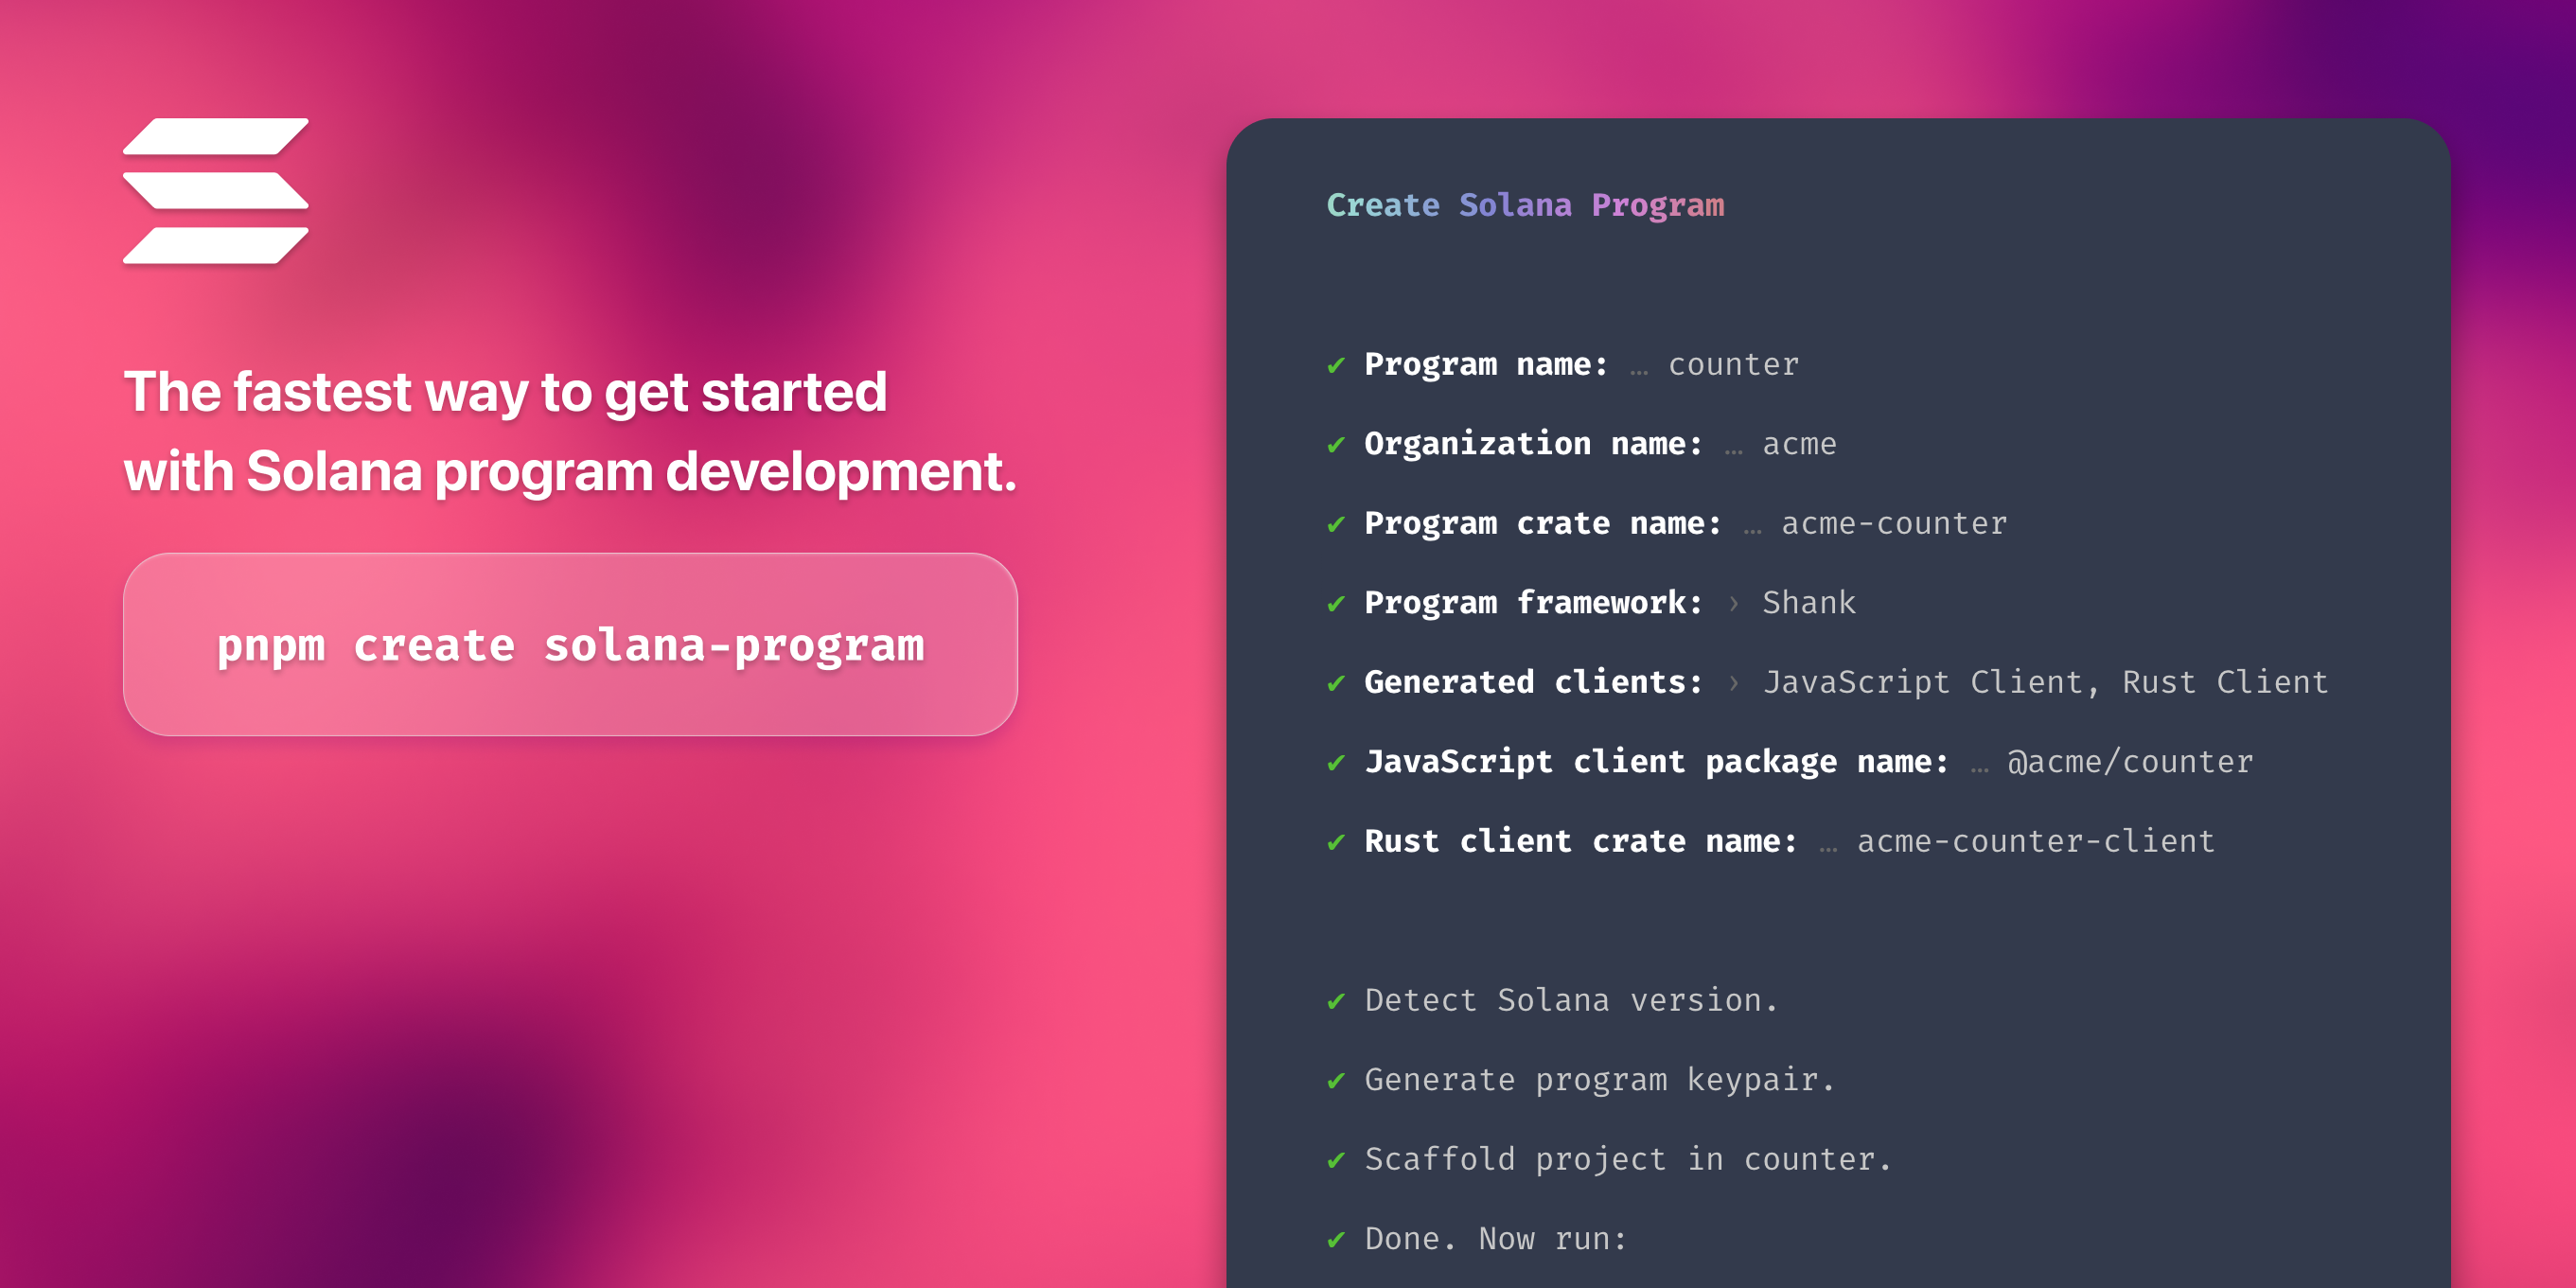
Arguably, the easiest way to create a client for a Solana program is to use the create-solana-program library. This library allows you to create a Solana program using Shank or Anchor. It comes pre-configured with Codama. All you have to do is create a new project, build your program, and then generate the clients:
Create a new project:
npm create solana-program@latest
You will be prompted to select a template. Select your preferred template (we will be using Anchor, but it does not matter for this example), and make sure to select JavaScript Client (you can include Rust as well, but the JavaScript renderer is compatible with the new Solana Kit).
Next, install the dependencies:
npm install
The package comes with a pre-written counter program. Feel free to modify it in the programs/ directory. When ready, build the program:
npm run programs:build
After the program builds, you can run the generate script to create IDLs and clients for the program:
npm run generate
If you are so inclined, go ahead and take a look at the generate-clients script in scripts/generate-clients.mjs. The script simply loads the IDL into a Kinboi tree and uses the JavaScript renderer to generate clients for the program. Pretty simple, right? We will recreate a similar script in an Anchor project next. But first, let's check out the generated clients!
Navigate to clients/js/src/index.ts and browse the generated clients. You will see instructions, accounts, errors, etc. all generated from your IDL!
And without writing any code, you have a program and client ready to get deployed to Solana's mainnet! What if you are building in Anchor and you prefer not to use the create-solana-program library? No problem! We will show you how to do that in the next section.
Anchor
If you are using Anchor to write your Solana programs, you can also use Codama to generate Solana Kit-compatible clients. Let's walk through a simple example using the same counter program from the create-solana-program library.
Create a New Anchor Project
First, navigate out of the program-client-demo-anchor directory and create a new project:
anchor init program-client-demo-anchor
Then, install the dependencies:
cd program-client-demo-anchor
Replace your programs/program-client-demo-anchor/src/lib.rs file with the following code:
use anchor_lang::prelude::*;

declare_id!("YOUR_PROGRAM_ID_HERE");

#[program]
pub mod program_client_demo_anchor {
    use super::*;

    pub fn create(ctx: Context<Create>, authority: Pubkey) -> Result<()> {
        let counter = &mut ctx.accounts.counter;
        counter.authority = authority;
        counter.count = 0;
        Ok(())
    }

    pub fn increment(ctx: Context<Increment>) -> Result<()> {
        let counter = &mut ctx.accounts.counter;
        counter.count += 1;
        Ok(())
    }
}

#[derive(Accounts)]
pub struct Create<'info> {
    #[account(init, payer = payer, space = 8 + 40)]
    pub counter: Account<'info, Counter>,
    #[account(mut)]
    pub payer: Signer<'info>,
    pub system_program: Program<'info, System>,
}

#[derive(Accounts)]
pub struct Increment<'info> {
    #[account(mut, has_one = authority @ ProgramClientDemoError::InvalidAuthority)]
    pub counter: Account<'info, Counter>,
    pub authority: Signer<'info>,
}

#[account]
pub struct Counter {
    pub authority: Pubkey,
    pub count: u64,
}

#[error_code]
pub enum ProgramClientDemoError {
    #[msg("The provided authority doesn't match the counter account's authority")]
    InvalidAuthority,
}
This is just the same program as the default in the create-solana-program library. Feel free to modify it to suit your needs (though we will use this to write example tests in the next section).
Make sure to update your program ID in the declare_id! macro or run anchor keys sync to update the program ID. When ready, build the program:
anchor build
Set up Environment
We're going to need a few packages to get started. First, install Codama and the renderers we will use as well as Solana Kit:
yarn add @solana/kit codama @codama/renderers-js @codama/nodes-from-anchor @types/node
Next, update your tsconfig.json file to include the following compiler options:
{
  "compilerOptions": {
    "types": ["mocha", "chai", "node"],
    "typeRoots": ["./node_modules/@types"],
    "lib": ["es2015"],
    "module": "commonjs",
    "target": "ESNext",
    "esModuleInterop": true,
    "resolveJsonModule": true
  }
}
Finally, add the following script to your Anchor.toml file in the [scripts] section:
generate-clients = "yarn ts-node ./scripts/generate-clients.ts"
Generate Clients
Now that our environment is set up, let's create our clients. Create a new directory called scripts and a new file in it called generate-clients.ts. This file will contain the code to generate our client.
Add the following code to scripts/generate-clients.ts:
import { createFromRoot } from 'codama';
import { rootNodeFromAnchor, AnchorIdl } from '@codama/nodes-from-anchor';
import { renderVisitor as renderJavaScriptVisitor } from "@codama/renderers-js";
import anchorIdl from '../target/idl/program_client_demo_anchor.json';
import path from 'path';

const codama = createFromRoot(rootNodeFromAnchor(anchorIdl as AnchorIdl));

const jsClient = path.join(__dirname, "..", "clients", "js");
codama.accept(
  renderJavaScriptVisitor(path.join(jsClient, "src", "generated"))
);
You can now access Logs for your RPC endpoints, helping you troubleshoot issues more effectively. If you encounter an issue with your RPC calls, simply check the logs in your QuickNode dashboard to identify and resolve problems quickly. Learn more about log history limits on our pricing page.
This should look quite similar to the generate-clients script in the create-solana-program library. The main difference is that we are using the rootNodeFromAnchor function to create a Codama tree from the Anchor IDL (which is a slightly different format). Then, we use the JavaScript renderer to generate clients for the tree.
Because we set up our Anchor.toml, you should be able to run the following command to run the script and generate the program client:
anchor run generate-clients
You should notice a new clients/js/src/generated directory with the generated clients:
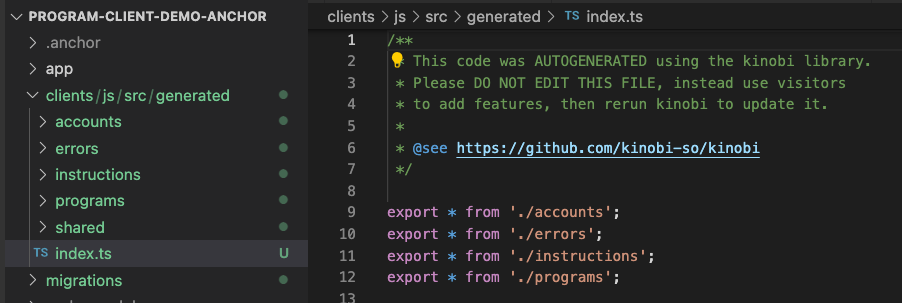
You can now use these clients to interact with your program!
Test the Client
Since we now have a JS client compatible with the new Solana JS SDK, we can actually write our tests without using the Anchor library.
Navigate to your tests file (tests/program-client-demo-anchor.ts), and clear out the contents of the existing file.
First, we will need to import the necessary dependencies from Solana Kit and our new program client:
import {
  appendTransactionMessageInstruction,
  Commitment,
  CompilableTransactionMessage,
  TransactionMessageWithBlockhashLifetime,
  Rpc,
  RpcSubscriptions,
  SolanaRpcApi,
  SolanaRpcSubscriptionsApi,
  TransactionSigner,
  airdropFactory,
  createSolanaRpc,
  createSolanaRpcSubscriptions,
  createTransactionMessage,
  generateKeyPairSigner,
  getSignatureFromTransaction,
  lamports,
  pipe,
  sendAndConfirmTransactionFactory,
  setTransactionMessageFeePayerSigner,
  setTransactionMessageLifetimeUsingBlockhash,
  signTransactionMessageWithSigners,
  KeyPairSigner,
} from '@solana/kit';
import { assert } from 'chai';
import * as programClient from "../clients/js/src/generated";
Next, we will create a few helper functions to help us set up our test environment and handle transactions swiftly. We won't go into much detail on how these work here. If you need a refresher on transactions in the new Solana Kit, check out the Transfer Guide or Fungibles Guide.
type TestEnvironment = {
  rpcClient: RpcClient;
  authority: TransactionSigner;
  counter: KeyPairSigner;
  programClient: typeof programClient;
};

const createTestEnvironment = async (): Promise<TestEnvironment> => {
  const rpcClient = createDefaultSolanaClient();
  const authority = await generateKeyPairSignerWithSol(rpcClient);
  const counter = await generateKeyPairSigner();
  return { rpcClient, authority, counter, programClient };
};

type RpcClient = {
  rpc: Rpc<SolanaRpcApi>;
  rpcSubscriptions: RpcSubscriptions<SolanaRpcSubscriptionsApi>;
};

const createDefaultSolanaClient = (): RpcClient => {
  const rpc = createSolanaRpc('http://127.0.0.1:8899');
  const rpcSubscriptions = createSolanaRpcSubscriptions('ws://127.0.0.1:8900');
  return { rpc, rpcSubscriptions };
};

const generateKeyPairSignerWithSol = async (
  rpcClient: RpcClient,
  putativeLamports: bigint = 1_000_000_000n
) => {
  const signer = await generateKeyPairSigner();
  await airdropFactory(rpcClient)({
    recipientAddress: signer.address,
    lamports: lamports(putativeLamports),
    commitment: 'confirmed',
  });
  return signer;
};

const createDefaultTransaction = async (
  testEnv: TestEnvironment
) => {
  const { rpcClient, authority: feePayer } = testEnv;
  const { value: latestBlockhash } = await rpcClient.rpc
    .getLatestBlockhash()
    .send();
  return pipe(
    createTransactionMessage({ version: 0 }),
    (tx) => setTransactionMessageFeePayerSigner(feePayer, tx),
    (tx) => setTransactionMessageLifetimeUsingBlockhash(latestBlockhash, tx)
  );
};

const signAndSendTransaction = async (
  rpcClient: RpcClient,
  transactionMessage: CompilableTransactionMessage &
    TransactionMessageWithBlockhashLifetime,
  commitment: Commitment = 'confirmed'
) => {
  const signedTransaction =
    await signTransactionMessageWithSigners(transactionMessage);
  const signature = getSignatureFromTransaction(signedTransaction);
  await sendAndConfirmTransactionFactory(rpcClient)(signedTransaction, {
    commitment,
  });
  return signature;
};
Just take note that we are defining programClient as an element of our TestEnvironment type. We will use that in our tests below.
Go ahead and add two tests: one to initialize a new counter PDA and another to increment it:
describe('it creates a new counter account', () => {
  let testEnv: TestEnvironment;

  before(async () => {
    testEnv = await createTestEnvironment();
  })

  it("Is created!", async () => {
    const createIx = testEnv.programClient.getCreateInstruction({
      authority: testEnv.authority.address,
      counter: testEnv.counter,
      payer: testEnv.authority,
    });
    await pipe(
      await createDefaultTransaction(testEnv),
      (tx) => appendTransactionMessageInstruction(createIx, tx),
      (tx) => signAndSendTransaction(testEnv.rpcClient, tx)
    );
    let counterAccount = await testEnv.programClient.fetchCounter(testEnv.rpcClient.rpc, testEnv.counter.address);
    assert.strictEqual(counterAccount.data.authority, testEnv.authority.address);
    assert.strictEqual(counterAccount.data.count, 0n);
  });

  it("Is incremented!", async () => {
    const incrementIx = testEnv.programClient.getIncrementInstruction({
      authority: testEnv.authority,
      counter: testEnv.counter.address
    });
    await pipe(
      await createDefaultTransaction(testEnv),
      (tx) => appendTransactionMessageInstruction(incrementIx, tx),
      (tx) => signAndSendTransaction(testEnv.rpcClient, tx)
    );


    let counterAccount = await testEnv.programClient.fetchCounter(testEnv.rpcClient.rpc, testEnv.counter.address);
    assert.strictEqual(counterAccount.data.authority, testEnv.authority.address);
    assert.strictEqual(counterAccount.data.count, 1n);
  });
});
As you can see the programClient includes methods for creating instructions and fetching accounts associated with our program! Pretty handy. Navigate the Intellisense or browse the generated clients to see what else is available and expand your tests!
Finally, run your tests with the following command:
anchor test
You should see something like this:
  it creates a new counter account
    ✔ Is created! (470ms)
    ✔ Is incremented! (487ms)
  2 passing (1s)
Great job!
Customizing Codama
Though extremely powerful and handy for generating clients, you can imagine that you may run into some limitations for your specific needs. Codama utilizes the Kinobi class. The Kinobi Class includes an update function that allows you to make modifications to the Visitor before the client is generated. Here is an example of how this is implemented by Metaplex in the Metadata program client generator.
Wrap Up
In this guide, you created custom program clients that utilize the new Solana Kit. This should make building with the new library more efficient and easier to manage. If you are building a complex program, building many programs for your customers, or just want to save time, Codama can be a valuable tool in your toolkit.
This approach allows for high levels of customization to integrate various QuickNode Add-ons and APIs seamlessly. We hope you have seen that this process allows for a lot of flexibility, so bring your creativity and build something amazing! We are excited to see what you are up to—drop us a line in the QuickNode Discord or on Twitter, and let us know what you've built!
Resources
- Solana Web3.js 2.0 Blog
- Solana Kit GitHub
- Solana Web3.js Principles for a Rewrite
- 🎥 Introduction to the New Solana Web3.js 2.0 SDK
- create-solana-program Library
- Codama Documentation
- Anchor Documentation
We ❤️ Feedback!
Let us know if you have any feedback or requests for new topics. We'd love to hear from you.