10 min read
This guide has been updated to reflect the new name for Solana Web3.js 2.0 — Solana Kit. We're following the latest best practices to help you stay current. Learn more about Solana Kit here.
Overview
Solana recently announced Solana Kit, a major update to their JavaScript library for interacting with the Solana blockchain. One of the most exciting new features of the new SDK is the ability to customize the library's default behavior by extending the API with custom functions. This guide will walk through the process of integrating Quicknode's Marketplace Add-ons into your Solana Kit application so that you can call Add-ons side-by-side with your native Solana methods.
Let's get started!
What You Will Do
In this guide, you will:
- Discuss how Solana Kit supports custom methods and transports
- Set up a Solana Kit project
- Create custom RPC methods for Quicknode's Priority Fees API Add-on
What You Will Need
- Knowledge of Solana basics (Guide: Introduction to Solana)
- Node.js (version 19 or higher) installed
- TypeScript experience and ts-node installed
- A Quicknode account with access to a Solana endpoint with the Priority Fees Add-on. If you don't have a Quicknode account yet, you can create one for free here.
Dependencies Used in this Guide
| Dependency | Version |
|---|---|
| @solana/kit | ^2.0.0 |
| @solana-program/system | ^0.5.0 |
| solana cli | 1.18.8 |
What are Quicknode Add-ons?
The Quicknode Marketplace is a platform that allows developers to discover, use, and create third-party add-ons for their Web3 applications. These add-ons can be used to enhance the functionality of your applications, providing additional features and capabilities that are not available out-of-the-box with a chain's native RPC methods. For example:
- Priority Fees API: Provides an estimate of the optimal transaction fee for a given transaction, helping you optimize your transactions for faster confirmation times.
- Metis Jupiter Swap API: Allows making lightning-fast calls to Jupiter swap API with clear and reliable rate limits.
- Digital Asset Standard (DAS) API: Provides a simple and efficient way to interact with the DAS protocol, allowing you to create and manage digital assets easily.
- Lil' JIT - JITO Bundles and transactions: Provides a convenient way to bundle and execute transactions, making it easier to manage and optimize your transactions.
Marketplace includes dozens of add-ons covering a wide range of functionalities and use cases. Typically to use an add-on in your Solana application, you would use some tool to make an HTTP request (e.g., fetch, axios, etc.) to the add-on's API endpoint. However, with Solana Kit, you can extend the native Solana RPC methods with custom methods, allowing add-ons to be seamlessly integrated into your Solana applications, e.g.:
async function main() {
    const quickNodeRpc = createPriorityFeeApi('https://example.solana-mainnet.quiknode.pro/123456/');

    const priorityFees = await quickNodeRpc.qn_estimatePriorityFees({
        account: 'JUP6LkbZbjS1jKKwapdHNy74zcZ3tLUZoi5QNyVTaV4',
        last_n_blocks: 100,
        api_version: 2
    }).send();

    console.log(priorityFees);
}
This guide will focus on the Priority Fees API, but the same approach can be used for other RPC add-ons.
Requests in Solana Kit
The Solana Kit library breaks down the legacy Connection class and its methods into two main components: API and Transport. In short, the API is responsible for defining the methods that can be called, while the Transport is responsible for how the calls get made.
Let's look at a simple example to illustrate this separation:
import { createSolanaRpcApi, createDefaultRpcTransport, createRpc } from '@solana/kit';

// Define API (using Solana's default RPC methods)
const api = createSolanaRpcApi();

// Create Transport
const transport = createDefaultRpcTransport({ url: 'https://example.solana-mainnet.quiknode.pro/123456/' });

// Combine API and Transport
const rpc = createRpc({ api, transport });

// Use the RPC
const balance = await rpc.getLatestBlockhash().send();
Now, let's dive deeper into each component:
API
The API in Solana Kit is responsible for defining the structure and types of the RPC methods you can call. The API can easily be created using the createSolanaRpcApi function for default Solana RPC methods. To define custom API methods, you can use the createJsonRpcApi function (or define your own), which takes a generic type parameter defining the API's methods, their parameters, and their return types.
Key features of the API:
- Type Safety: The API uses TypeScript's powerful type system to ensure that method calls are type-safe. The
RpcApitype ensures that the methods you define match the expected structure, providing compile-time checks for your RPC calls. - Method Definition: You define the methods available in your RPC, including their parameters and return types.
- Parameter and Response Transformation: The API can include optional transformers for parameters and responses, allowing you to modify data before it's sent or after it's received.
Here's an example of how this might look:
import { createJsonRpcApi, RpcApiMethods, RpcRequest } from '@solana/kit';

type PriorityFeeApi = {
    qn_estimatePriorityFees(params: EstimatePriorityFeesParams): EstimatePriorityFeesResponse;
}

const priorityFeeApi = createJsonRpcApi<PriorityFeeApi>({
    requestTransformer: (request: RpcRequest<any>) => request.params[0],
    responseTransformer: (response: any) => response.result,
});
In this example, we are defining a custom API for the Priority Fees API:
- The API is being defined by methods from the
PriorityFeeApitype - The
parametersTransformerfunction is used to modify the parameters before they are sent to the RPC (in this case taking the parameter out of the array) - The
responseTransformerfunction is used to modify the response after it's received (in this case, it returns theresultproperty of the response). This can be extra useful if you want a specific element from the response.
Transport
The Transport in Solana Kit is responsible for doing just what the name suggests: transporting the requests to the RPC provider. It defines how the communication with the network occurs.
Key features of the Transport:
- Abstraction: The Transport abstracts away the details of how requests are sent, allowing you to easily switch between different transport mechanisms (e.g., HTTP, WebSocket, etc.).
- Customization: You can create custom transports to handle specific requirements, such as retries, rate limiting, failover, etc.
- Error Handling: The Transport is responsible for handling network-level errors and translating them into a format that your application can understand.
Here's an example of creating a custom transport:
import { RpcTransport } from '@solana/kit';

const customTransport: RpcTransport = async ({ payload, signal }) => {
  const response = await fetch('https://example.solana-mainnet.quiknode.pro/123456/', {
    method: 'POST',
    headers: { 'Content-Type': 'application/json' },
    body: JSON.stringify(payload),
    signal,
  });
  if (!response.ok) throw new Error(`HTTP error! status: ${response.status}`);
  return await response.json();
};
This is just a very basic example of a custom transport that uses the fetch function to send requests to a remote endpoint. You can imagine adding custom middleware or logic to handle different types of authentication, requests, or responses. We will explore more advanced transports later. For now, just understand that the transport is responsible for sending requests to the RPC provider and handling responses/errors.
This separation of concerns between API and Transport provides several benefits:
- Flexibility: You can easily switch out the transport mechanism without changing your API calls.
- Testability: You can mock either the API or the Transport for testing purposes.
- Extensibility: Adding new methods to your API or creating custom transports for special use cases is easy.
Let's see how this might work in a real-world application.
Create a New Project
First, let's set up our project:
mkdir quicknode-addons-demo && cd quicknode-addons-demo
Next, initialize your project as a Node.js project:
npm init -y
Install the dependencies:
npm install @solana/kit && npm install --save-dev @types/node
Add a tsconfig.json file to your project:
tsc --init
Create a new file called example.ts in your project directory:
echo > example.ts
And a new file called types.ts in your project directory:
echo > types.ts
Define Types for Priority Fees Add-on
Let's start by defining the types for the Priority Fees Add-on response. We can get these types from the API Reference Documentation. Add the following code to your types.ts file:
interface FeeEstimates {
    extreme: number;
    high: number;
    low: number;
    medium: number;
    percentiles: {
        [key: string]: number;
    };
}

interface EstimatePriorityFeesResponse {
    context: {
        slot: number;
    };
    per_compute_unit: FeeEstimates;
    per_transaction: FeeEstimates;
    recommended: number;
}

interface EstimatePriorityFeesParams {
    last_n_blocks?: number;
    account?: string;
    api_version?: number;
}

export type { FeeEstimates, EstimatePriorityFeesResponse, EstimatePriorityFeesParams };
These types will help us work with the Priority Fees Add-on in a type-safe manner.
Create Custom RPC Methods
Open your example.ts file and import the types we just created and a few dependencies from the @solana/kit package:
import {
    Rpc,
    RpcApiMethods,
    createDefaultRpcTransport,
    createRpc,
    RpcTransport,
    createJsonRpcApi,
    RpcRequest
} from "@solana/kit";
import {
    EstimatePriorityFeesResponse,
    EstimatePriorityFeesParams
} from "./types";
Define API Type
Next, let's define a type for the Priority Fees API: Add the following code to your example.ts file:
type PriorityFeeApi = {
    qn_estimatePriorityFees(params: EstimatePriorityFeesParams): EstimatePriorityFeesResponse;
    // Add other methods here
}
Here, we are creating a new type, PriorityFeeApi that includes a qn_estimatePriorityFees method. Notice that we are specifying the types for the method's parameters and return--this is important for maintaining type safety in our implementation. This is the only method in the Priority Fees API, but if you were using another add-on with many methods, you would define each method individually here.
Create Transport Function
Now, let's create a function to create our custom transport. Add the following code to your example.ts file:
interface createQuickNodeTransportParams {
    endpoint: string;
}

function createQuickNodeTransport({ endpoint }: createQuickNodeTransportParams): RpcTransport {
    const jsonRpcTransport = createDefaultRpcTransport({ url: endpoint });

    return async <TResponse>(...args: Parameters<RpcTransport>): Promise<TResponse> => {
        return await jsonRpcTransport(...args);
    };
}
This function creates a custom transport for the Priority Fees API. It takes a single parameter, endpoint, which is the URL of the Quicknode endpoint. The function returns a RpcTransport that can be used to send requests to the RPC provider. Because the qn_estimatePriorityFees method follows the JSON RPC 2.0 specification, we can use the createDefaultRpcTransport function to create a transport that uses the default JSON RPC transport. We have included a wrapper around that function to allow for easier customization in the future.
Create RPC Function
Now, let's create a function to create our custom RPC. Add the following code to your example.ts file:
export function createPriorityFeeApi(endpoint: string): Rpc<PriorityFeeApi> {
    const api = createJsonRpcApi<PriorityFeeApi>({
        requestTransformer: (request: RpcRequest<any>) => request.params[0],
        responseTransformer: (response: any) => response.result,
    });
    const transport = createQuickNodeTransport({
        endpoint,
    });
    return createRpc({ api, transport });
}
This code defines a custom RPC instance for Quicknode's Priority Fees API. It takes a single parameter, endpoint, which is the URL of the Quicknode endpoint. The function returns an instance of the Rpc class, a wrapper around the RpcApi and RpcTransport instances. As we discussed earlier, we can transform the RPC methods' parameters and response using the parametersTransformer and responseTransformer options. In this case, we use the parametersTransformer to extract the params property from an array and the responseTransformer to capture only the result property of the qn_estimatePriorityFees method.
Use the Custom RPC Methods
Now that we have our custom RPC methods set up let's use them in our application:
async function main() {
    const quickNodeRpc = createPriorityFeeApi('https://example.solana-mainnet.quiknode.pro/123456/'); // 👈 Replace with your Quicknode endpoint

    const priorityFees = await quickNodeRpc.qn_estimatePriorityFees({
        account: 'JUP6LkbZbjS1jKKwapdHNy74zcZ3tLUZoi5QNyVTaV4',
        last_n_blocks: 100,
        api_version: 2
    }).send();

    console.log(priorityFees);
}

main();
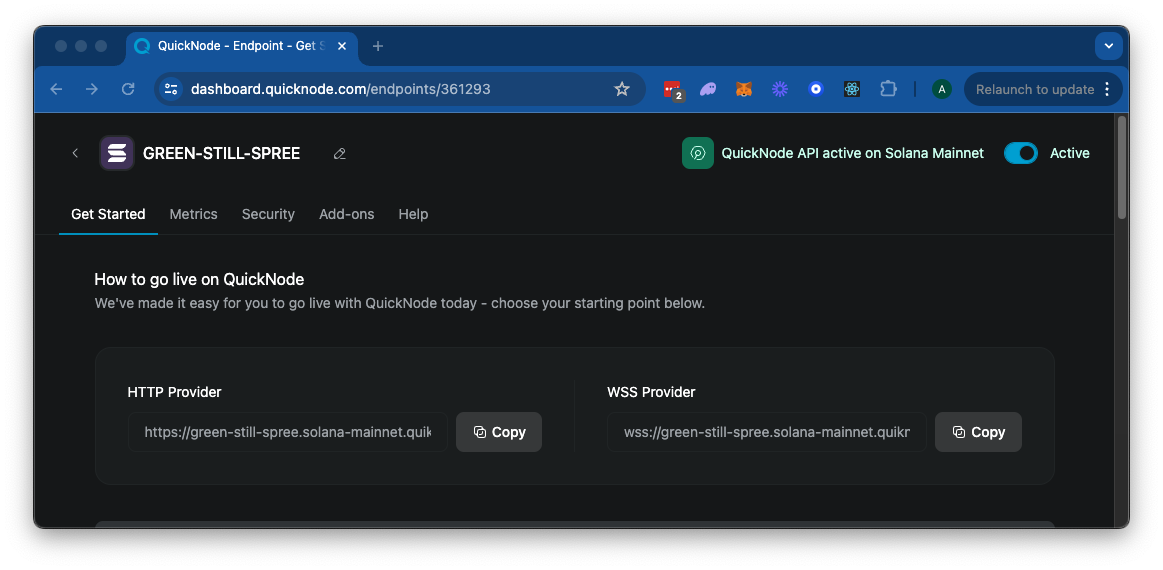
Feel free to query the API with different parameters, and make sure to replace the endpoint URL with your Solana HTTP Provider URL from your Quicknode dashboard:
Run the Script
To run our script, use the following command:
ts-node example.ts
You should see an output with the estimated priority fees for different levels (extreme, high, medium, low) and percentiles.
Wrap Up
In this guide, we've explored how to integrate Quicknode Add-ons with Solana Kit. We've created custom RPC methods to work with the Priority Fees Add-on, demonstrating how to extend the Solana Kit API with Quicknode-specific functionality.
Some key takeaways:
- Solana Kit allows for easy and low-space extension of its API by extending flexible interfaces.
- Quicknode Add-ons can be seamlessly integrated into your Solana applications.
- Using custom RPC methods, you can call Quicknode Add-ons alongside native Solana methods.
In the next part of this guide, we'll explore more advanced use cases and additional Quicknode Add-ons:
- Integrating multiple Quicknode Add-ons
- Integrating REST APIs