
11 min read
Be advised that dapp.tools is no longer under active development, which may lead to compatibility issues or breaking changes. Foundry serves as a well-maintained alternative for those seeking ongoing support and updates. Check out our list of Foundry related guides here.
Overview
Ready to level up your Ethereum development skills? In this guide, we'll dive into Dapp Tools to build, test, and deploy a basic Escrow smart contract. We'll explore advanced features of Dapp Tools that can streamline your development workflow. Let's get started!
What We Will Do
- Learn about Dapp Tools
- Set up Dapp Tools
- Create a basic Escrow smart contract
- Write and run tests using Dapp Tools
- Deploy the Escrow contract to Sepolia testnet
- Interact with the deployed contract
What You Will Need
- A Linux or Windows machine
- Nix installed
- Dapp Tools installed on your system
- Basic understanding of Ethereum and smart contracts
- A Quicknode endpoint (you can create one here)
- An Ethereum wallet with some Sepolia ETH (you can get some from a Multi-Chain Quicknode faucet)
| Dependency | Version |
|---|---|
| nix | 2.24.9 |
| dapp | 0.35.0 |
| seth | 0.12.0 |
Project Prerequisite: Create a Quicknode Endpoint
You'll need an API endpoint to communicate with the Ethereum network. You're welcome to use public nodes or deploy and manage your own infrastructure; however, if you'd like 8x faster response times, you can leave the heavy lifting to us. Sign up for an account here.
Once signed in, click Create Endpoint and then select the Ethereum Sepolia testnet chain.
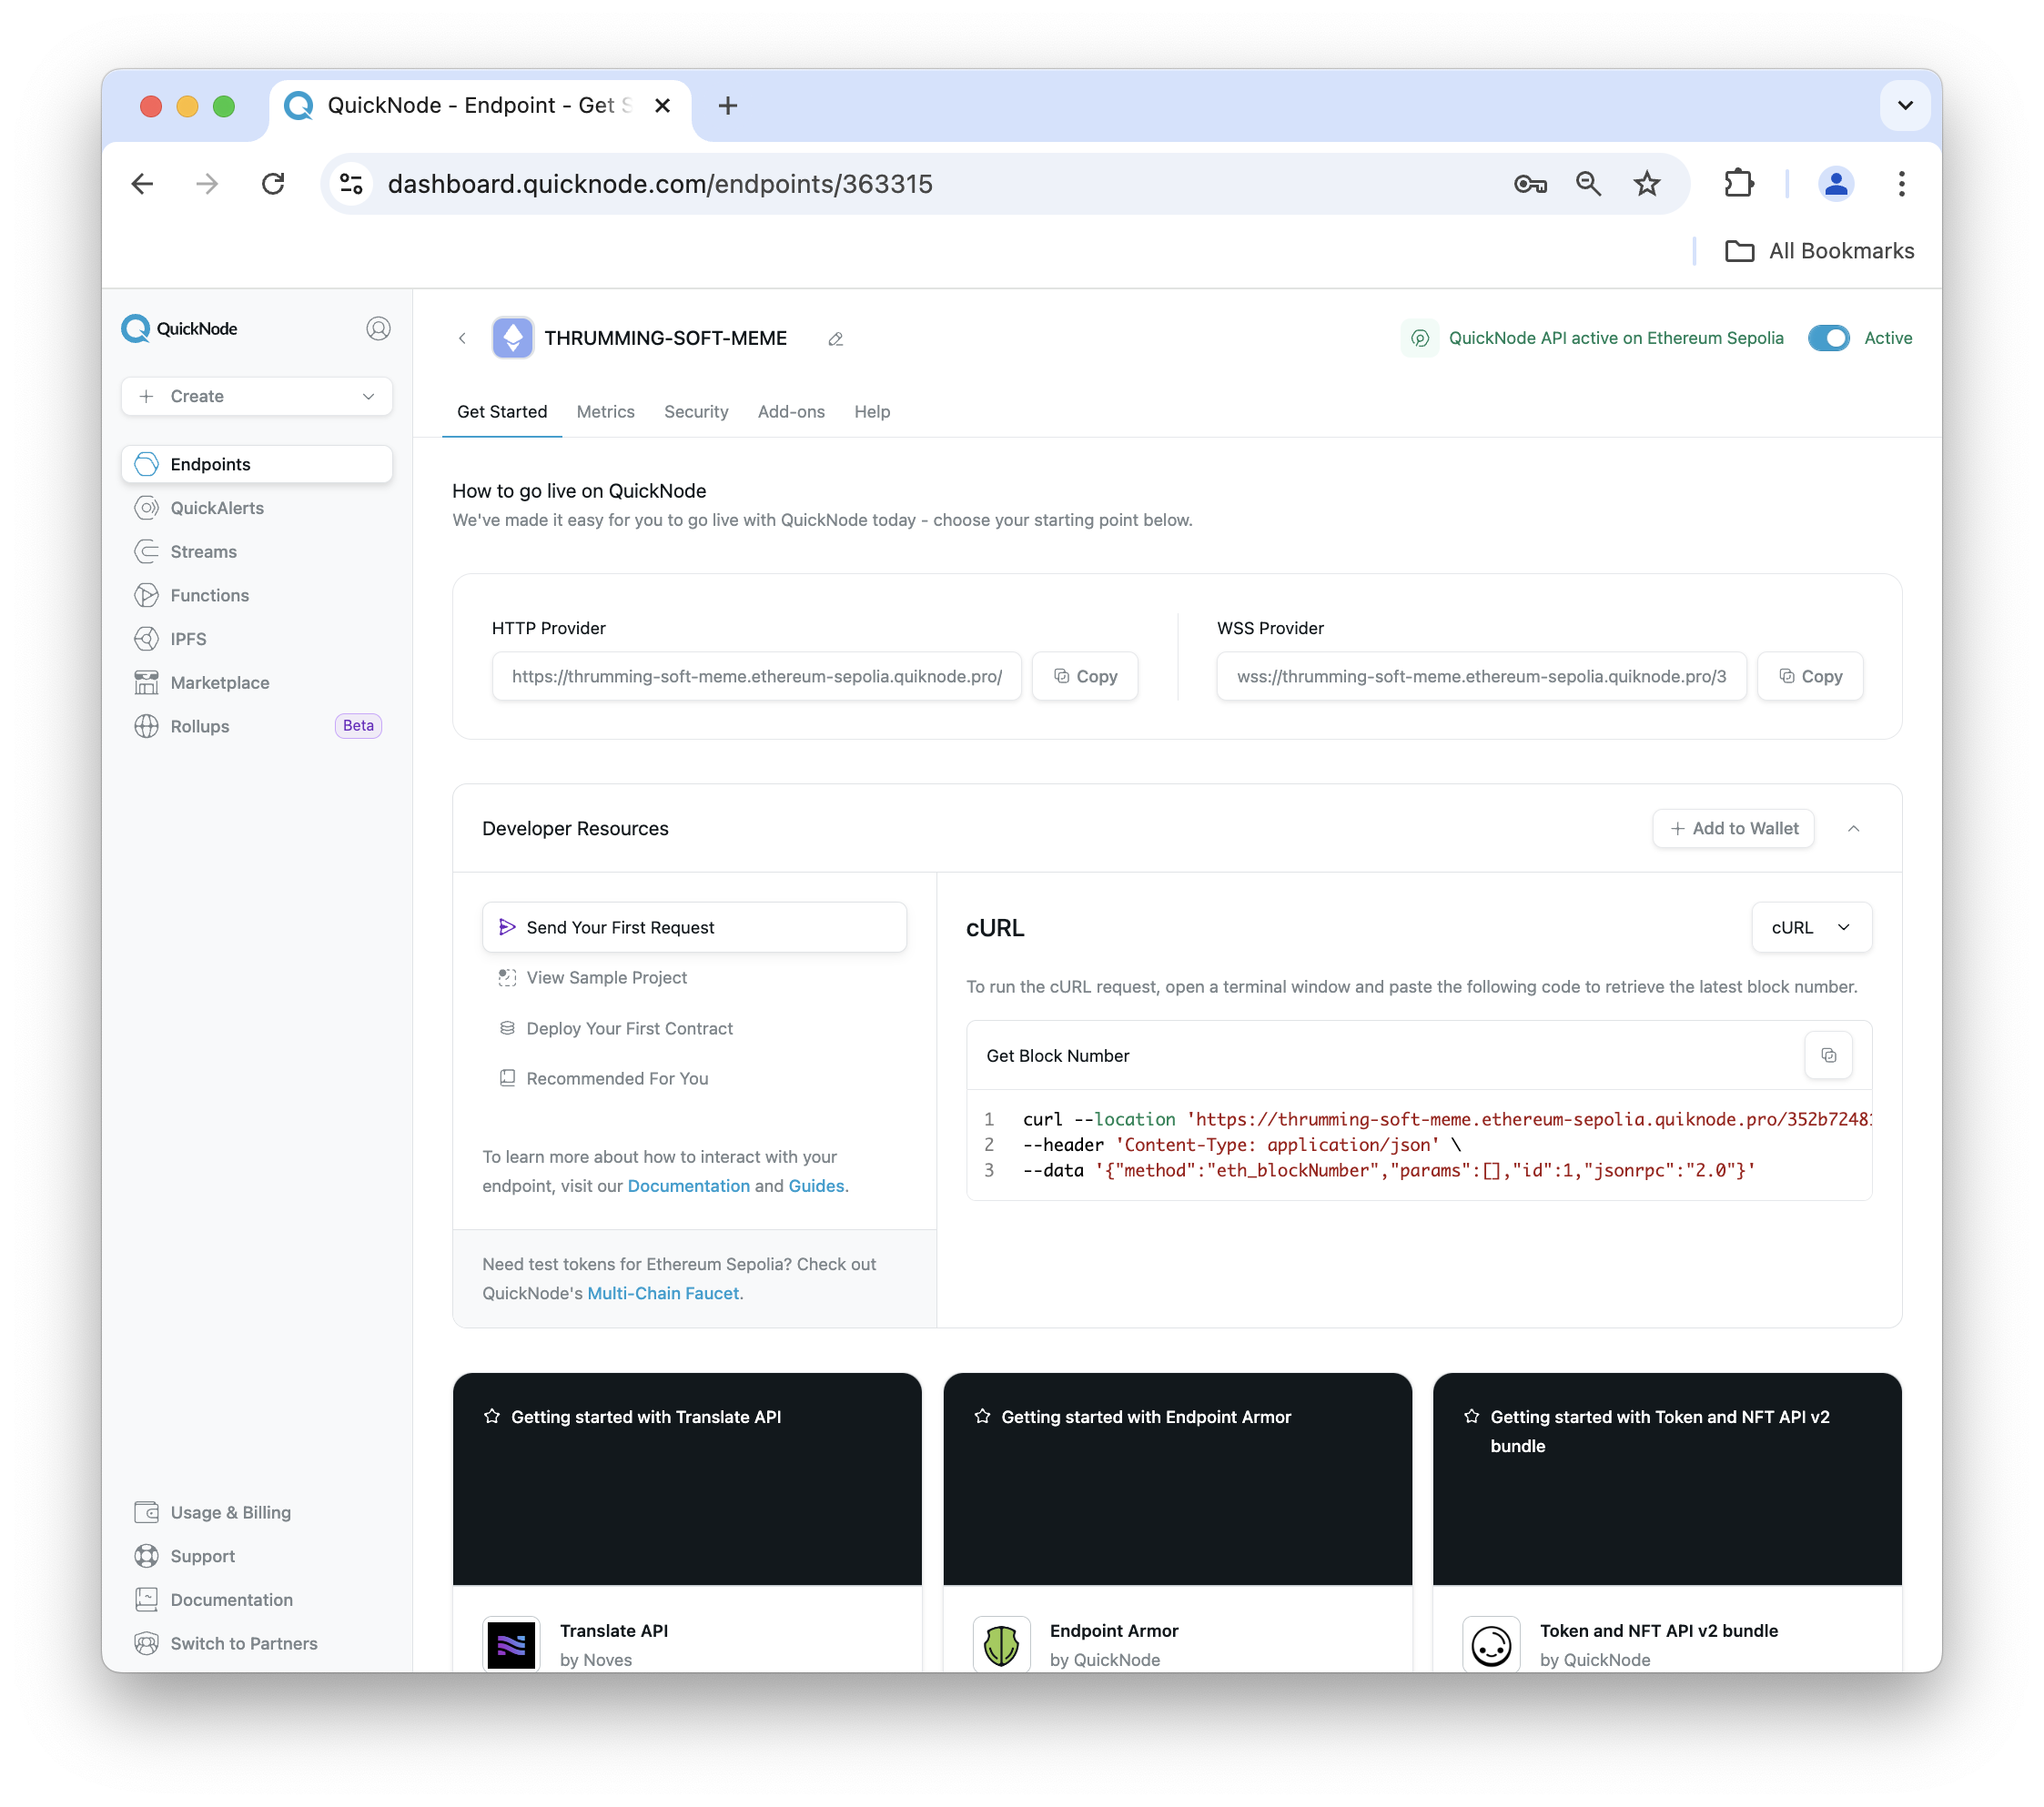
After creating your endpoint, copy the HTTP Provider URL link and keep it handy, as you'll need it when developing the escrow smart contract.
Project Prerequisite: Fund Your Wallet
Before deploying our Escrow contract to the Sepolia testnet, we need to ensure we have enough Sepolia testnet ETH to cover gas fees. The Multi-Chain Quicknode Faucet provides an easy way to obtain test ETH. To get your Sepolia testnet ETH:
- Visit the Multi-Chain Quicknode Faucet.
- Connect your wallet (e.g., MetaMask, Coinbase Wallet) or paste your wallet address.
- Select Sepolia from the network options.
- Request your test ETH.

Note: There's a mainnet balance requirement of 0.001 ETH on Ethereum Mainnet to use the EVM faucets. You can also tweet or log in with your Quicknode account to receive a bonus!
Once you've received your Sepolia testnet ETH, you're ready to proceed with setting up your project folder.
What is Dapp Tools by Dapp Hub?
Dapp Tools is a set of command-line tools created by Dapp Hub for Ethereum smart contract development. It helps developers build, test, and deploy smart contracts more efficiently.
The main components of Dapp Tools are:
- dapp: Manages smart contract projects, including building, testing, and deploying.
- seth: An Ethereum command-line client for blockchain interactions.
- hevm: An EVM debugger and symbolic execution engine for advanced testing.
- ethsign: Signs Ethereum transactions using JSON keystores or hardware wallets.
Dapp Tools also includes useful smart contract libraries:
- ds-test: A Solidity unit testing framework.
- ds-math: Provides safe math operations for integers and fixed-point numbers.
- ds-auth: Handles access control in smart contracts.
Documentation overview can be found here.
These tools work together to help developers create and test smart contracts more effectively. Dapp Tools offers features like property-based testing, formal verification, and gas optimization, which can lead to more reliable smart contracts.
Next, let's move onto setting up our Dapp Tools project.
Setting Up Dapp Tools
Before installing Dapp Tools, ensure you have Nix installed. Nix is a package manager and build system for Unix-like systems that helps make package management more reliable and reproducible
First, let's install Dapp Tools. Open your terminal and run:
nix profile install github:dapphub/dapptools#{dapp,ethsign,hevm,seth} --extra-experimental-features nix-command --extra-experimental-features flakes
You should see the version number of Dapp Tools displayed.
Creating the Escrow Smart Contract
Let's create a new Dapp project for our Escrow contract:
mkdir escrow-contract
cd escrow-contract
dapp init
Next, let's create our Escrow contract. Open the src/EscrowContract.sol file in your code editor and add the following code:
pragma solidity ^0.8.6;

contract Escrow {
    address public admin;
    mapping(uint256 => address) public participantIds;
    mapping(address => uint256) public participantIdsByAddress;
    mapping(address => uint256) public balances;
    mapping(address => bool) public whitelist;
    uint256 public participantCount;

    event Deposit(address indexed participant, uint256 amount);
    event Distribution(uint256 indexed participantId, address indexed participant, uint256 amount);
    event Whitelisted(address indexed participant, uint256 participantId);
    event RemovedFromWhitelist(address indexed participant);
    event BatchWhitelisted(uint256 count);
    event EmergencyWithdraw(address indexed admin, uint256 amount);

    constructor() {
        admin = msg.sender;
    }

    modifier onlyAdmin() {
        require(msg.sender == admin, "Only admin can perform this action");
        _;
    }

    modifier onlyWhitelisted() {
        require(whitelist[msg.sender], "Address not whitelisted");
        _;
    }
    function addParticipants(address[] memory _participants) public onlyAdmin {
        for (uint i = 0; i < _participants.length; i++) {
            if (!whitelist[_participants[i]]) {
                participantCount++;
                whitelist[_participants[i]] = true;
                participantIds[participantCount] = _participants[i];
                participantIdsByAddress[_participants[i]] = participantCount;
                emit Whitelisted(_participants[i], participantCount);
            }
        }
        emit BatchWhitelisted(_participants.length);
    }

    function removeFromWhitelist(address _participant) public onlyAdmin {
        require(whitelist[_participant], "Address not whitelisted");
        whitelist[_participant] = false;
        emit RemovedFromWhitelist(_participant);
    }

    function depositFunds() public payable onlyWhitelisted {
        require(msg.value > 0, "Deposit amount must be greater than 0");
        balances[msg.sender] += msg.value;
        emit Deposit(msg.sender, msg.value);
    }
    function distribute(uint256 _participantId, uint256 _amount) public onlyAdmin {
        address payable participant = payable(participantIds[_participantId]);
        require(participant != address(0), "Invalid participant ID");
        require(_amount > 0, "Distribution amount must be greater than 0");
        require(_amount <= address(this).balance, "Insufficient contract balance");

        (bool success, ) = participant.call{value: _amount}("");
        require(success, "Transfer failed");
        emit Distribution(_participantId, participant, _amount);
    }

    function emergencyWithdraw() public onlyAdmin {
        uint256 balance = address(this).balance;
        require(balance > 0, "No funds to withdraw");

        (bool success, ) = payable(admin).call{value: balance}("");
        require(success, "Transfer failed");
        emit EmergencyWithdraw(admin, balance);
    }


    function getParticipant(uint256 _participantId) public view returns (address) {
        return participantIds[_participantId];
    }

    function getParticipantId(address _participant) public view returns (uint256) {
        return participantIdsByAddress[_participant];
    }

    function getBalance(address _participant) public view returns (uint256) {
        return balances[_participant];
    }

    function getContractBalance() public view returns (uint256) {
        return address(this).balance;
    }
}
This Escrow contract provides the following core features:
- Whitelisting: The admin can add or remove participants from a whitelist.
- Deposits: Whitelisted participants can deposit funds into the contract.
- Distribution: The admin can distribute funds to specific participants using their unique IDs.
- Emergency Withdrawal: The admin has the ability to withdraw all funds from the contract in case of an emergency.
- Balance Tracking: The contract keeps track of individual participant balances and the total contract balance.
Writing Tests with Dapp Tools
Dapp Tools uses the ds-test library for writing tests. Let's create tests for our Escrow contract. Open the file src/EscrowContract.t.sol and then input the following code in the file:
// SPDX-License-Identifier: MIT
pragma solidity ^0.8.6;

import "ds-test/test.sol";
import "./EscrowContract.sol";

contract EscrowTest is DSTest {
    Escrow escrow;
    address admin;
    address alice = address(0x1);
    address bob = address(0x2);
    address charlie = address(0x3);

    function setUp() public {
        admin = address(this);
        escrow = new Escrow();
    }

    function testAddParticipants() public {
        address[] memory addresses = new address[](3);
        addresses[0] = alice;
        addresses[1] = bob;
        addresses[2] = charlie;

        escrow.addParticipants(addresses);

        assertTrue(escrow.whitelist(alice));
        assertTrue(escrow.whitelist(bob));
        assertTrue(escrow.whitelist(charlie));
        assertEq(escrow.getParticipantId(alice), 1);
        assertEq(escrow.getParticipantId(bob), 2);
        assertEq(escrow.getParticipantId(charlie), 3);
    }

    function testDeposit() public {
        address[] memory addresses = new address[](1);
        addresses[0] = address(this);
        escrow.addParticipants(addresses);

        escrow.depositFunds{value: 1 ether}();
        assertEq(escrow.getBalance(address(this)), 1 ether);
        assertEq(escrow.getContractBalance(), 1 ether);
    }

    function testFailDepositNotWhitelisted() public {
        escrow.depositFunds{value: 1 ether}();
    }

    function testDistribute() public {
        address[] memory addresses = new address[](1);
        addresses[0] = alice;
        escrow.addParticipants(addresses);

        addresses[0] = address(this);
        escrow.addParticipants(addresses);
        escrow.depositFunds{value: 2 ether}();

        uint256 initialBalance = alice.balance;
        escrow.distribute(1, 1 ether);
        assertEq(alice.balance, initialBalance + 1 ether);
        assertEq(escrow.getContractBalance(), 1 ether);
    }

    function testFailDistributeInvalidId() public {
        escrow.distribute(999, 1 ether);
    }

    function testEmergencyWithdraw() public {
        address[] memory addresses = new address[](1);
        addresses[0] = address(this);
        escrow.addParticipants(addresses);
        escrow.depositFunds{value: 5 ether}();

        uint256 initialBalance = address(this).balance;
        escrow.emergencyWithdraw();
        assertEq(address(this).balance, initialBalance + 5 ether);
        assertEq(escrow.getContractBalance(), 0);
    }

    receive() external payable {}
}
This test file includes the following test cases:
- Adding participants to the whitelist
- Depositing funds as a whitelisted participant
- Attempting to deposit funds as a non-whitelisted participant (which should fail)
- Distributing funds to a specific participant
- Attempting to distribute funds with an invalid participant ID (which should fail)
- Performing an emergency withdrawal as the admin
Before executing tests, let's confirm our smart contracts can be compiled with the following command:
dapp build
If properly compiled, you will see the following:
+ dapp clean
+ rm -rf out
Now, to run the tests, execute:
dapp test
You will see the following output:
dapp test
Running 6 tests for src/EscrowContract.t.sol:EscrowTest
[PASS] testEmergencyWithdraw() (gas: 138756)
[PASS] testFailDistributeInvalidId() (gas: 4451)
[PASS] testFailDepositNotWhitelisted() (gas: 10122)
[PASS] testDistribute() (gas: 241956)
[PASS] testDeposit() (gas: 130555)
[PASS] testAddParticipants() (gas: 249315)
Next, let's deploy the Escrow contract to the Sepolia testnet.
Deploying to Sepolia Testnet
To deploy our Escrow contract to Sepolia, we'll use dapp create. First, let's set up our environment. Create a ~/.sethrc file in the project's root directory with the following values:
export ETH_RPC_URL=YOUR_RPC_URL
export ETH_FROM=YOUR_WALLET_ADDRESS
export ETH_GAS=2000000
export ETH_PRIO_FEE=$(seth --to-wei 0.1 gwei)
Remember to fill in the
ETH_RPC_URLandETH_FROMwith proper values. For the other gas values, adjust as needed based on current market conditions.
Next let's set up the wallet we'll be using the deploy the Escrow contract. Run the following in your terminal within the project's root directory:
ethsign import
You will be prompted to input your private key and then a password.
Now, let's build and deploy our contract:
dapp build
dapp create src/EscrowContract.sol:Escrow
Dapp Tools will prompt you for your keystore password, then deploy the contract. It will output the transaction hash and the deployed contract address.
Ethereum account passphrase (not echoed): seth-send: Published transaction with 6528 bytes of calldata.
seth-send: 0x7a5918711c0c0bbc18da3ac57e664ac48a0b1102fa0301f01ac71d31ef1b5df6
seth-send: Waiting for transaction receipt..........................
seth-send: Transaction included in block 6808530.
0xc9e5ba29E85f5F39333A3B2DF238fff40fcA36D0
Next, let's cover how to interact with the deployed Escrow contract.
Interacting with the Deployed Contract
We can use seth (part of Dapp Tools) to interact with our deployed contract. First, let's set a global value with the deploy contract address. Run the following in your terminal window and input your Escrow contract address:
CONTRACT_ADDRESS=YOUR_DEPLOYED_ESCROW_CONTRACT_ADDRESS
Here are some example commands:
To add participants to the whitelist (as admin):
seth send $CONTRACT_ADDRESS "addParticipants(address[])" "[0xb84c..., 0x894c...]"
To deposit 0.01 ETH (as a whitelisted participant):
seth send $CONTRACT_ADDRESS "depositFunds()" --value $(seth --to-wei 0.01 eth)
Note you will need to reconfigure the
FROM_ADDRESSin.sethrcwith the participant address.
To distribute 0.01 ETH to a participant (as admin):
seth send $CONTRACT_ADDRESS "distribute(uint256,uint256)" 1 $(seth --to-wei 0.01 eth)
Note the distribute function takes a participant ID (starting from 1)
To get the balance of a participant:
seth call $CONTRACT_ADDRESS "getBalance(address)(uint256)" "PARTICIPANT_ADDRESS"
Remember to use the correct address (admin or participant) when calling functions with the onlyAdmin or onlyWhitelisted modifiers.
Resources
Final Thoughts
Dapp Tools provides a powerful set of utilities for Ethereum development. By leveraging its testing, deployment, and interaction capabilities, you can streamline your smart contract development process and create more robust, well-tested contracts.
We'd love to see what you're creating! Share your projects with us on Discord or Twitter. If you have any feedback or questions on this guide, we'd love to hear from you!
We ❤️ Feedback!
Let us know if you have any feedback or requests for new topics. We'd love to hear from you.